DMM Keithley DMM6500 6½ digit
This is a fairly expensive 6½ digit bench multimeter from a top quality brand.
This meter has many possibilities and I will not cover everything it can do.
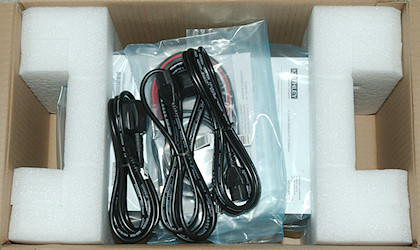
It arrives in a big very solid cardboard box with the DMM well protected inside.
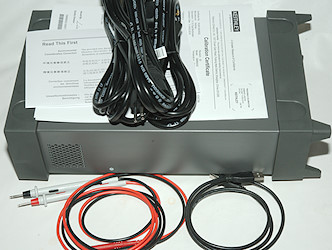
It includes a calibration certificate stating that the meter is in calibration, mains cable, a pair of probes and a usb cable. It do not include any manuals, they must be downloaded (Reference manual is 1200 pages).
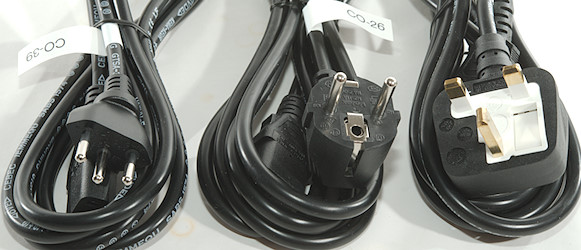
The meter included 3 mains cable, none of them are a perfect match for the normal Danish socket, but the Schuko works.


Standard probe, note that this probe is a fairly low safety rating, like the DMM (CAT II).

The plug is fully shrouded.

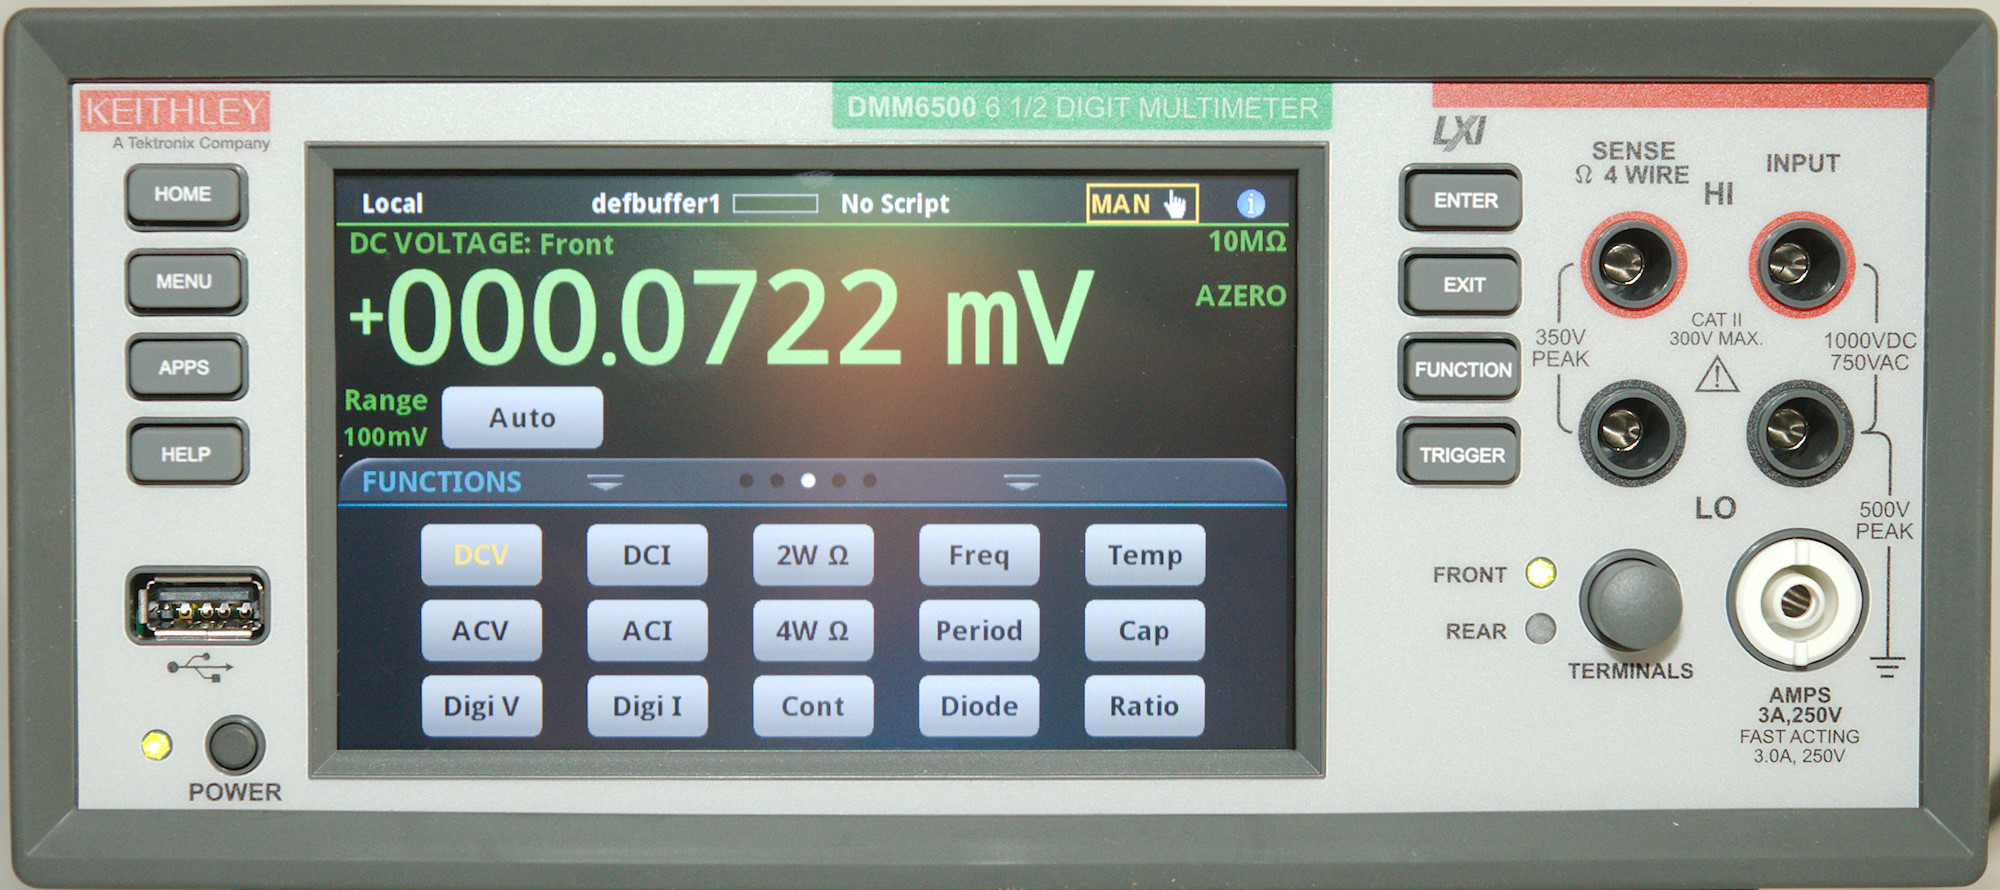
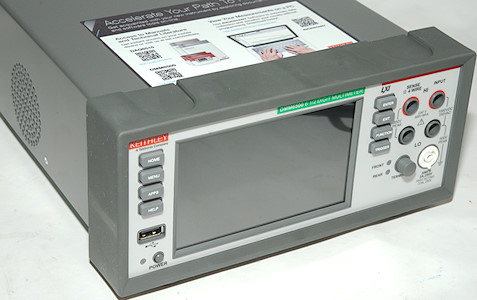
The front has the display, the buttons and one set of inputs.
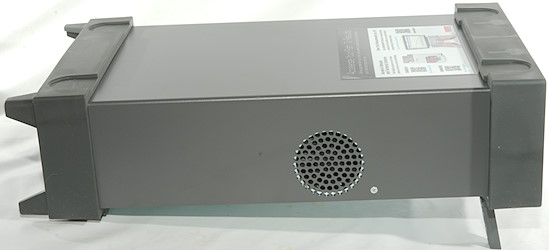
The meter can be tilted, but in one angle only.
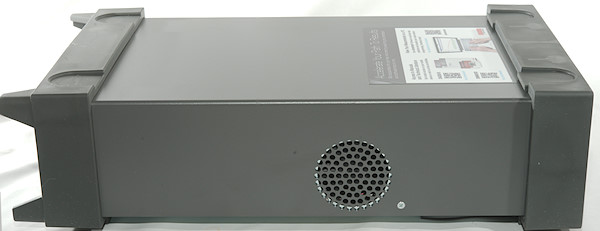
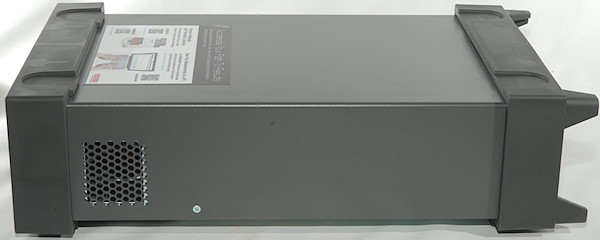
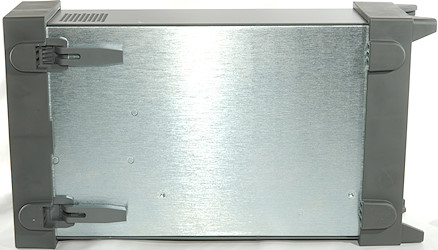
The vent holes for the fan are on the sides.
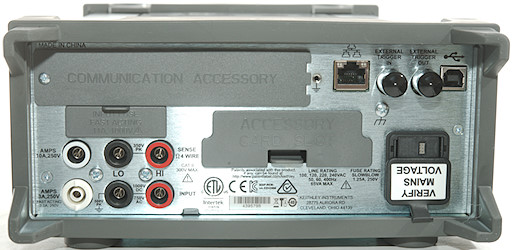
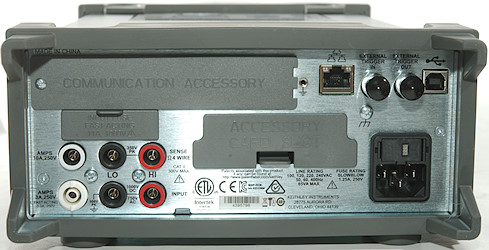
The back, there was a warning to check the mains voltage.
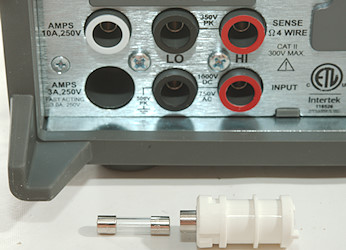
Both back and front connectors has a cheap and easy replaceable fuse for the 3A input, inside is a large HRC fuse.
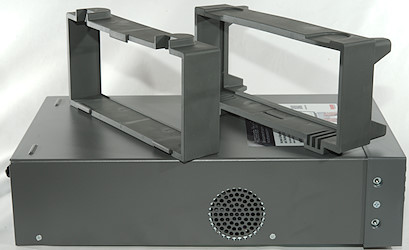
The front and back bumpers can easily be pulled off.
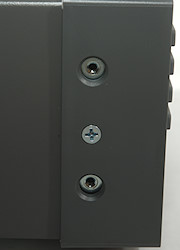
Behind the front bumper is screw holes for rack mounted brackets (All high end bench meters can be mounted in a rack).
Display

This meter is a computer that needs some time to boot and do self test, during that time it shows the brand name. At first only the name and later in the sequence it adds a background image and a bar. Total time is about 15 seconds.
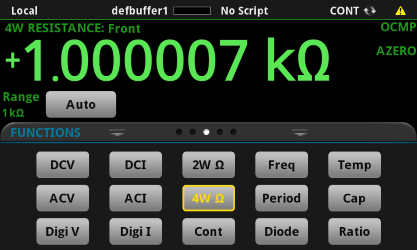
Typical display when measuring without any of the more advanced stuff activated. Here I am measuring one of my precision resistors in 4 terminal mode (The meter is probably more precise than the resistor).
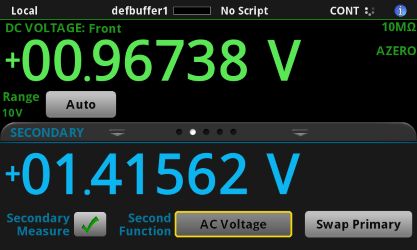
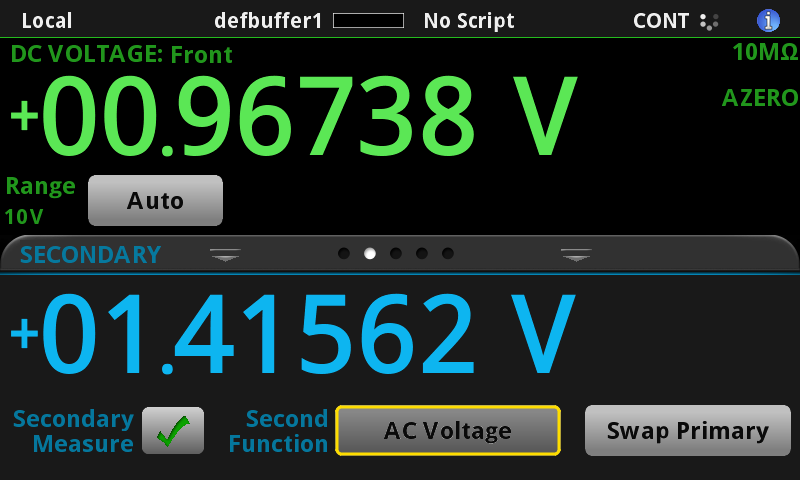
Secondary display enabled and showing AC.
Just about any measurement can be used for secondary display, but many of them means a relay will be toggling inside the meter.
Not all combinations of main and secondary are meaningful, but they can be selected and the meter will do it.
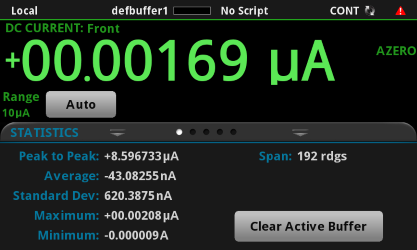
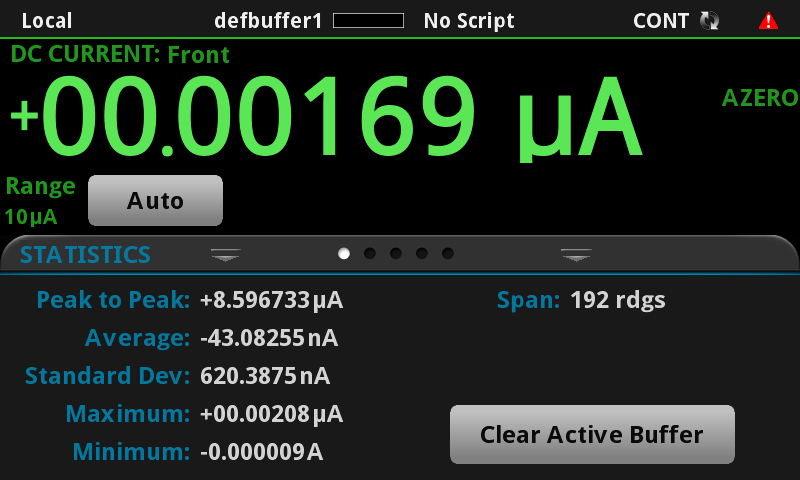
The statistic can show max/min/average and a bit more.

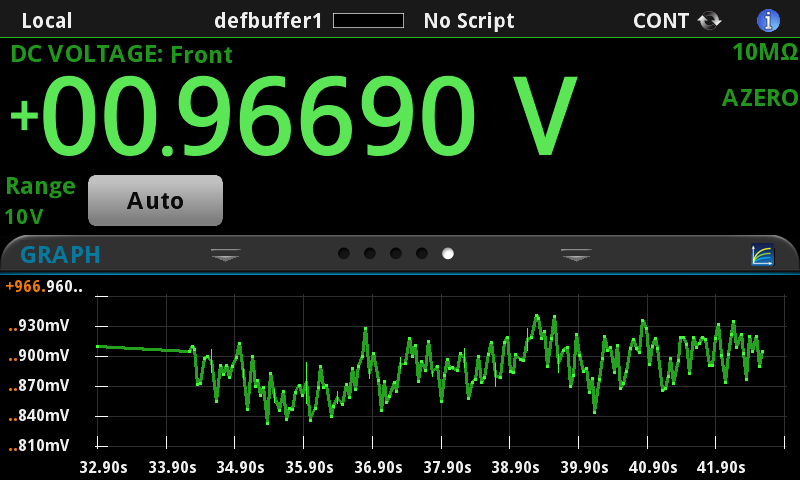
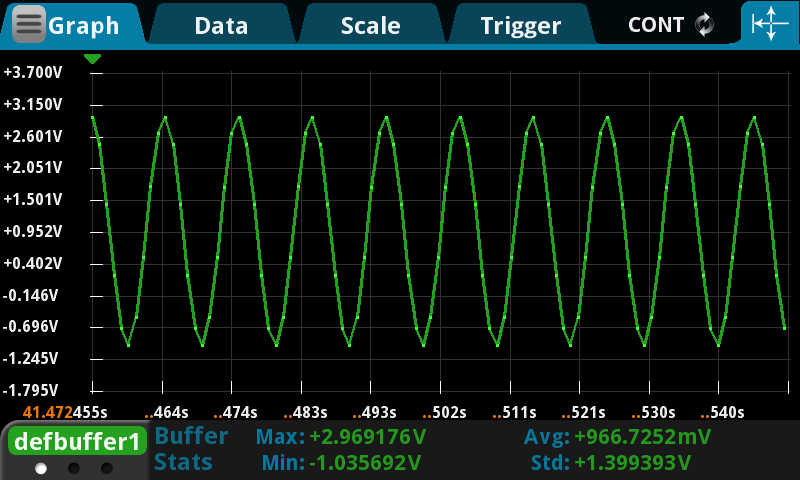
It is possible to include a chart on the display.
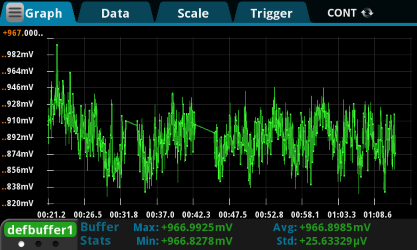
It can be expanded to cover the full screen.
When in this state it is possible to enable cursors to measure value and time.
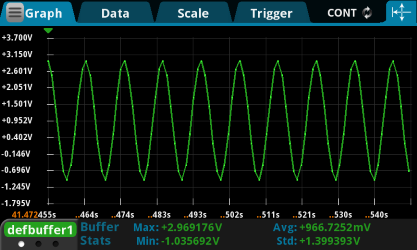
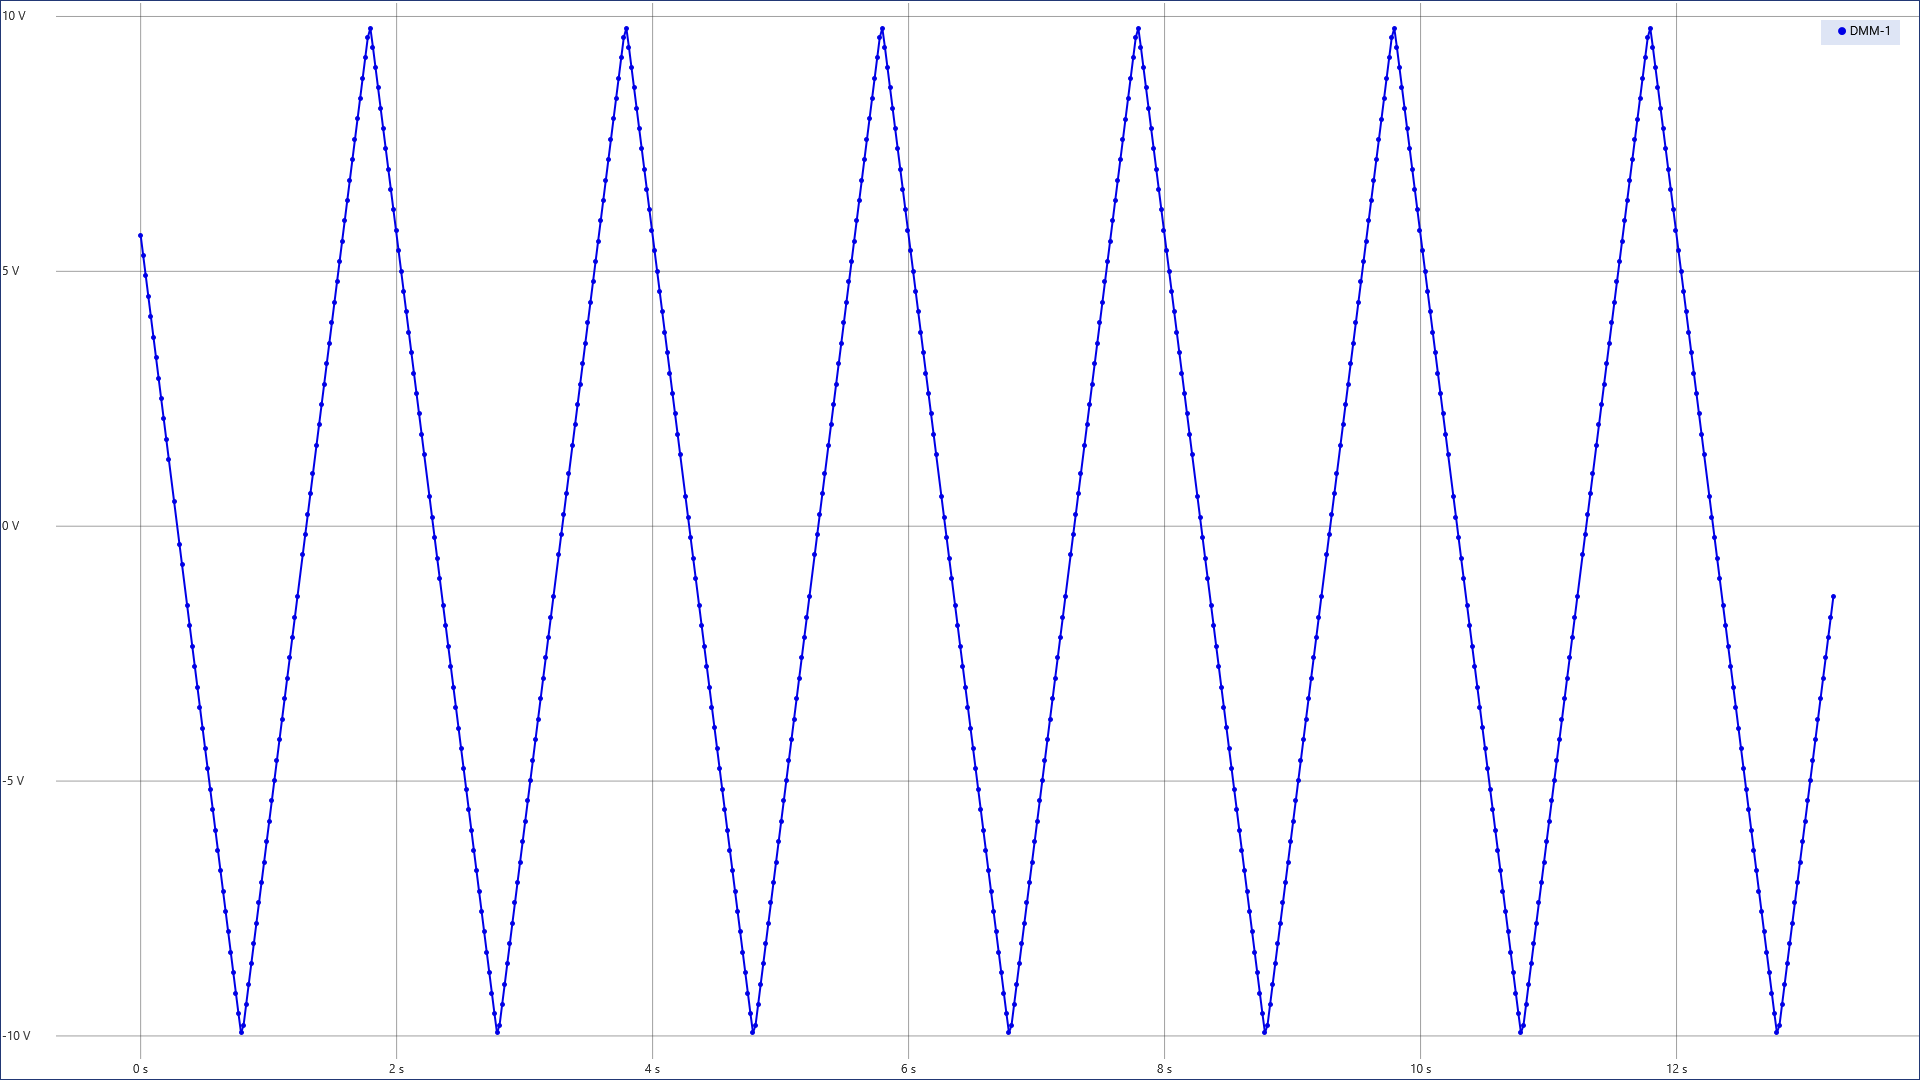
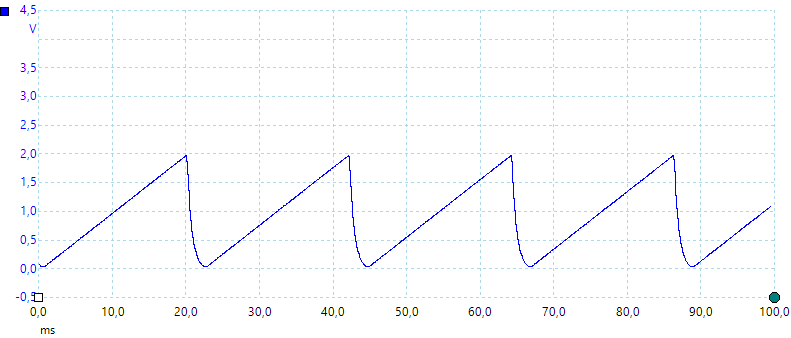
When using the digitize function the meter samples very fast, this is a 100kHz sine wave. This fast sampling can be done in either voltage or current mode, this means that capturing a 10us current pulse is possible.
To change scale use two fingers on the screen to contract or expand the view.

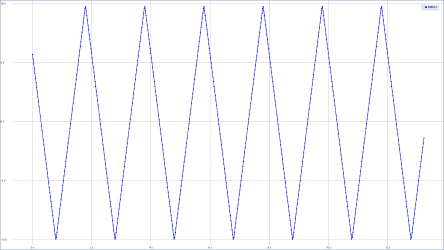
And a 10kHz square wave.
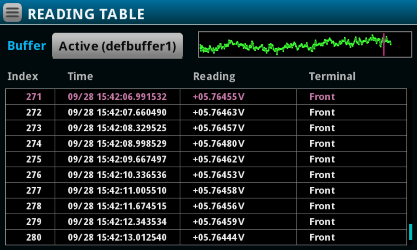
The usual table view is also present, it is possible to click on a entry to get some parameters.

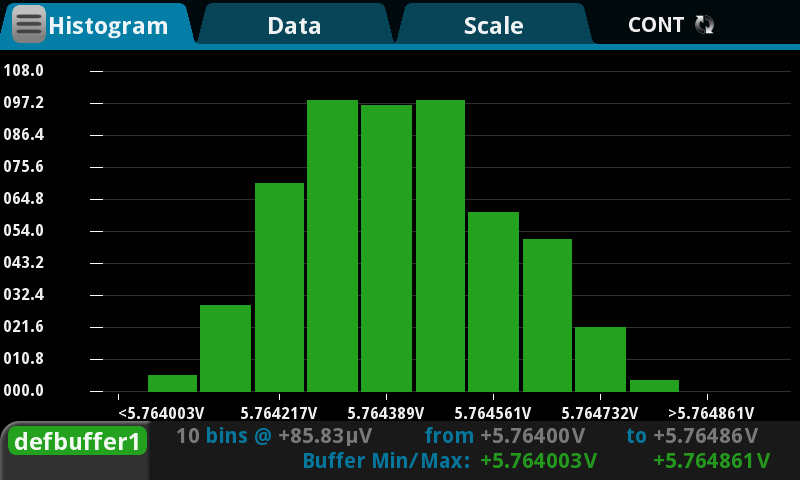
The usual histogram is also present, it support panning and zooming. The maximum number of bins are 700.
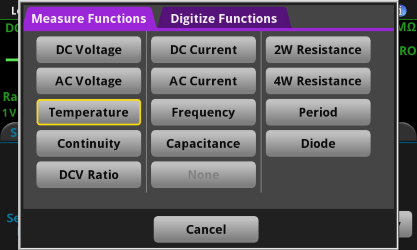
Functions
The buttons do not say much about the function in the meter, because most of the user interface is done with the touch screen.
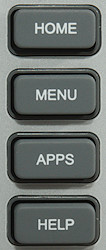

- HOME: One press will return to the measured value display, two pressed will return to the measured values with the function selection below.
- MENU: The menu screen with icons for all the different configurations and functions.
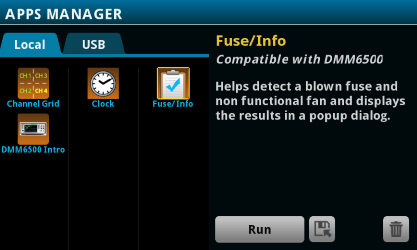
- APPS: Applications, this is not the same as scripts, but made in the same language.
- HELP: Shows a help screen for the selected item/function.
- ENTER: Activate the button with a yellow square around (Generally not very useful on this meter).
- EXIT: Leave a menu/function.
- FUNCTION: Select range, this is basically the same as the selection below the readout.
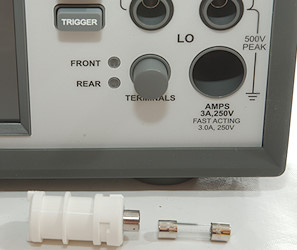
- TRIGGER: Used to manually trigger a measurement or measurement sequence.
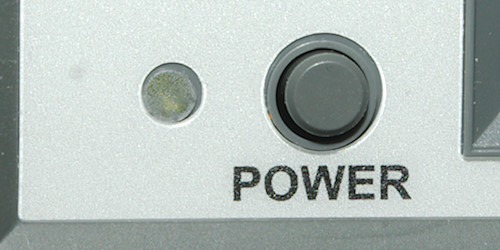
The power button is a soft switch, this means part of the meter is always on and using power.
A short press will turn the meter on a longer press will turn it off.
The led next to the button is orange while off and green while on.
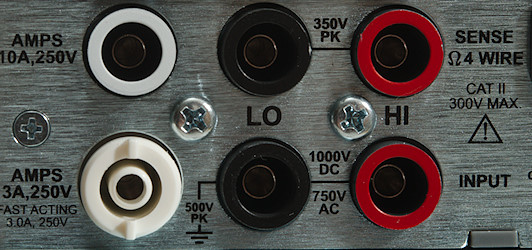
Input
The inputs are only CAT II 300V rated, i.e. the meter is not designed for industrial and service on electric installations.
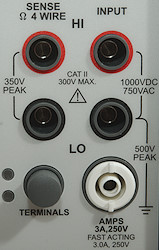
Front side inputs.
- Input HI: The voltage, frequency, capacitance, diode and ohm positive input.
- Input LO: The voltage, frequency, capacitance, diode and ohm negative input.
- Sense HI: Four terminal ohm and voltage ratio positive input.
- Sense LO: Four terminal ohm and voltage ratio negative input.
- 3A: Low current range, it is not recommend to use it up to 3A, it has fairly high burden voltage. There is a fuse inside the terminal.
- Switch: Select between this set of input terminals and the rear terminals.
Rear side inputs.
- Input HI: The voltage, frequency, capacitance, diode and ohm positive input.
- Input LO: The voltage, frequency, capacitance, diode and ohm negative input.
- Sense HI: Four terminal ohm and voltage ratio positive input.
- Sense LO: Four terminal ohm and voltage ratio negative input.
- 3A: Low current range, it is not recommend to use it up to 3A, it has fairly high burden voltage. There is a fuse inside the terminal.
- 10A: High current range, this has a large fuse behind the lid above.
- Switch: Select between this set of input terminals and the rear terminals.
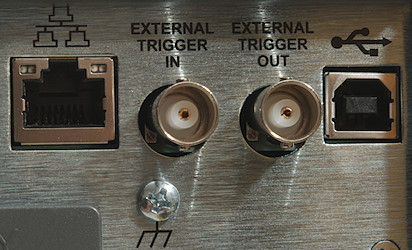
The trigger in input, this is on of the conditions that can be used to start a measurement, the trigger out can be linked to other equipment that must start at the same time.
The LAN and USB connectors is for controlling and reading values from the meter.
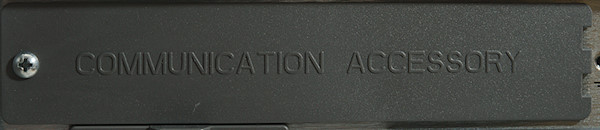
The piece of gray plastic can be replaced with a interface module, options are: GPIB, RS232, TSP-Link and a general I/O connector.
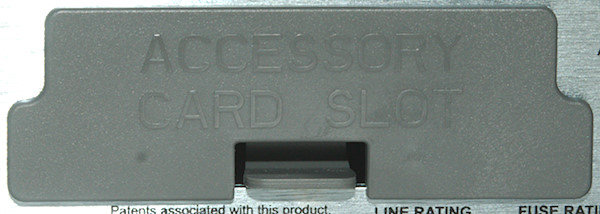
The accessory is a slot for a multiplexer (Scanner) that can change between multiple tests points.

There is also a usb connector on the front, it can be used with memory sticks for saving data, screen dumps and running or loading scripts and apps.
Some more advanced stuff
The meter has a lot of advanced functions, here is a look at a few of them.
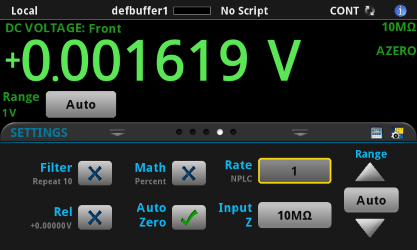
The displayed value can be calculated as an average of some samples (Filter), as a formula (Math), it is possible to show relative values (Rel) from either an acquired or typed value. Usual the meter will zero the input stage between each measurement (Auto Zero), but for faster readings this can be disabled. The actual sample speed (Rate) can be adjusted in power line cycles (Minimum is 0.0005 with 50Hz) and the input impedance (Input Z) can be 10Mohm or high at low voltages.
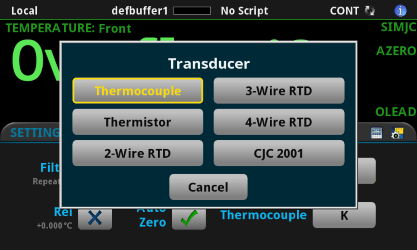
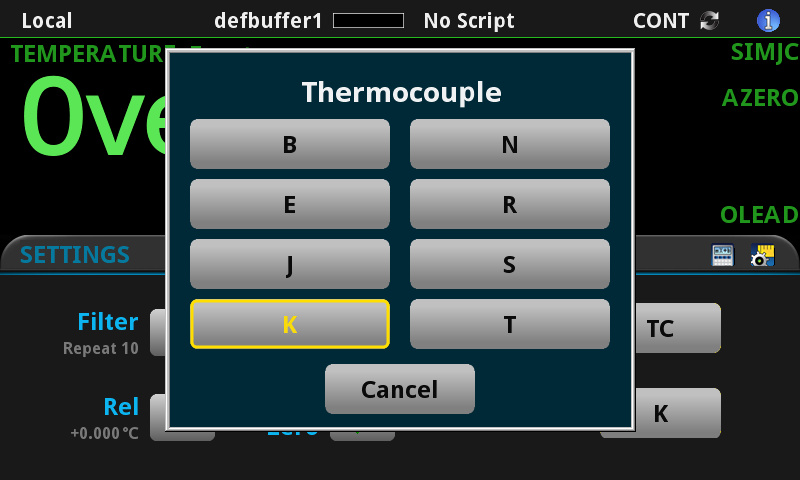
The meter supports many different thermo sensors, but it do not have a build in temperature reference, i.e. with thermocouplers a ambient temperature must be entered manually. There exist a thermocoupler scanner card that includes a reference measurement.
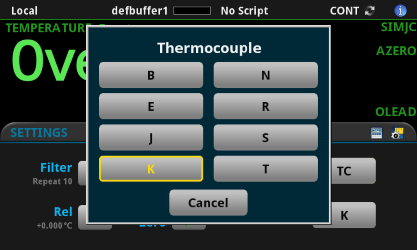
Here are all the thermocouplers it supports.
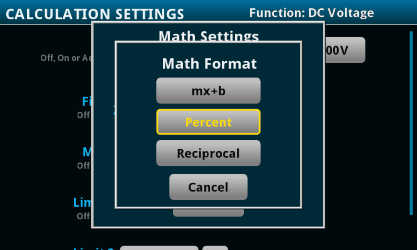
The different types of math function that can be define. For mx+b the m and b must be typed in and for percent a reference value must be typed in.
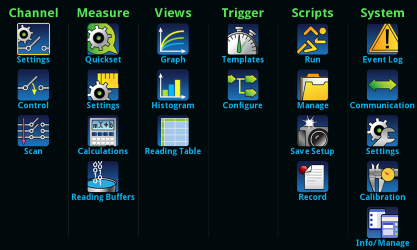
The main menu, behind each icon is some configuration or other stuff.
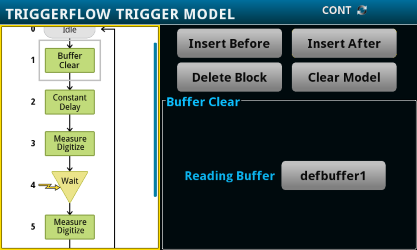
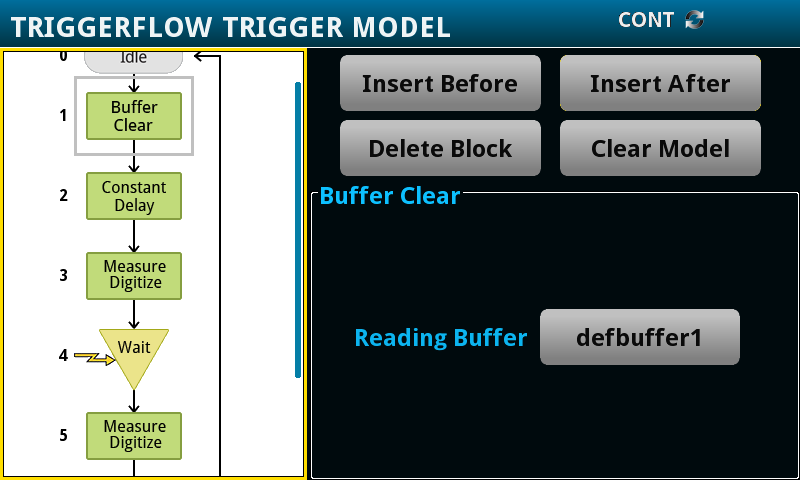
Larger bench meters usual have a trigger function making it possible to record specific events or synchronize multiple types of equipment (Default is to measure all the time). On this meter it is very advanced.
The meter has a script language, it can both be used for short scripts and for applications.
It is possible to automatic generate a script that will configure the instrument to the current configuration, this script can be run at any time or automatic run when meter is powered on.
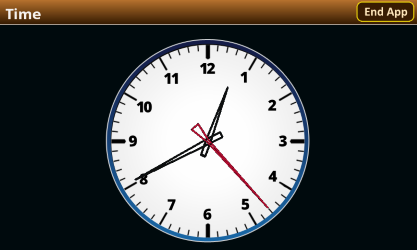
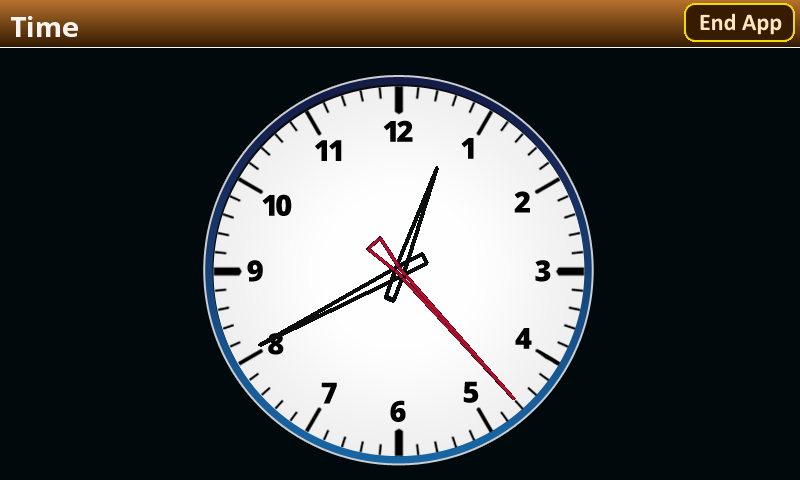
Here I run the "Clock" application and it takes over the normal screen.
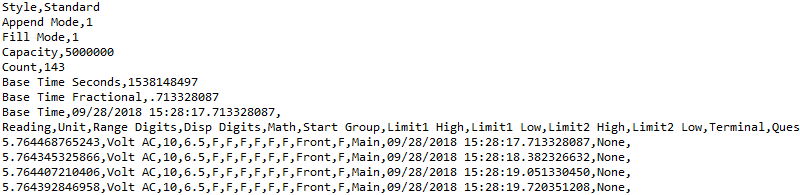
Data is saved to the usb memory stick is in CSV format and do not include any secondary display.

The time format can be in multiple formats, here I use something called "Relative"
Measurements
- Volt and frequency
- At 10mVrms frequency input range is from 1.5Hz to 720kHz
- At 1Vrms frequency input range can be stretched to 1MHz
- Frequency counter works with at least +/-8.5V offset with 10mVrms input
- 1 VAC is 5% down at 390kHz, rms will not work at this frequency
- Period is 1/frequency, it do not show high/low period time.
- Meter can show dB(m) with any reference voltage or a any reference impedance between 1ohm and 10kOhm.
- Input impedance is 10Mohm on DC, but only 1.1Mohm on AC with AC coupling (The 10Mohm DC resistance still applies).
- Frequency input is similar to AC input.
- DC ranges below 12V can be set to high impedance.
- Current
- 3A and lower ranges is protected with a 3.15A/250V 5x20mm glass fuse accessible from outside.
- 3A and lower ranges is also protected by a 3.6A/1000V 10x38mm fuse inside the meter.
- 10A range is protected by a 11A/1000V 10x38mm fuse behind a lid.
- Ohm, Continuity, diode and capacitance
- Ohm needs about 0.2s to measure 100ohm in default configuration.
- Ohm is up to 12.9V open and 10.0mA shorted
- Continuity is very fast (Less than 4ms) because it uses 4½ digit mode.
- Continuity beeps when resistance is below 10ohm, this is adjustable.
- Continuity is 9.3V open and 1.0mA shorted
- Diode range uses 9.3V, max. display is 7.0V at 1.0mA, max. current is 1.0mA shorted (Current is adjustable).
- 10uF takes about 0.3 seconds to measure in default configuration.
- 100uF takes about 0.4 seconds to measure in default configuration.
- Miscellaneous
- Power consumption when on is 22 watt
- Power consumption when off is 5.7 watt
- There exist a multiplexer card with 10 inputs, it uses the rear inputs on the meter.
- The meter reach final value in one to two readings.
- Viewing angle is good.
- Display update speed depends on settings.
- Maximum measuring speed is 21000 reading/seconds and 1000000 readings/second using digitizer function (16 bit resolution)
- Measurement are always stored in a internal buffer, this can be presented in various ways, saved to a usb key or downloaded.
- The fan is fairly quite.
- Weight is 4580g including bumpers.
- Size is 390 x 225 x 100mm including bumpers.
- Probes
- Probe resistance 33mOhm for one.
- Probe wire is very soft and 116cm long.
A look at the capacitance measurement waveform.
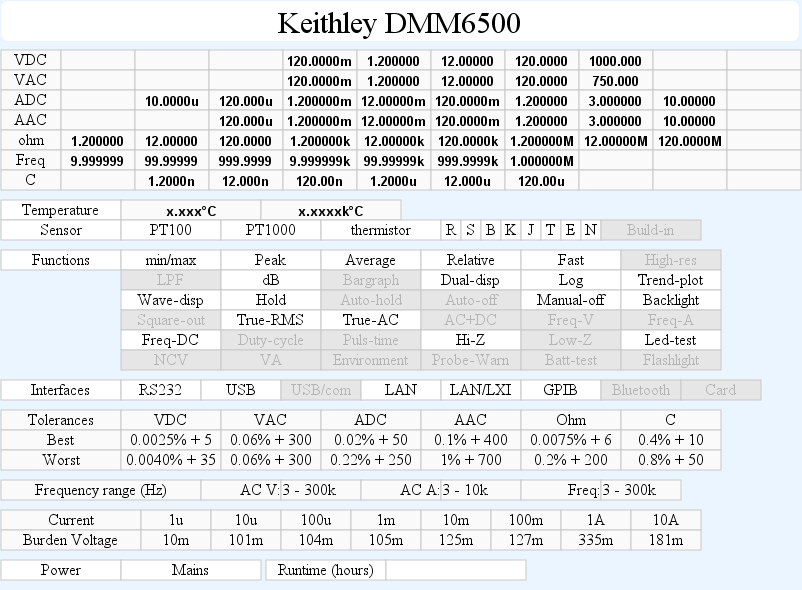
The number of digits in all ranges is adjustable, table covers the default setting.
Many other aspects of the meter can also be adjusted, it is even possible to add new function with the programming language (Keithley has a free program to add auto-hold to the meter).
Software
Software uses NI-Visa and some Microsoft libraries. It would not install on my usual test computer, but I could install it on my main computer.
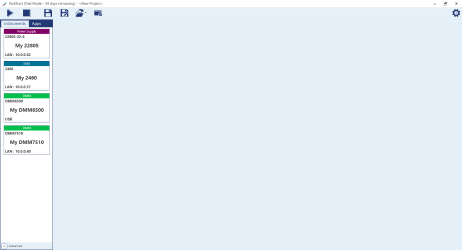
When started it shows a full screen picture with the found instruments at the left.
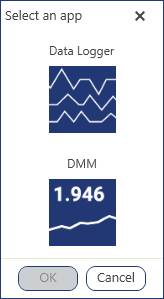
Clicking on the DM6500 shows two possibilities, but in reality there was only one.
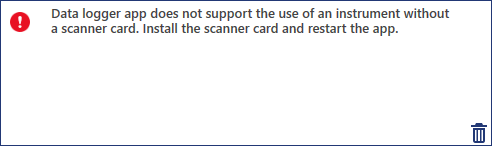
The data logger only works with a multiplexer card in the meter.
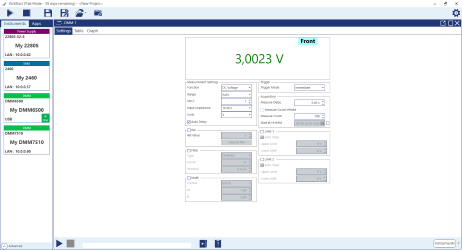
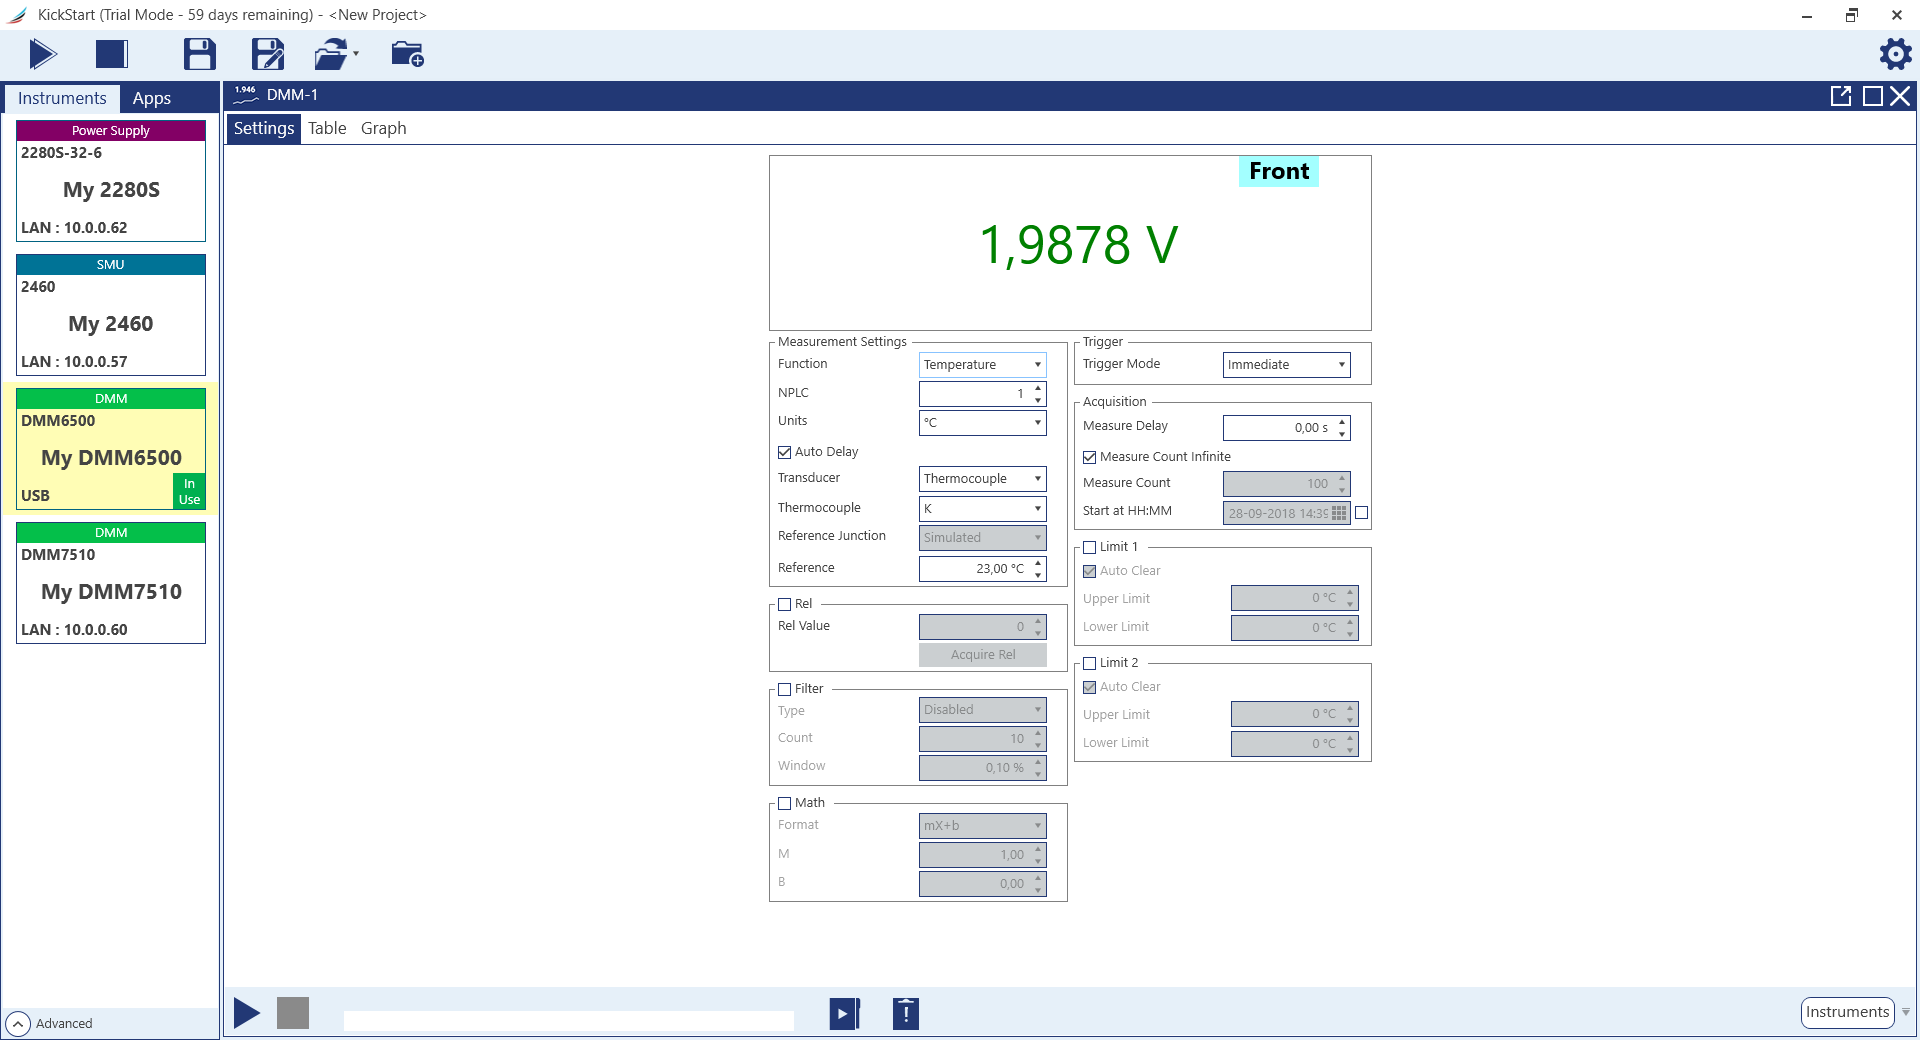
The meter shows a value and settings for this mode.
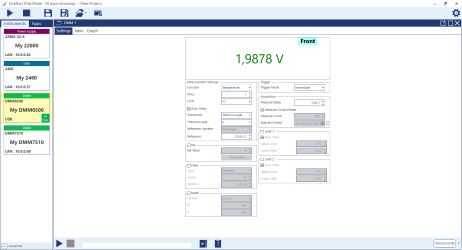
Selecting temperature will change the available settings. The actual format with the boxes is fixed and in a smaller window scroll bars will be added.

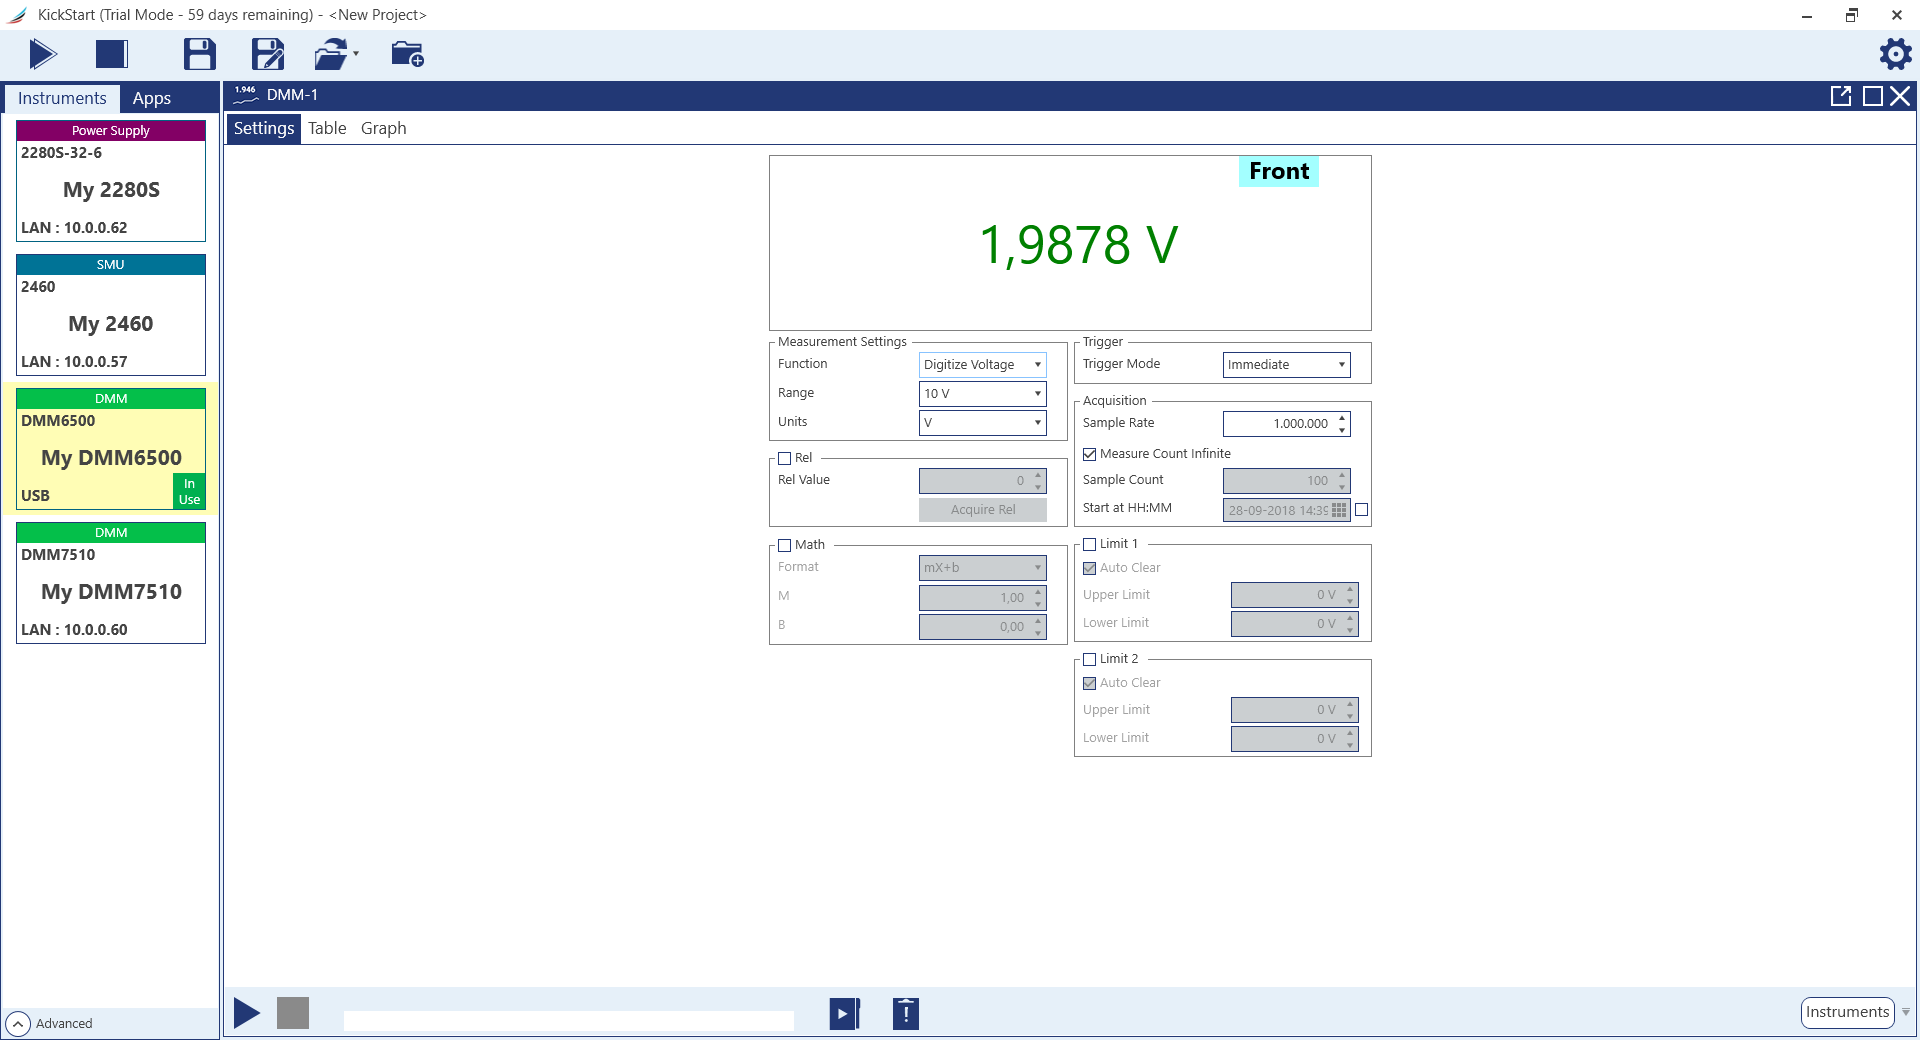
The same with the digitizer function.
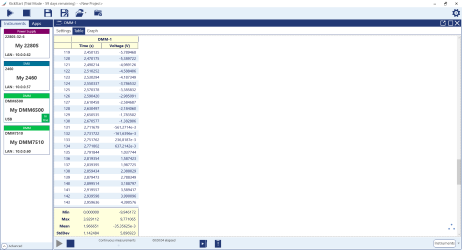
It is also possible to see a list of data.
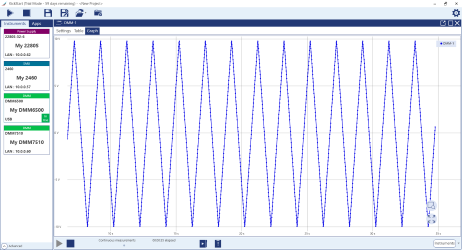
Or a chart with the data.
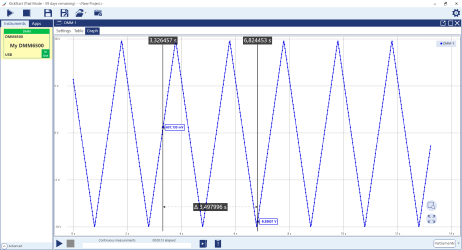
There is cursors and it is possible to zoom in/out.
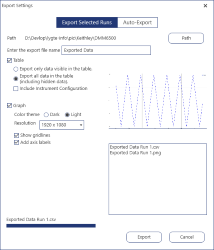
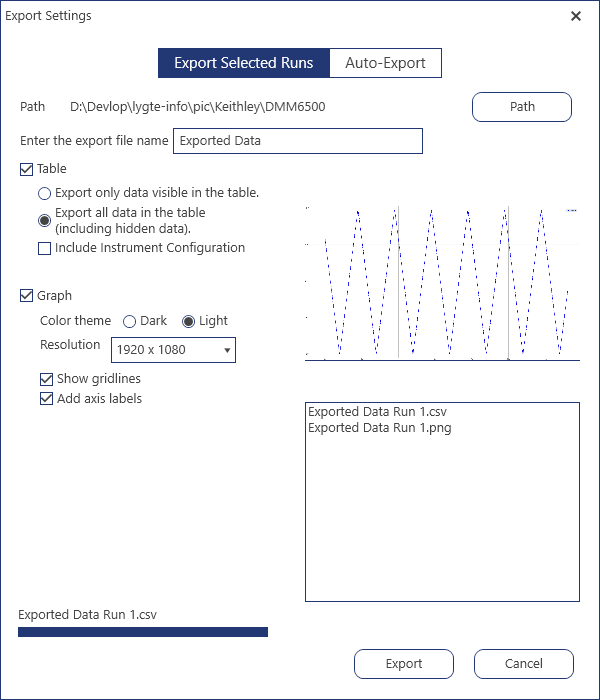
The export function has some options.
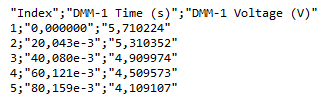
The data format is a standard CSV file and in European format (It probably ask my computer what to use).
The image is in PNG format and is the data without much else.
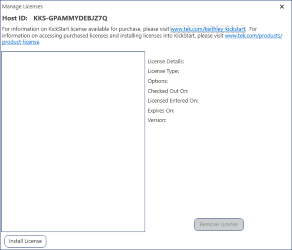
The software is not free, but it is possible to try it for a limited time.

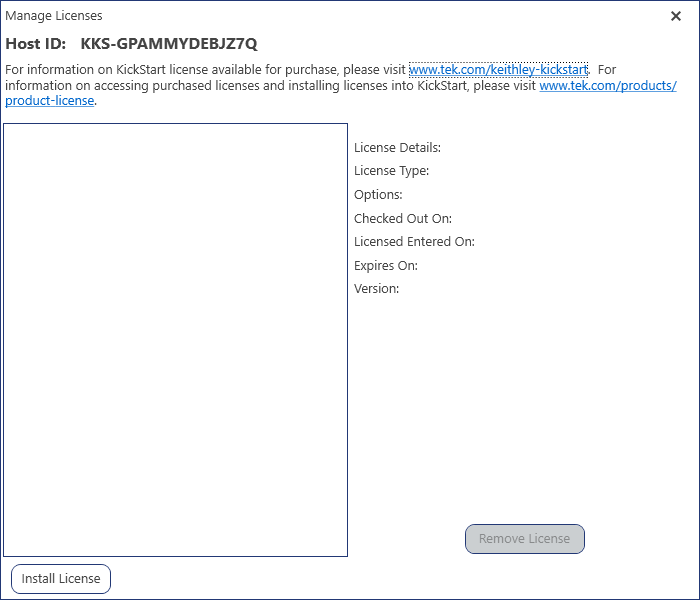
At the time I bought the software is was possible to get a free license, the expires date was something I defined. The license is locked to my current PC until this date or until I remove the license.
The part about getting a free license was a bit difficult, according to Keithley the dealer was supposed to supply it. My dealer would not (elfadistrelec), in the end I got it directly from Tektronix (Owner of Keithley brand).
License and extras
With expensive meters you often have to buy extra stuff to get full functionality, here they are:
- Scanner card. A 10 channel scanner or 5 channel with 4 terminal connections or a 9 channel thermocoupler card with build in compensation.
- Communication interfaces. USB and LAN is included, all other is extra, there are 3 different cards (Only one can be used at a time).
- TSP link that is an interface to other Keithley equipment, this also requires a communication interface.
- PC software, at the time I bought the meter it was possible to get a free license.
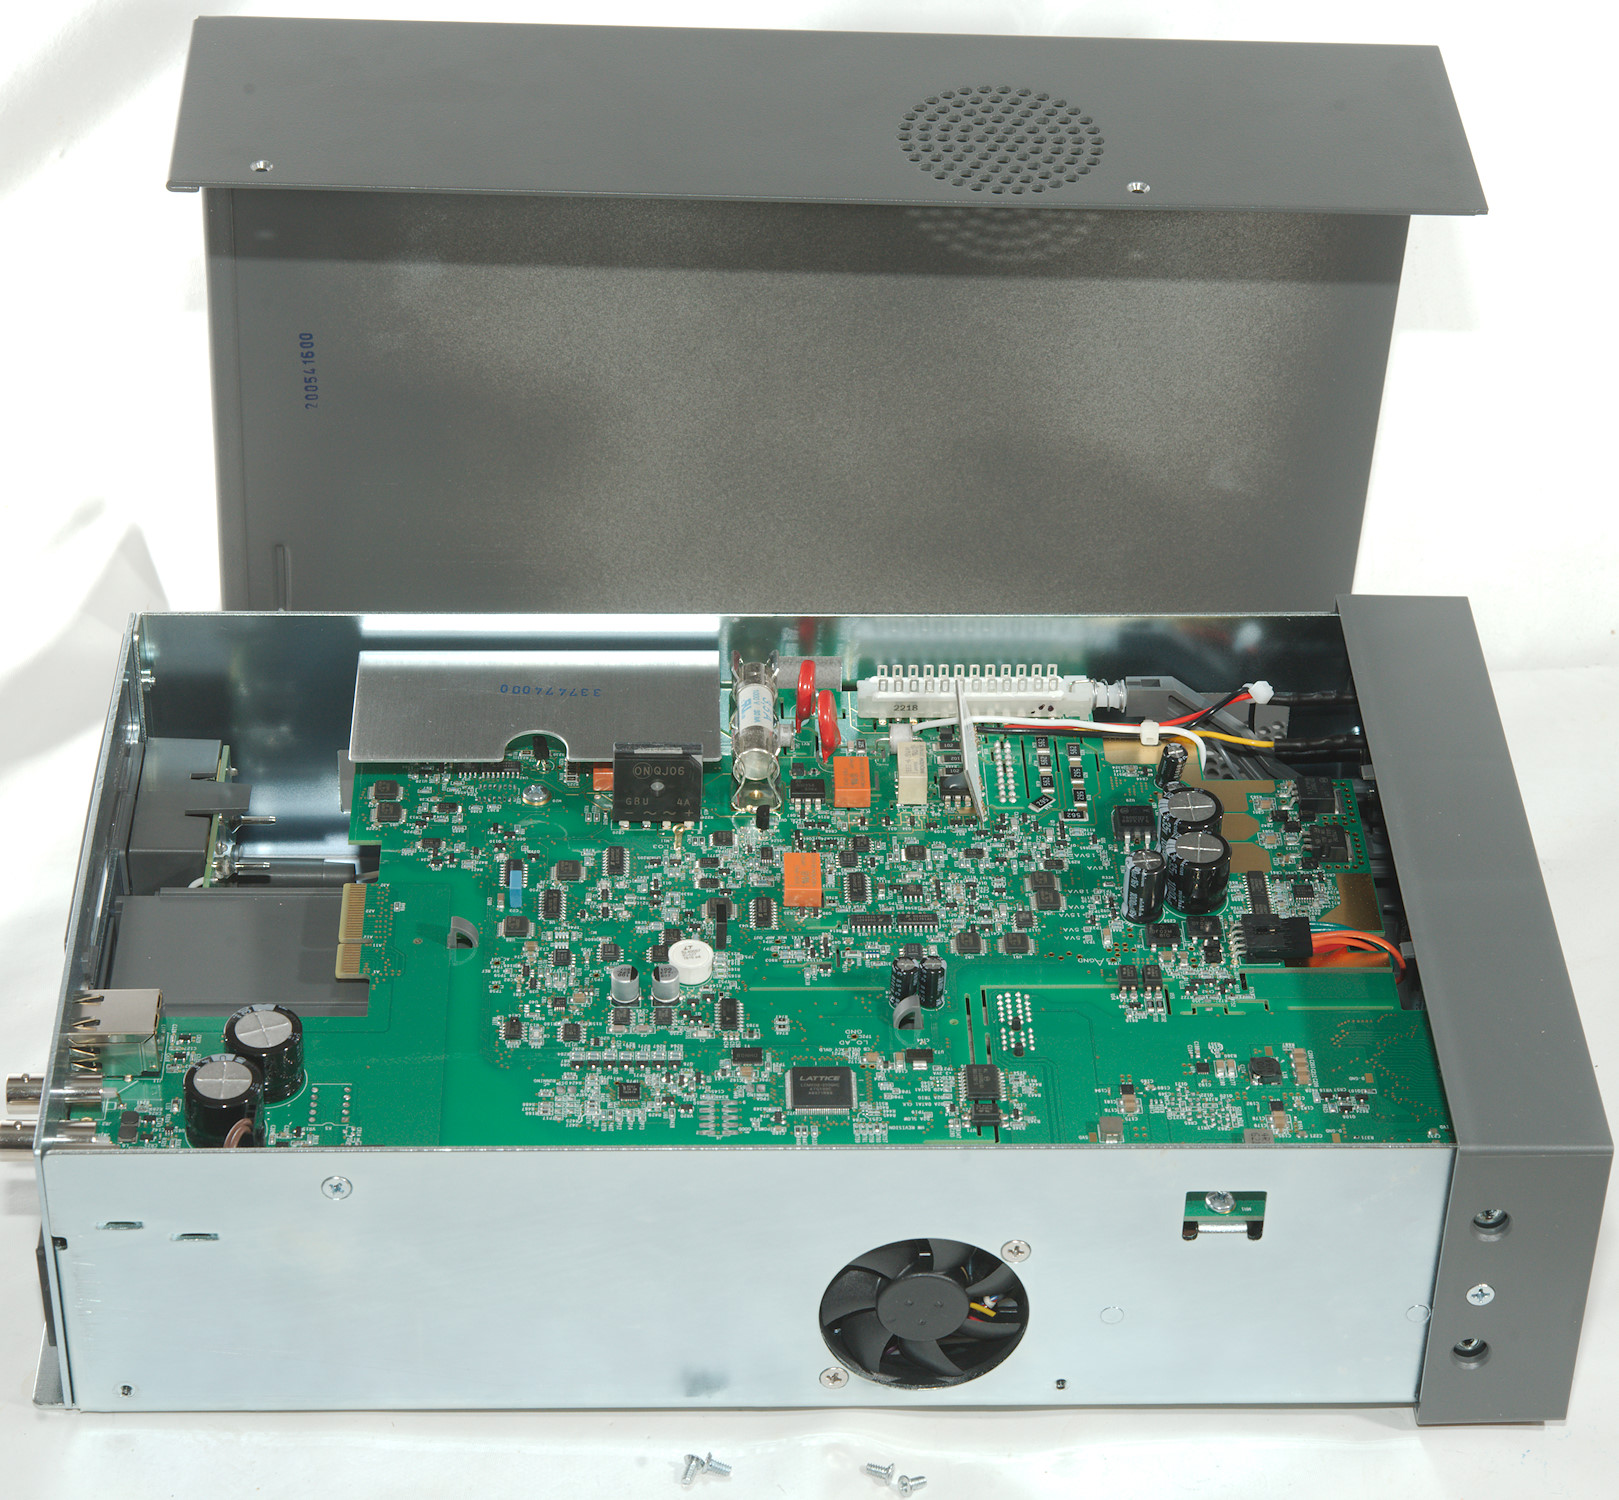
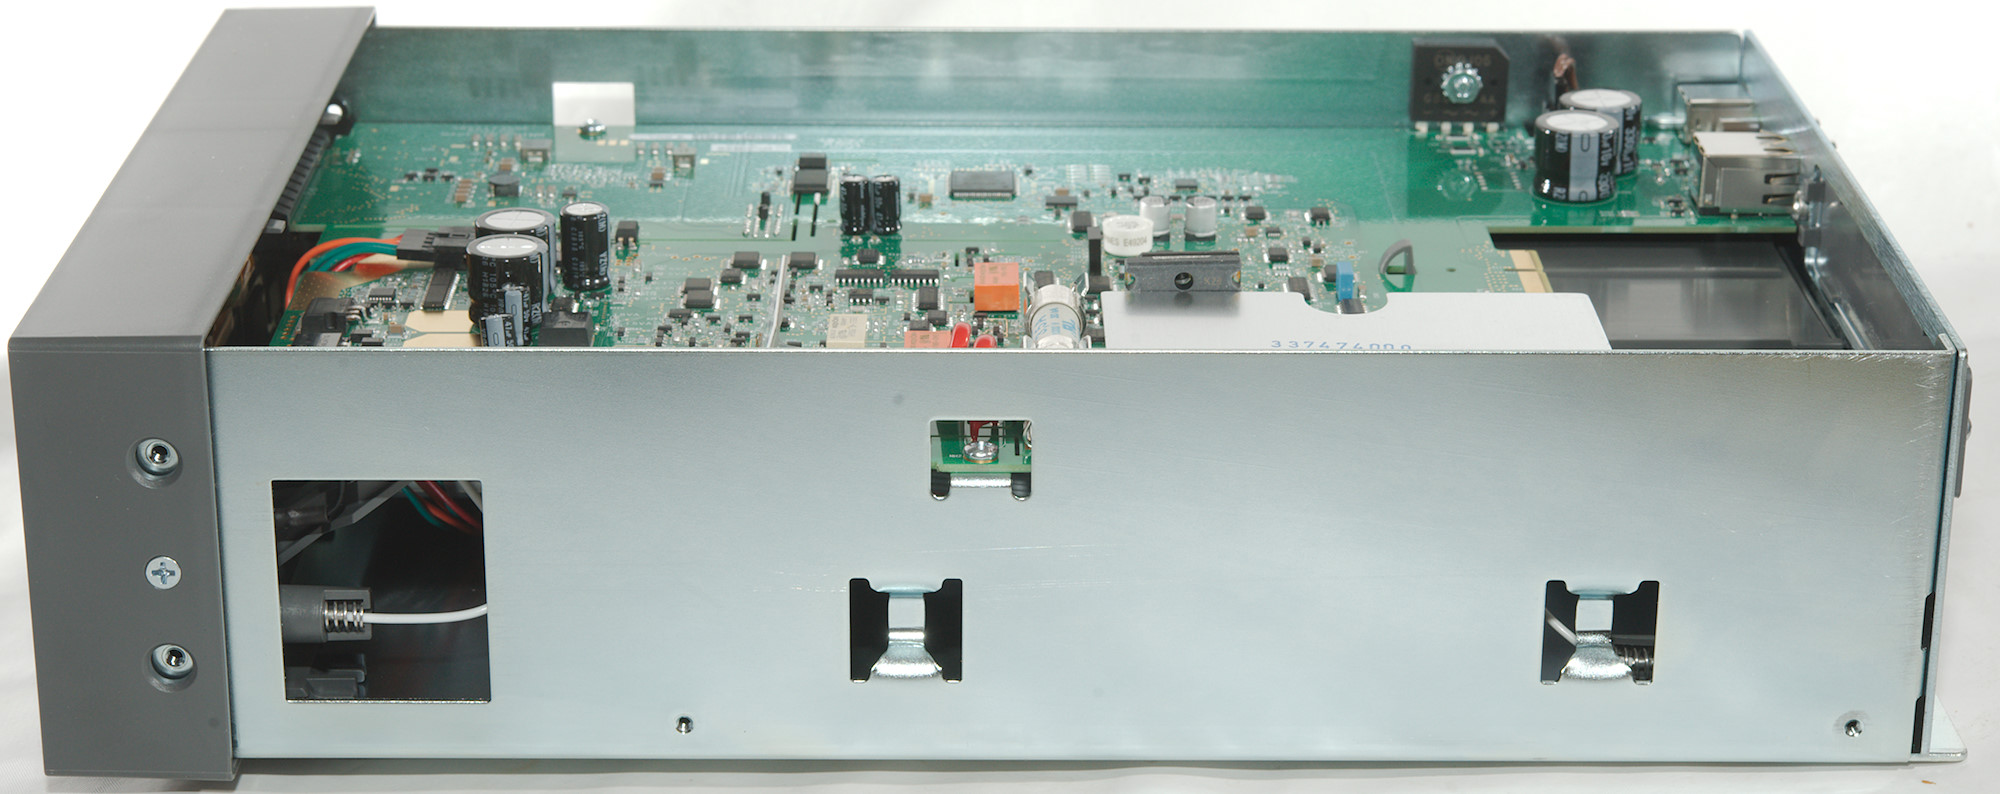
Tear down
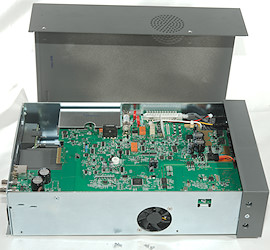
The meter is easy to open, just four screws and the lid comes off.

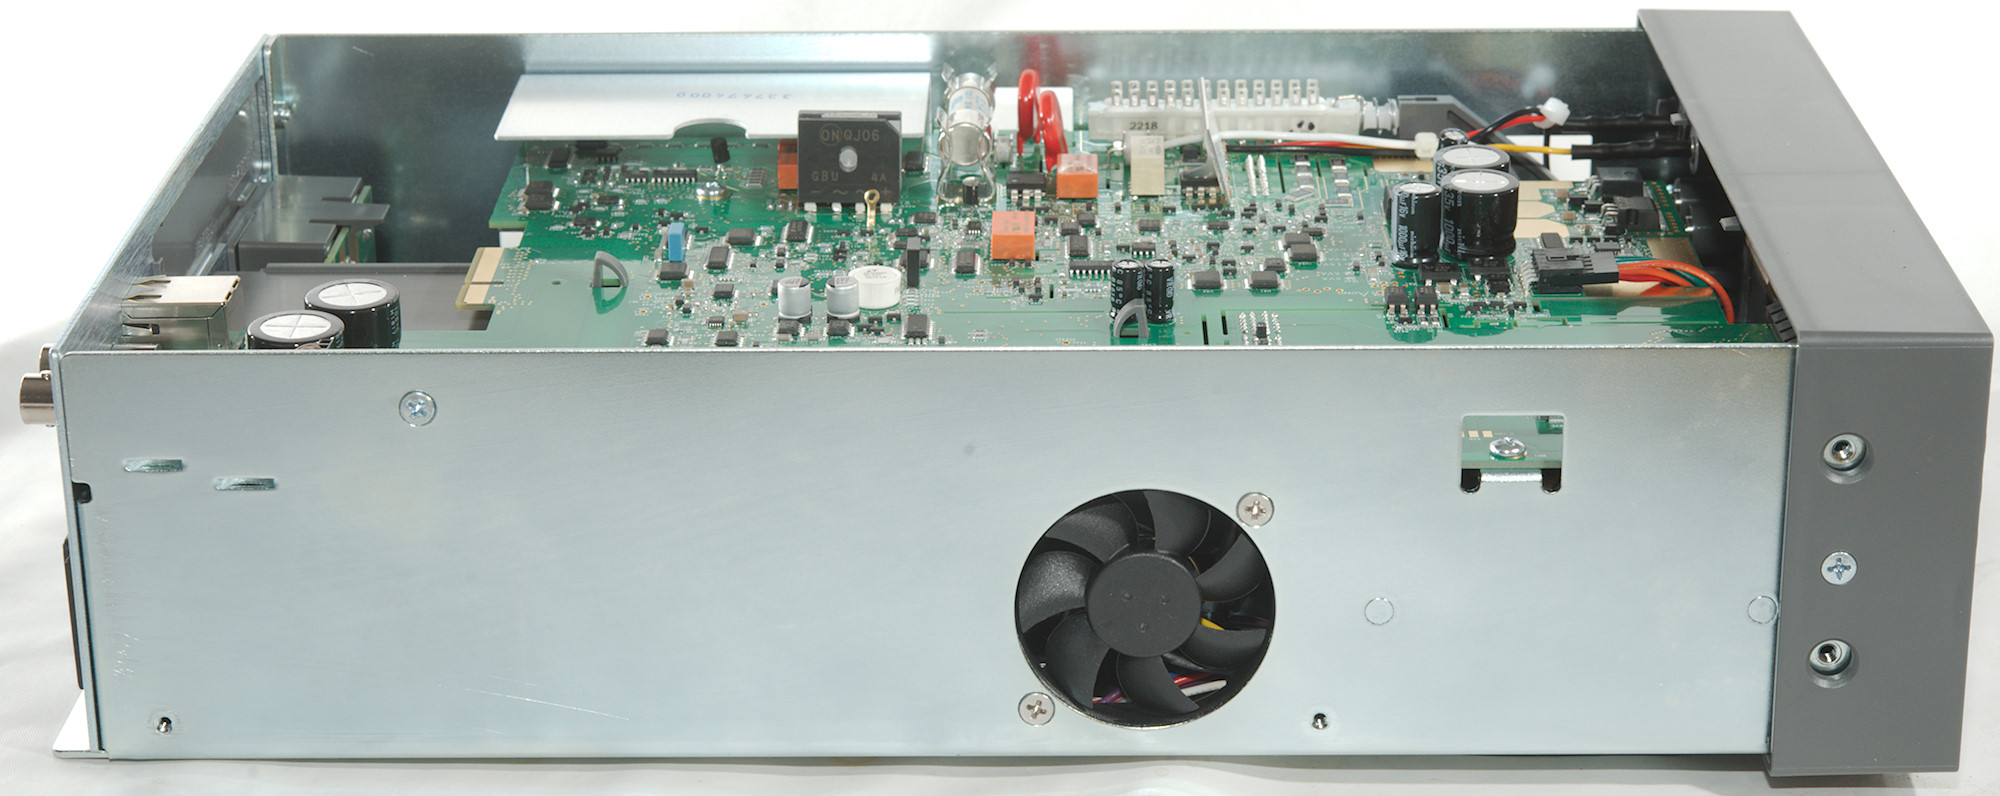
The fan supplies air below the circuit board
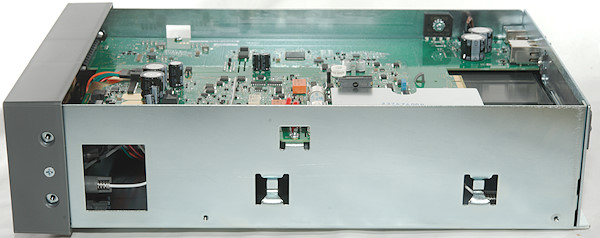
And the exhaust is also below the circuit board.
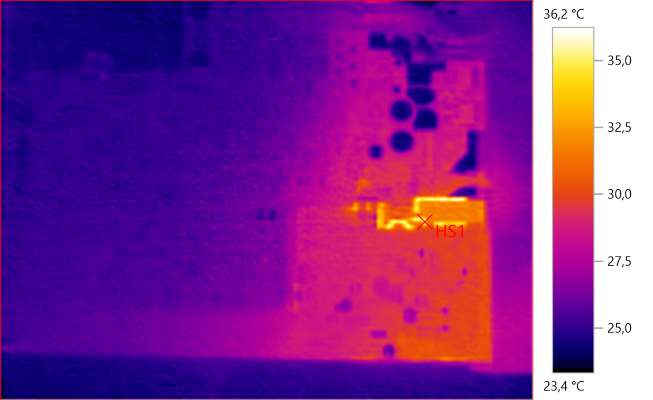
HS1: 36.2°C
I wondered if the high standby power is used to keep the reference warm. In this photo the meter has been on standby in about half an hour. The heat is from below the circuit board, it do not look like anything is powered on the board.
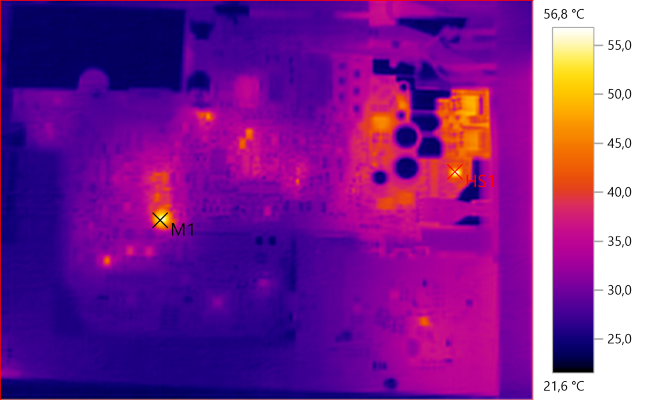
M1: 54.5°C, HS1: 56.8°C
Turning the meter on and waiting another half hour, now some chips are warm, including the reference (M1).
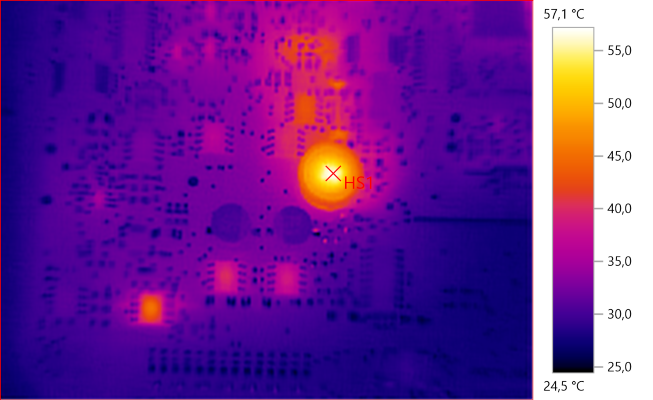
HS1: 57.1°C
Here is a closeup of the reference.
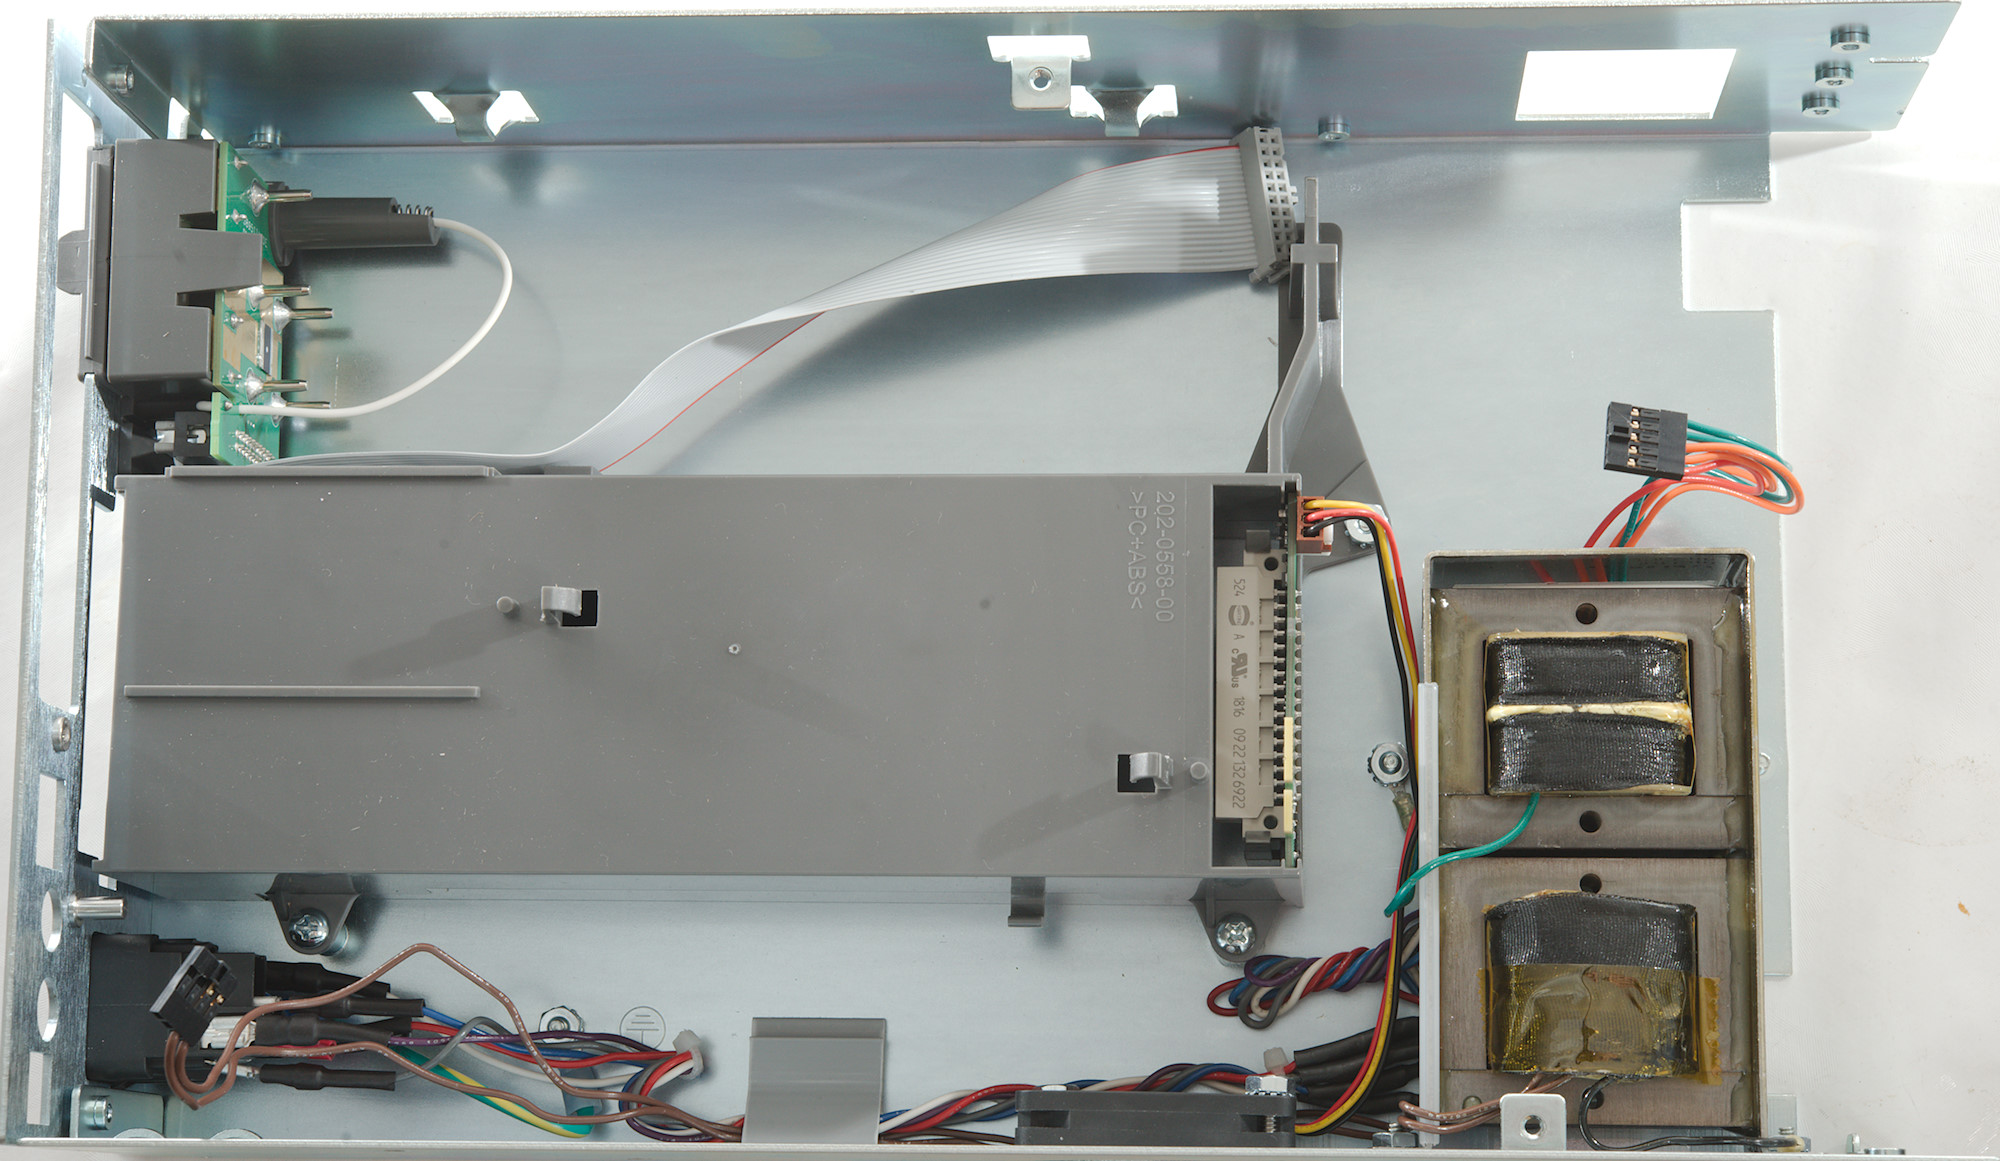
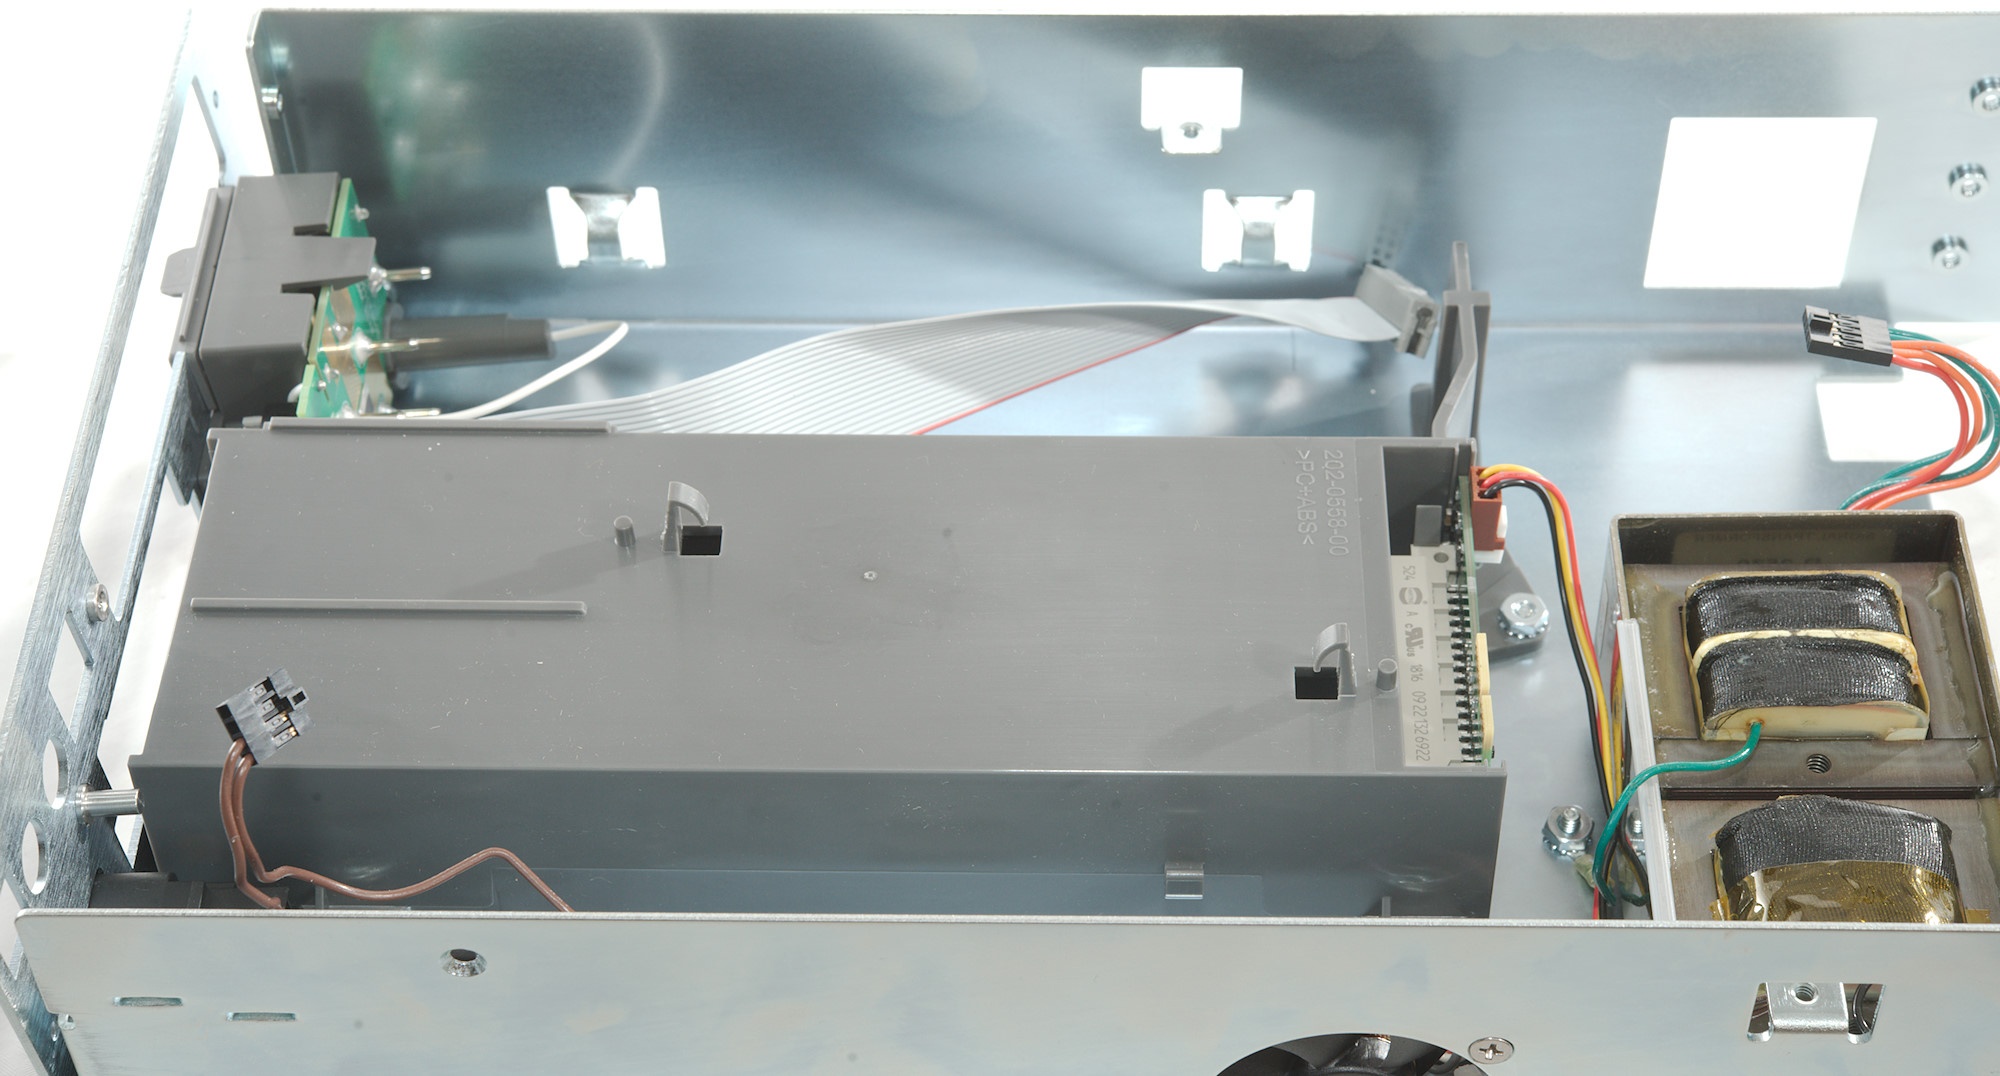
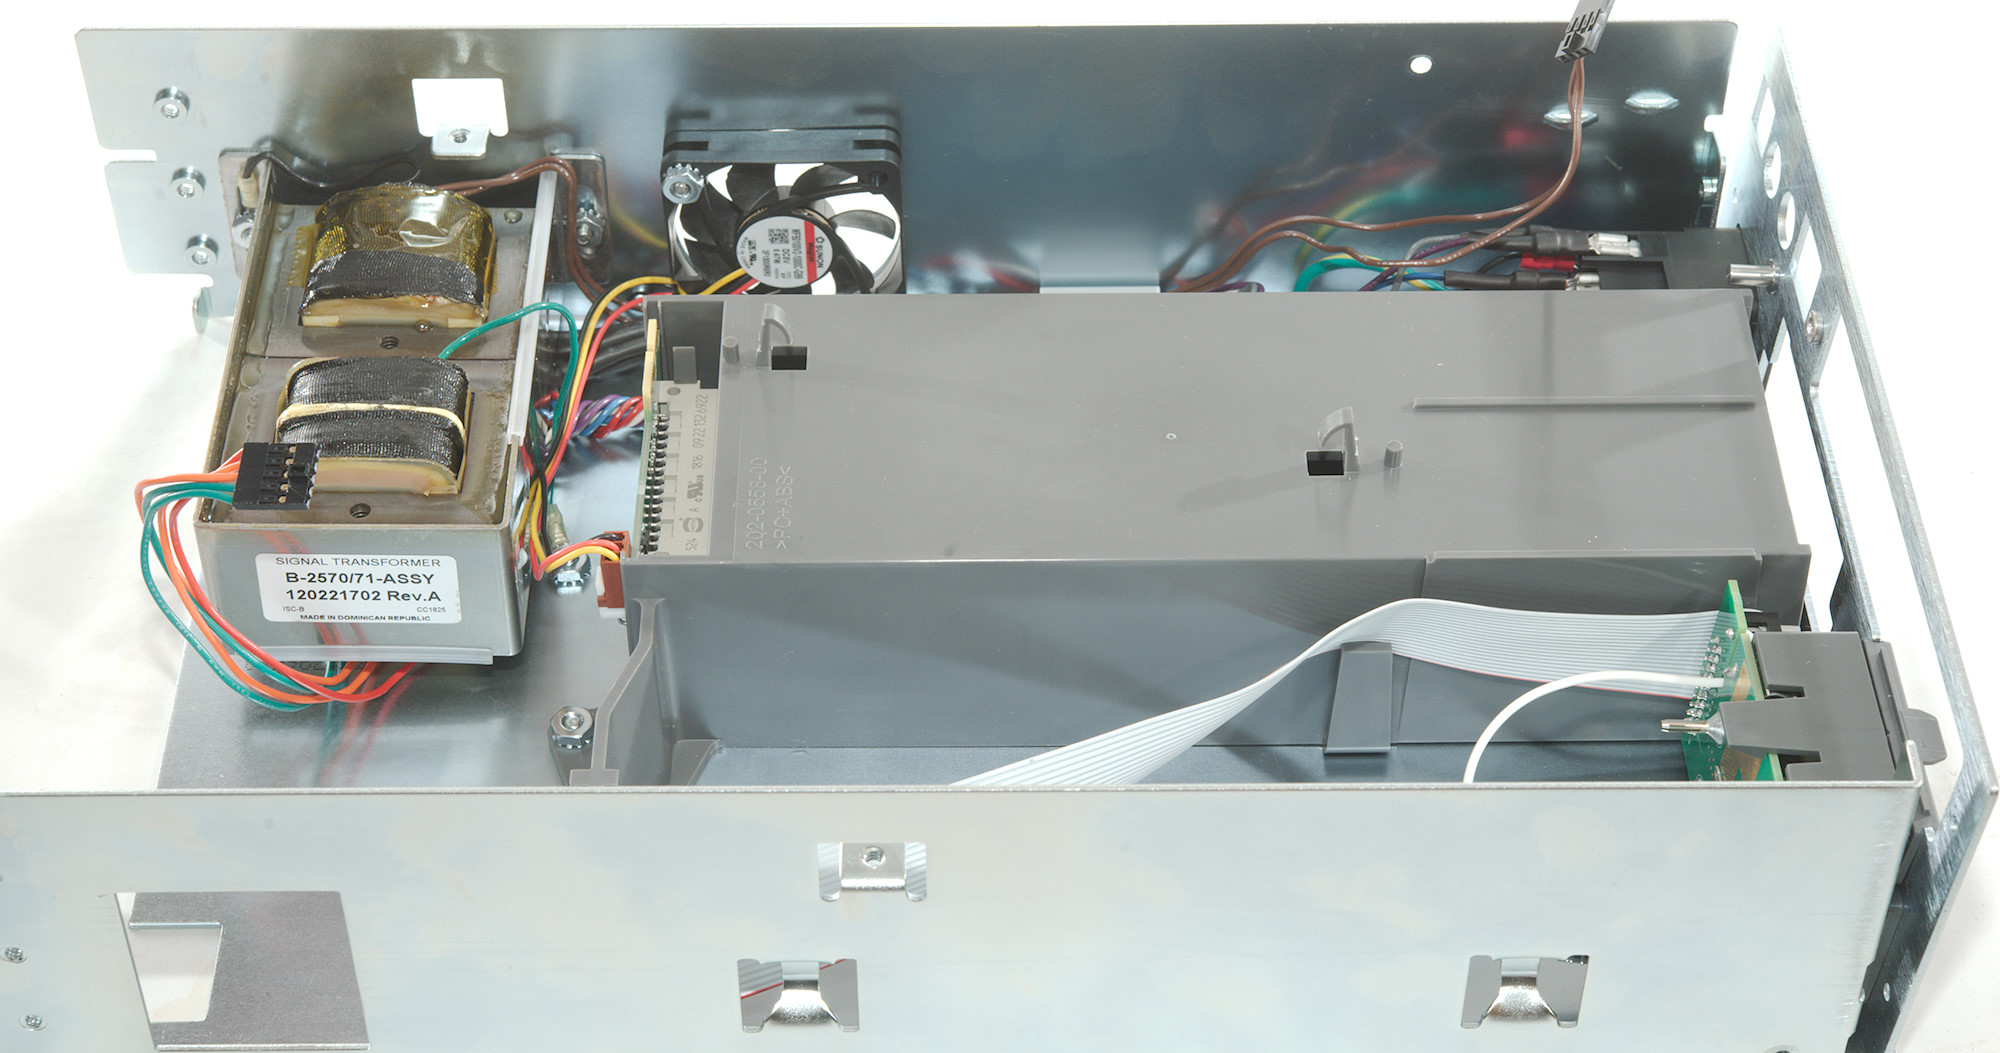
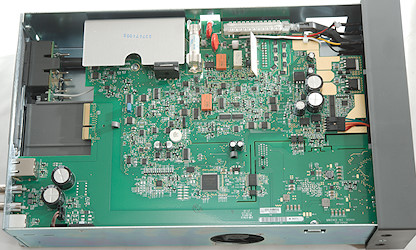
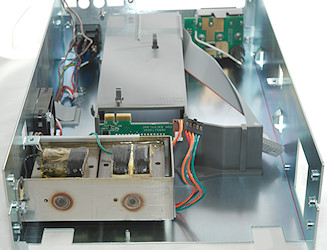
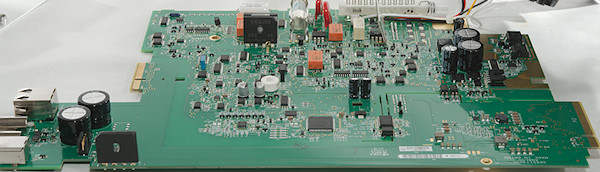
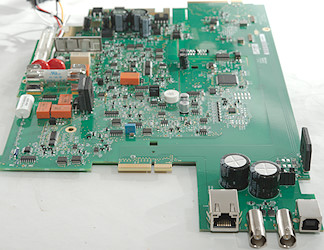
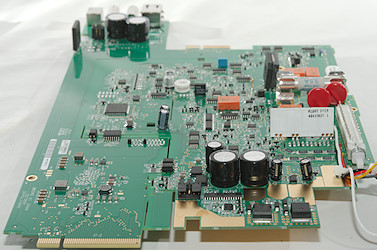
It was a bit tricky to get the circuit board out.
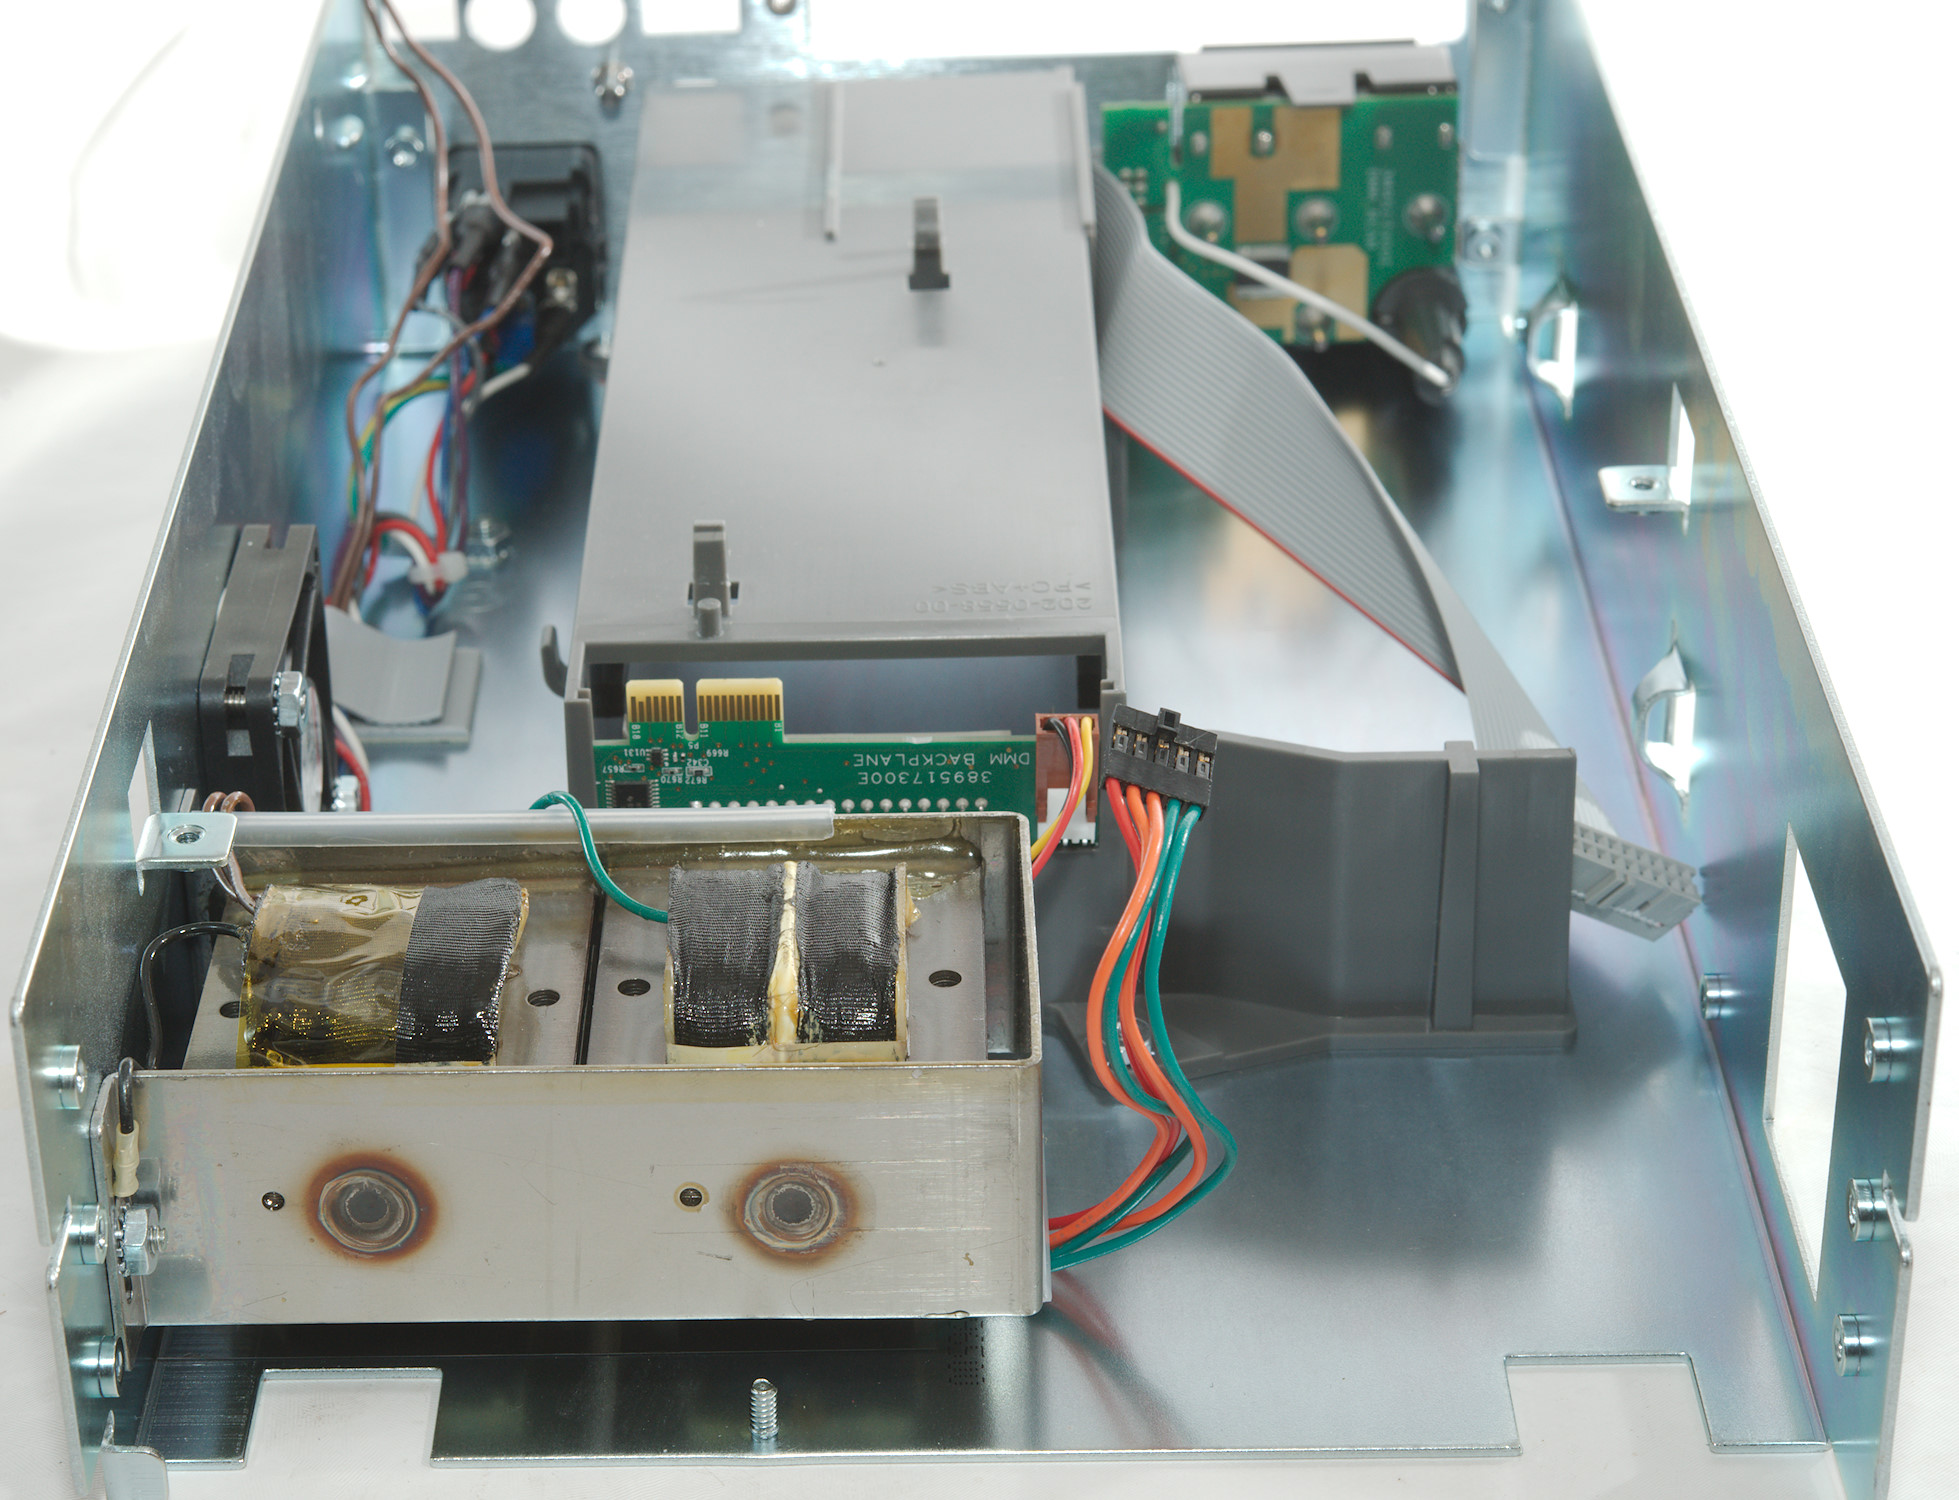
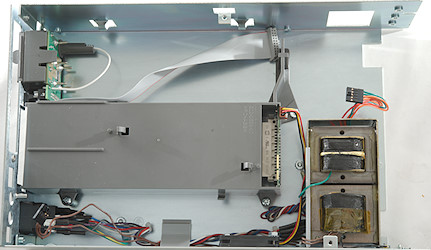
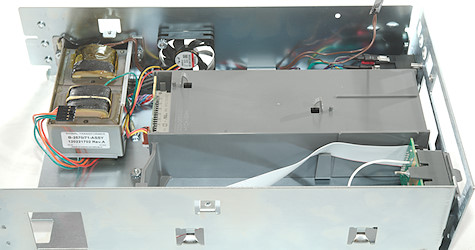
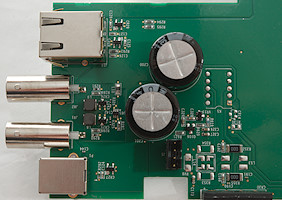
Below the circuit board is two mains transformers, the rear panel inputs, the box for the scanner card and the fan.


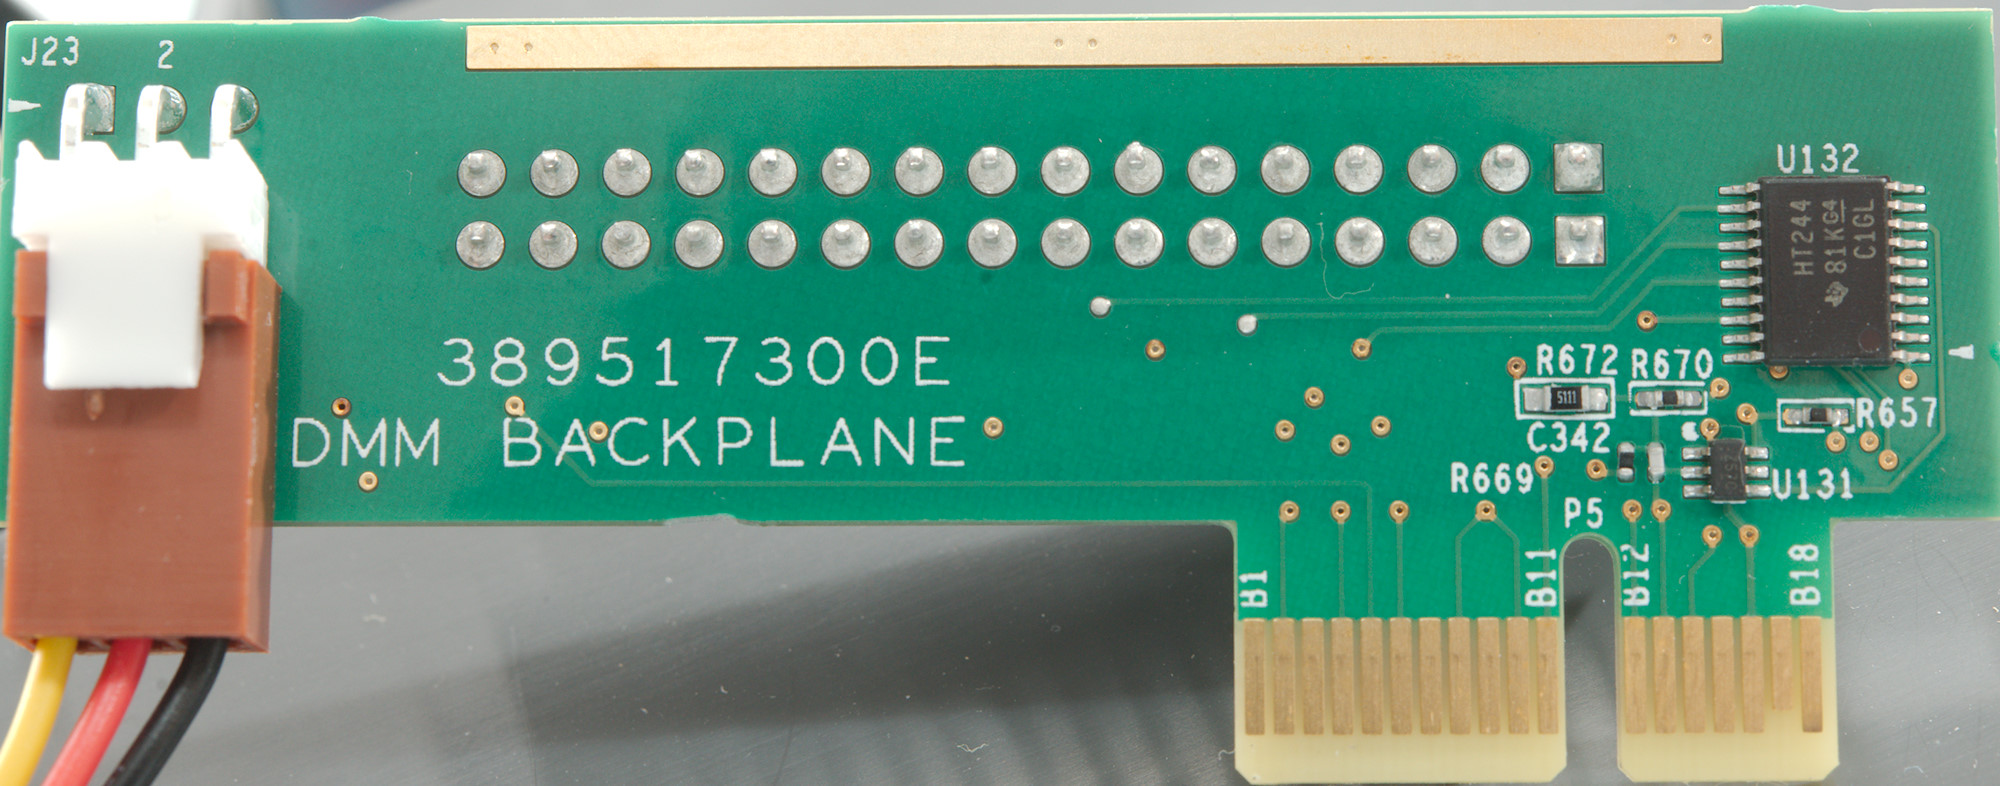
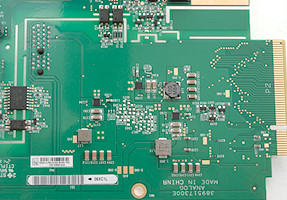
The circuit board that connects to the scanner card has two chips and also the connector for the fan.
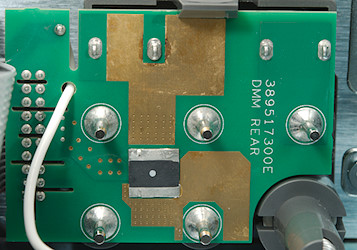
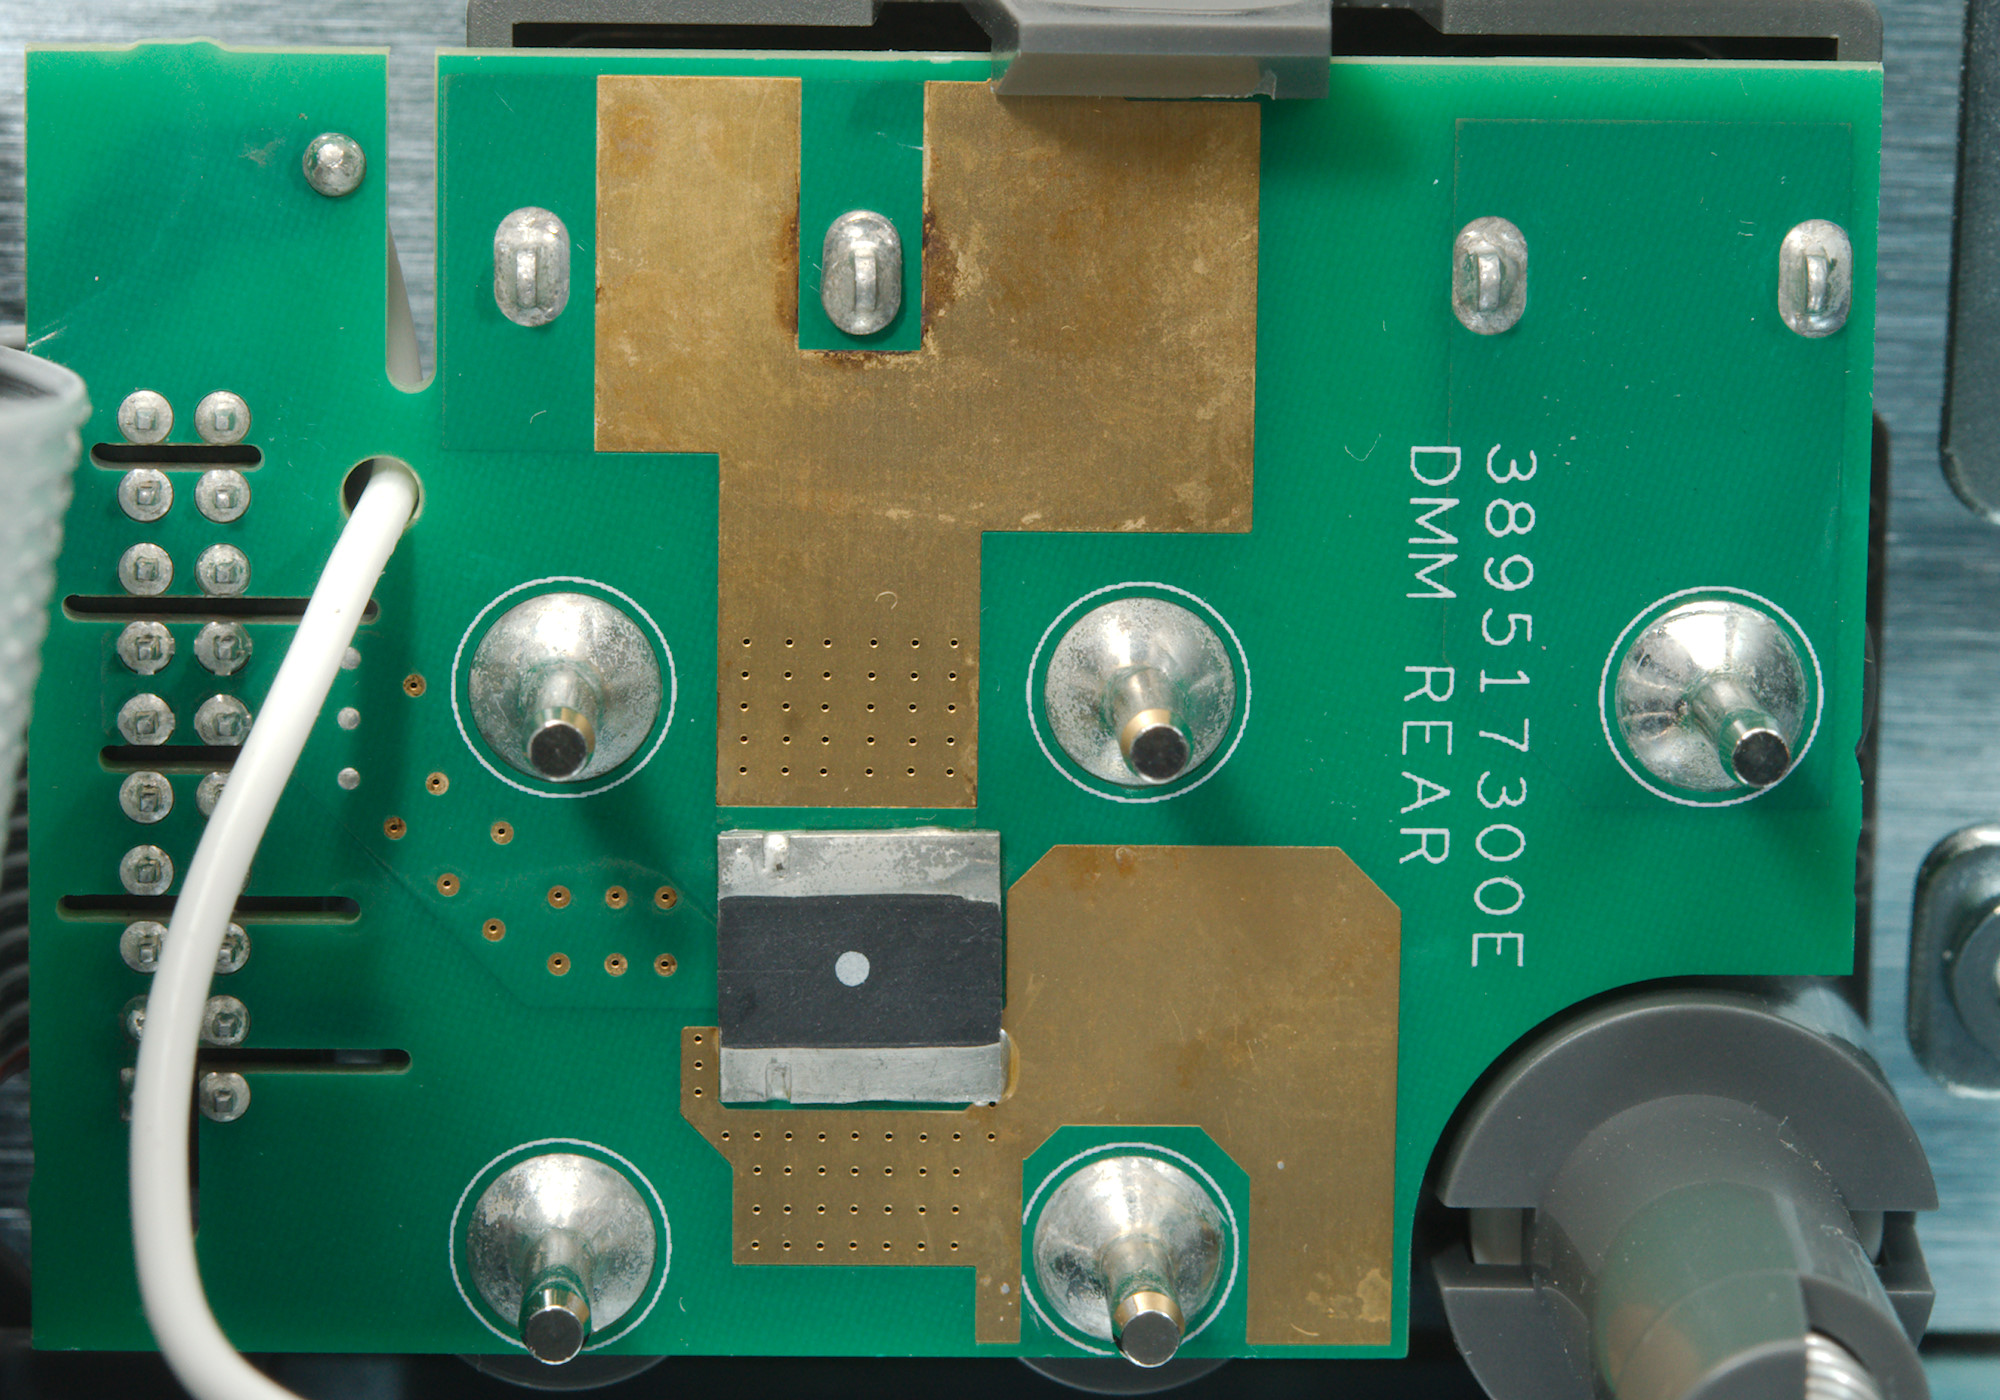
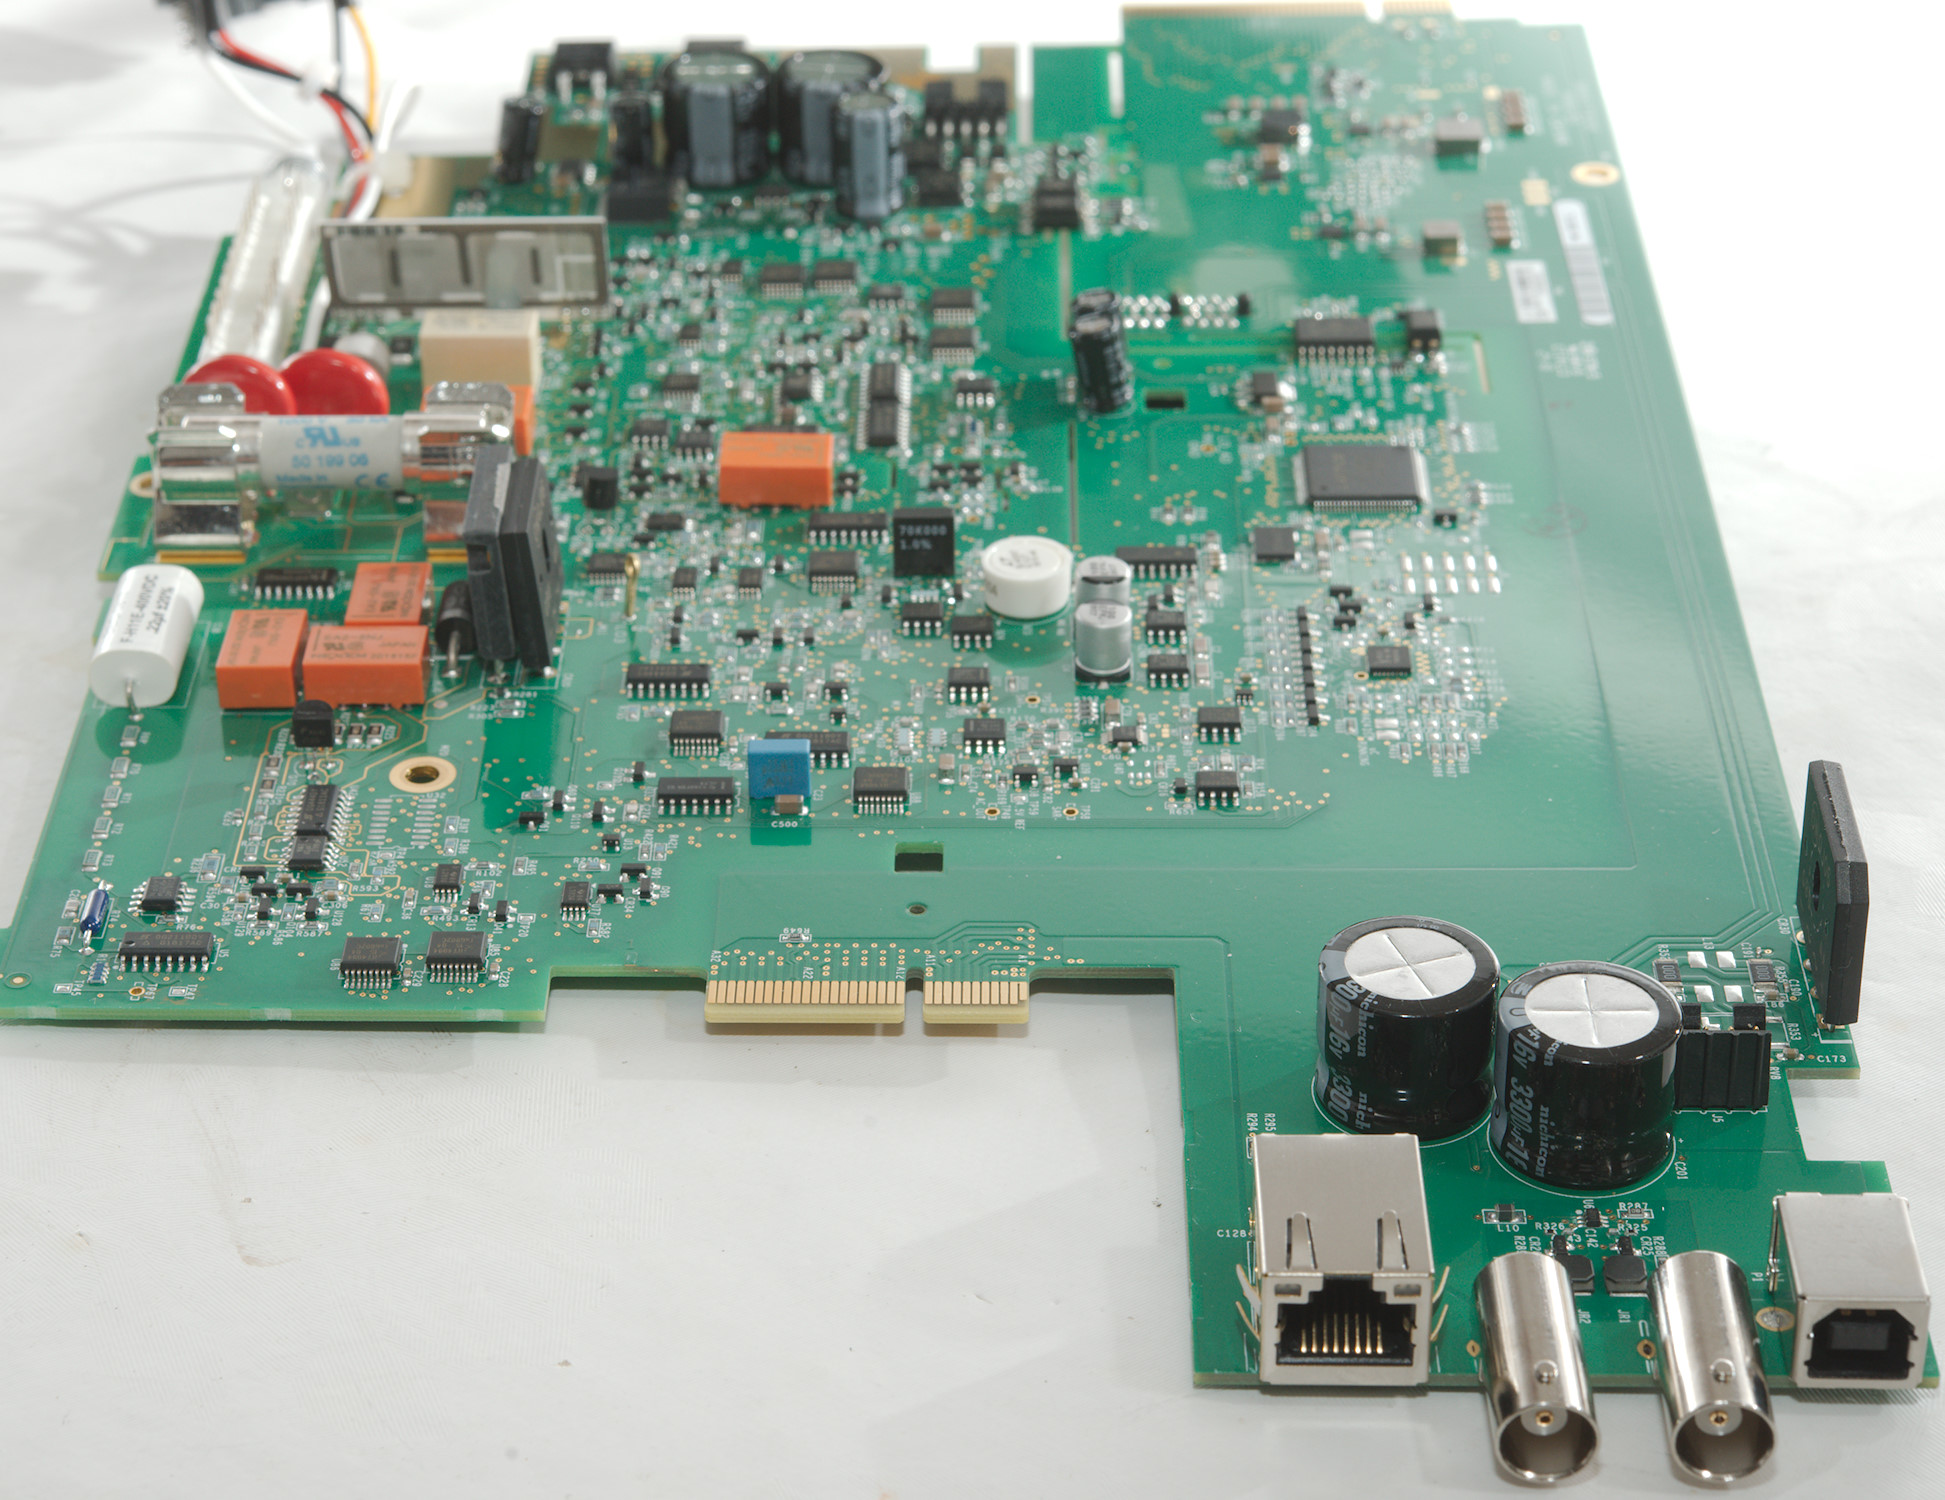
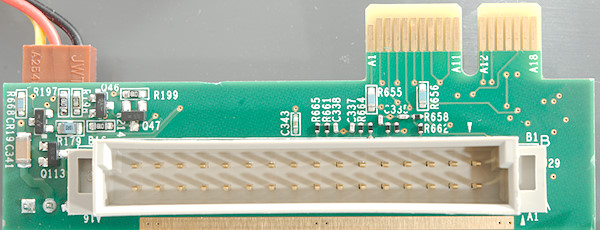
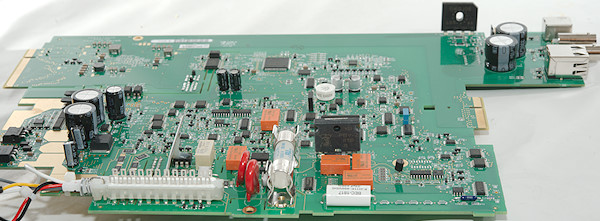
The rear side current input has the 10A circuit, the shunt resistor is on the rear circuit board. Connection from this circuit board to the main board is a ordinary flat cable.
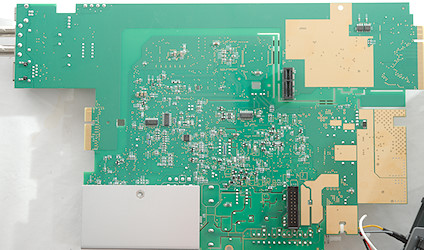
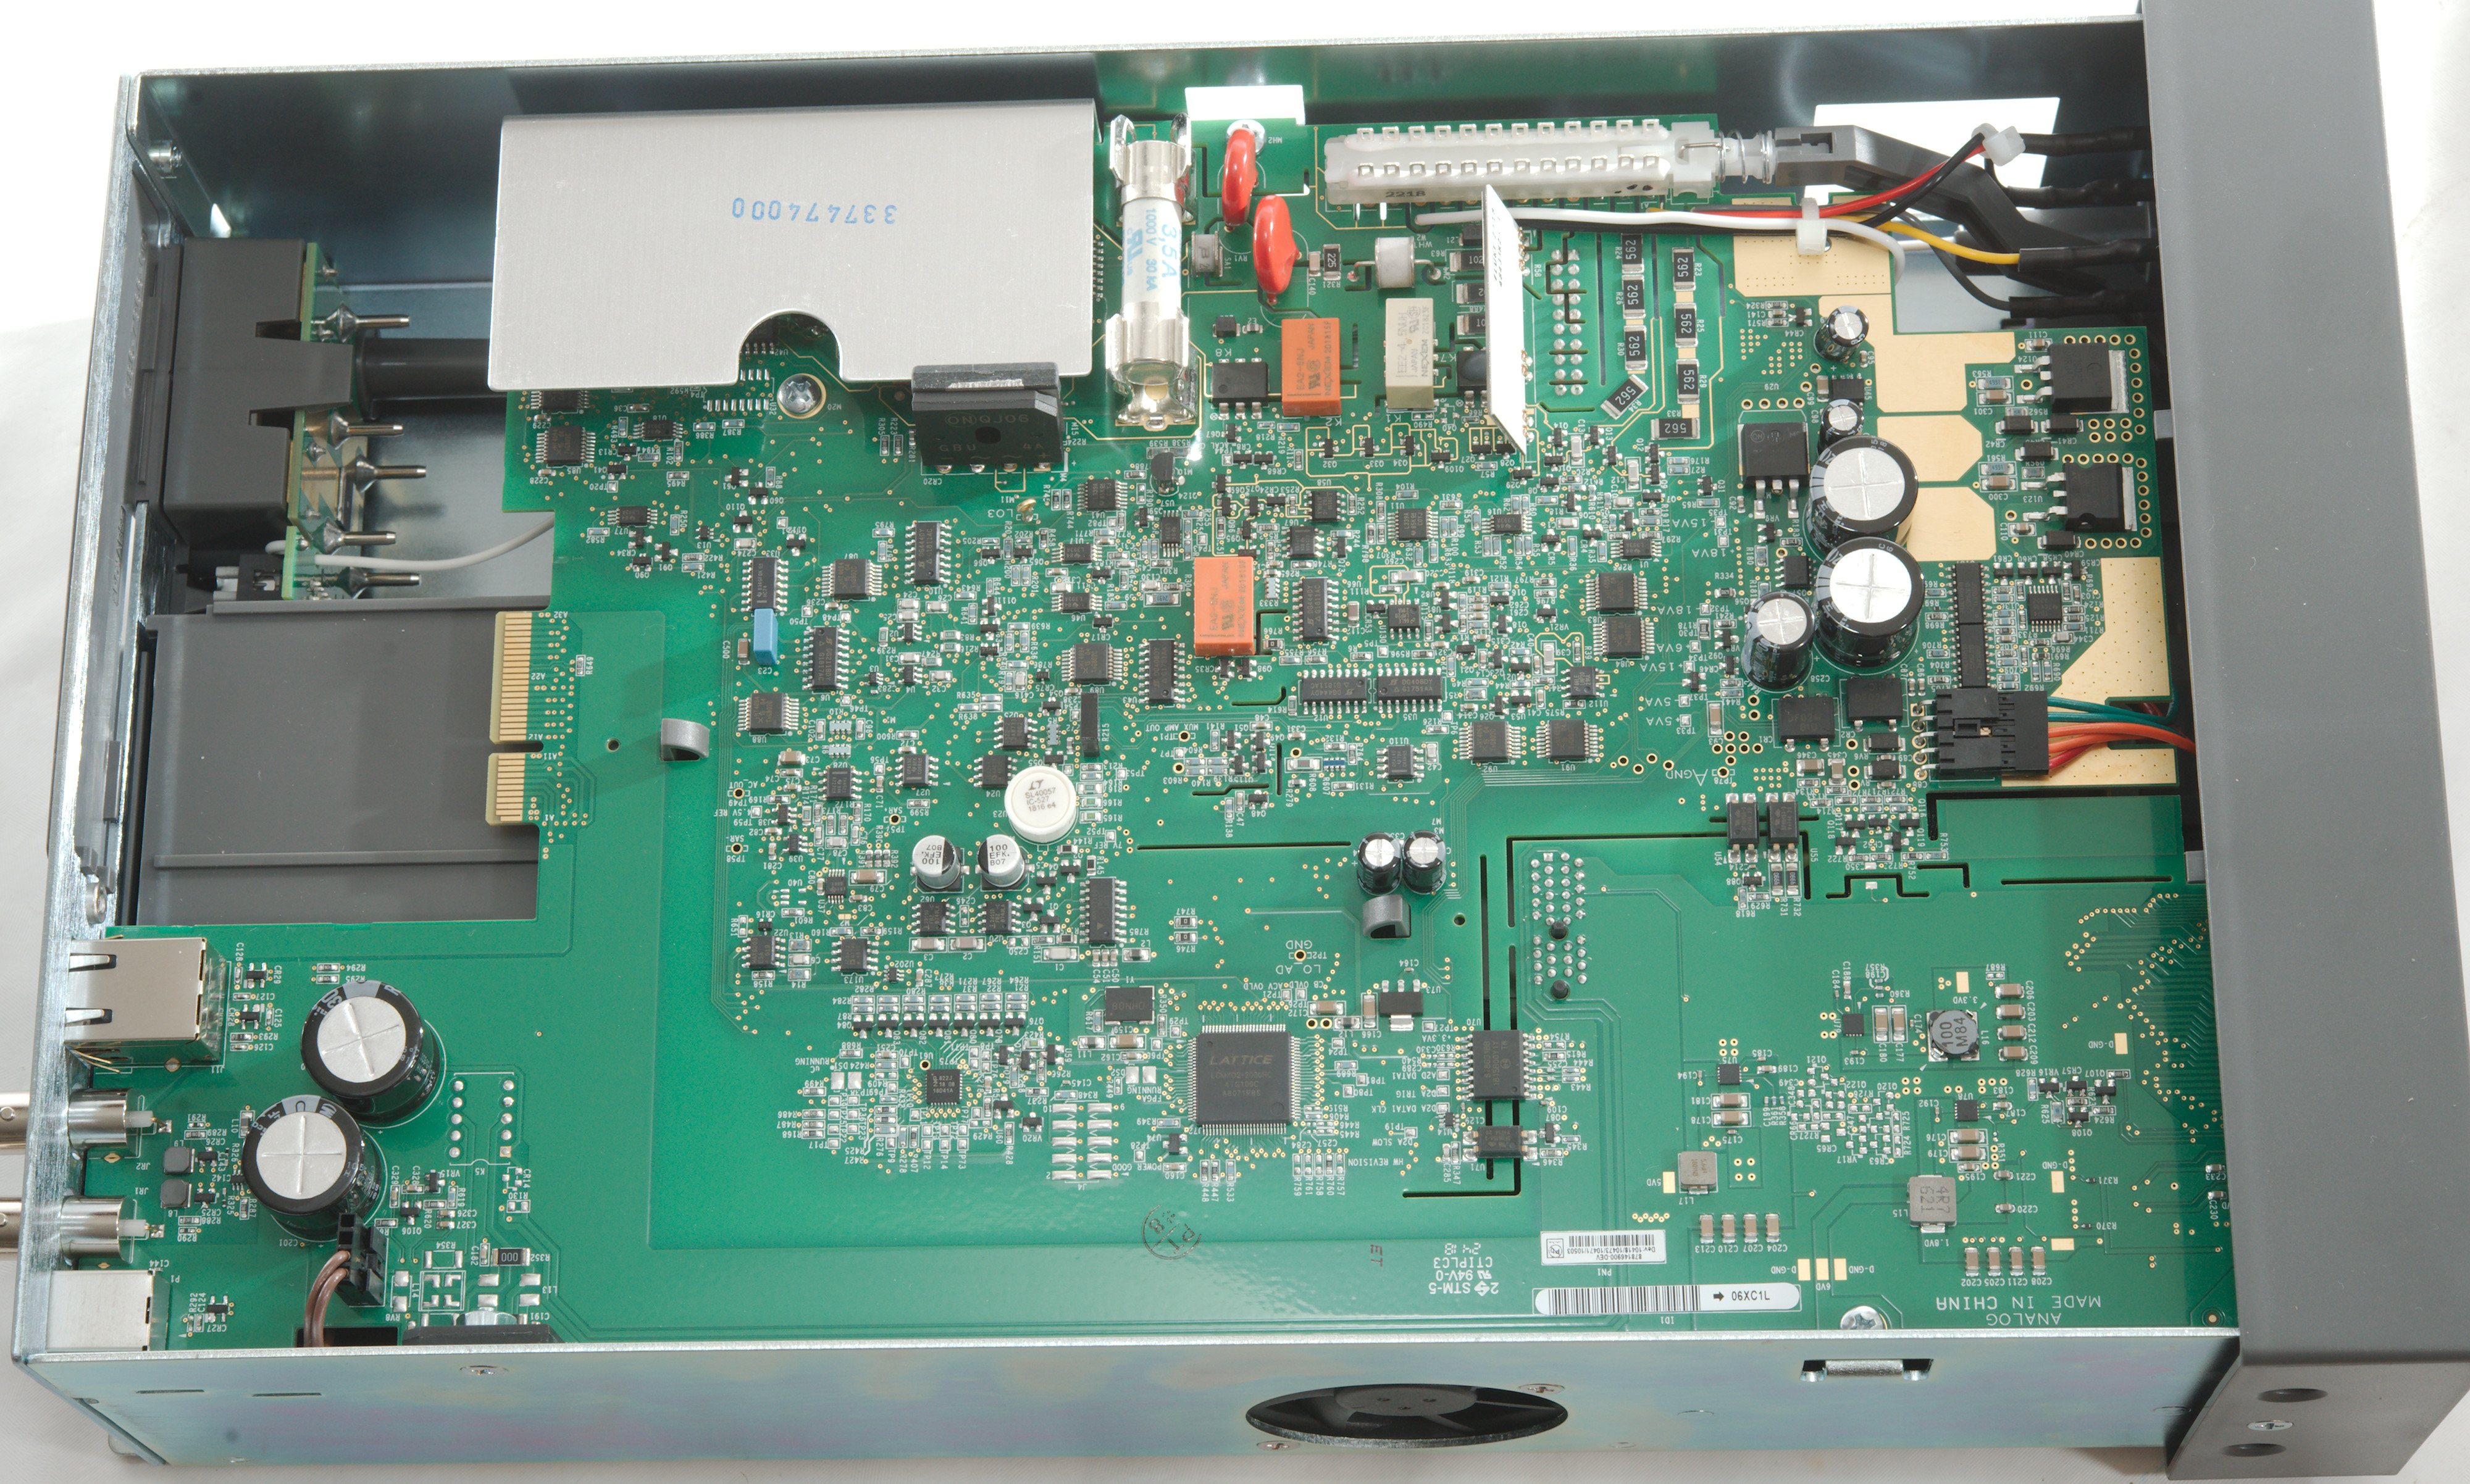
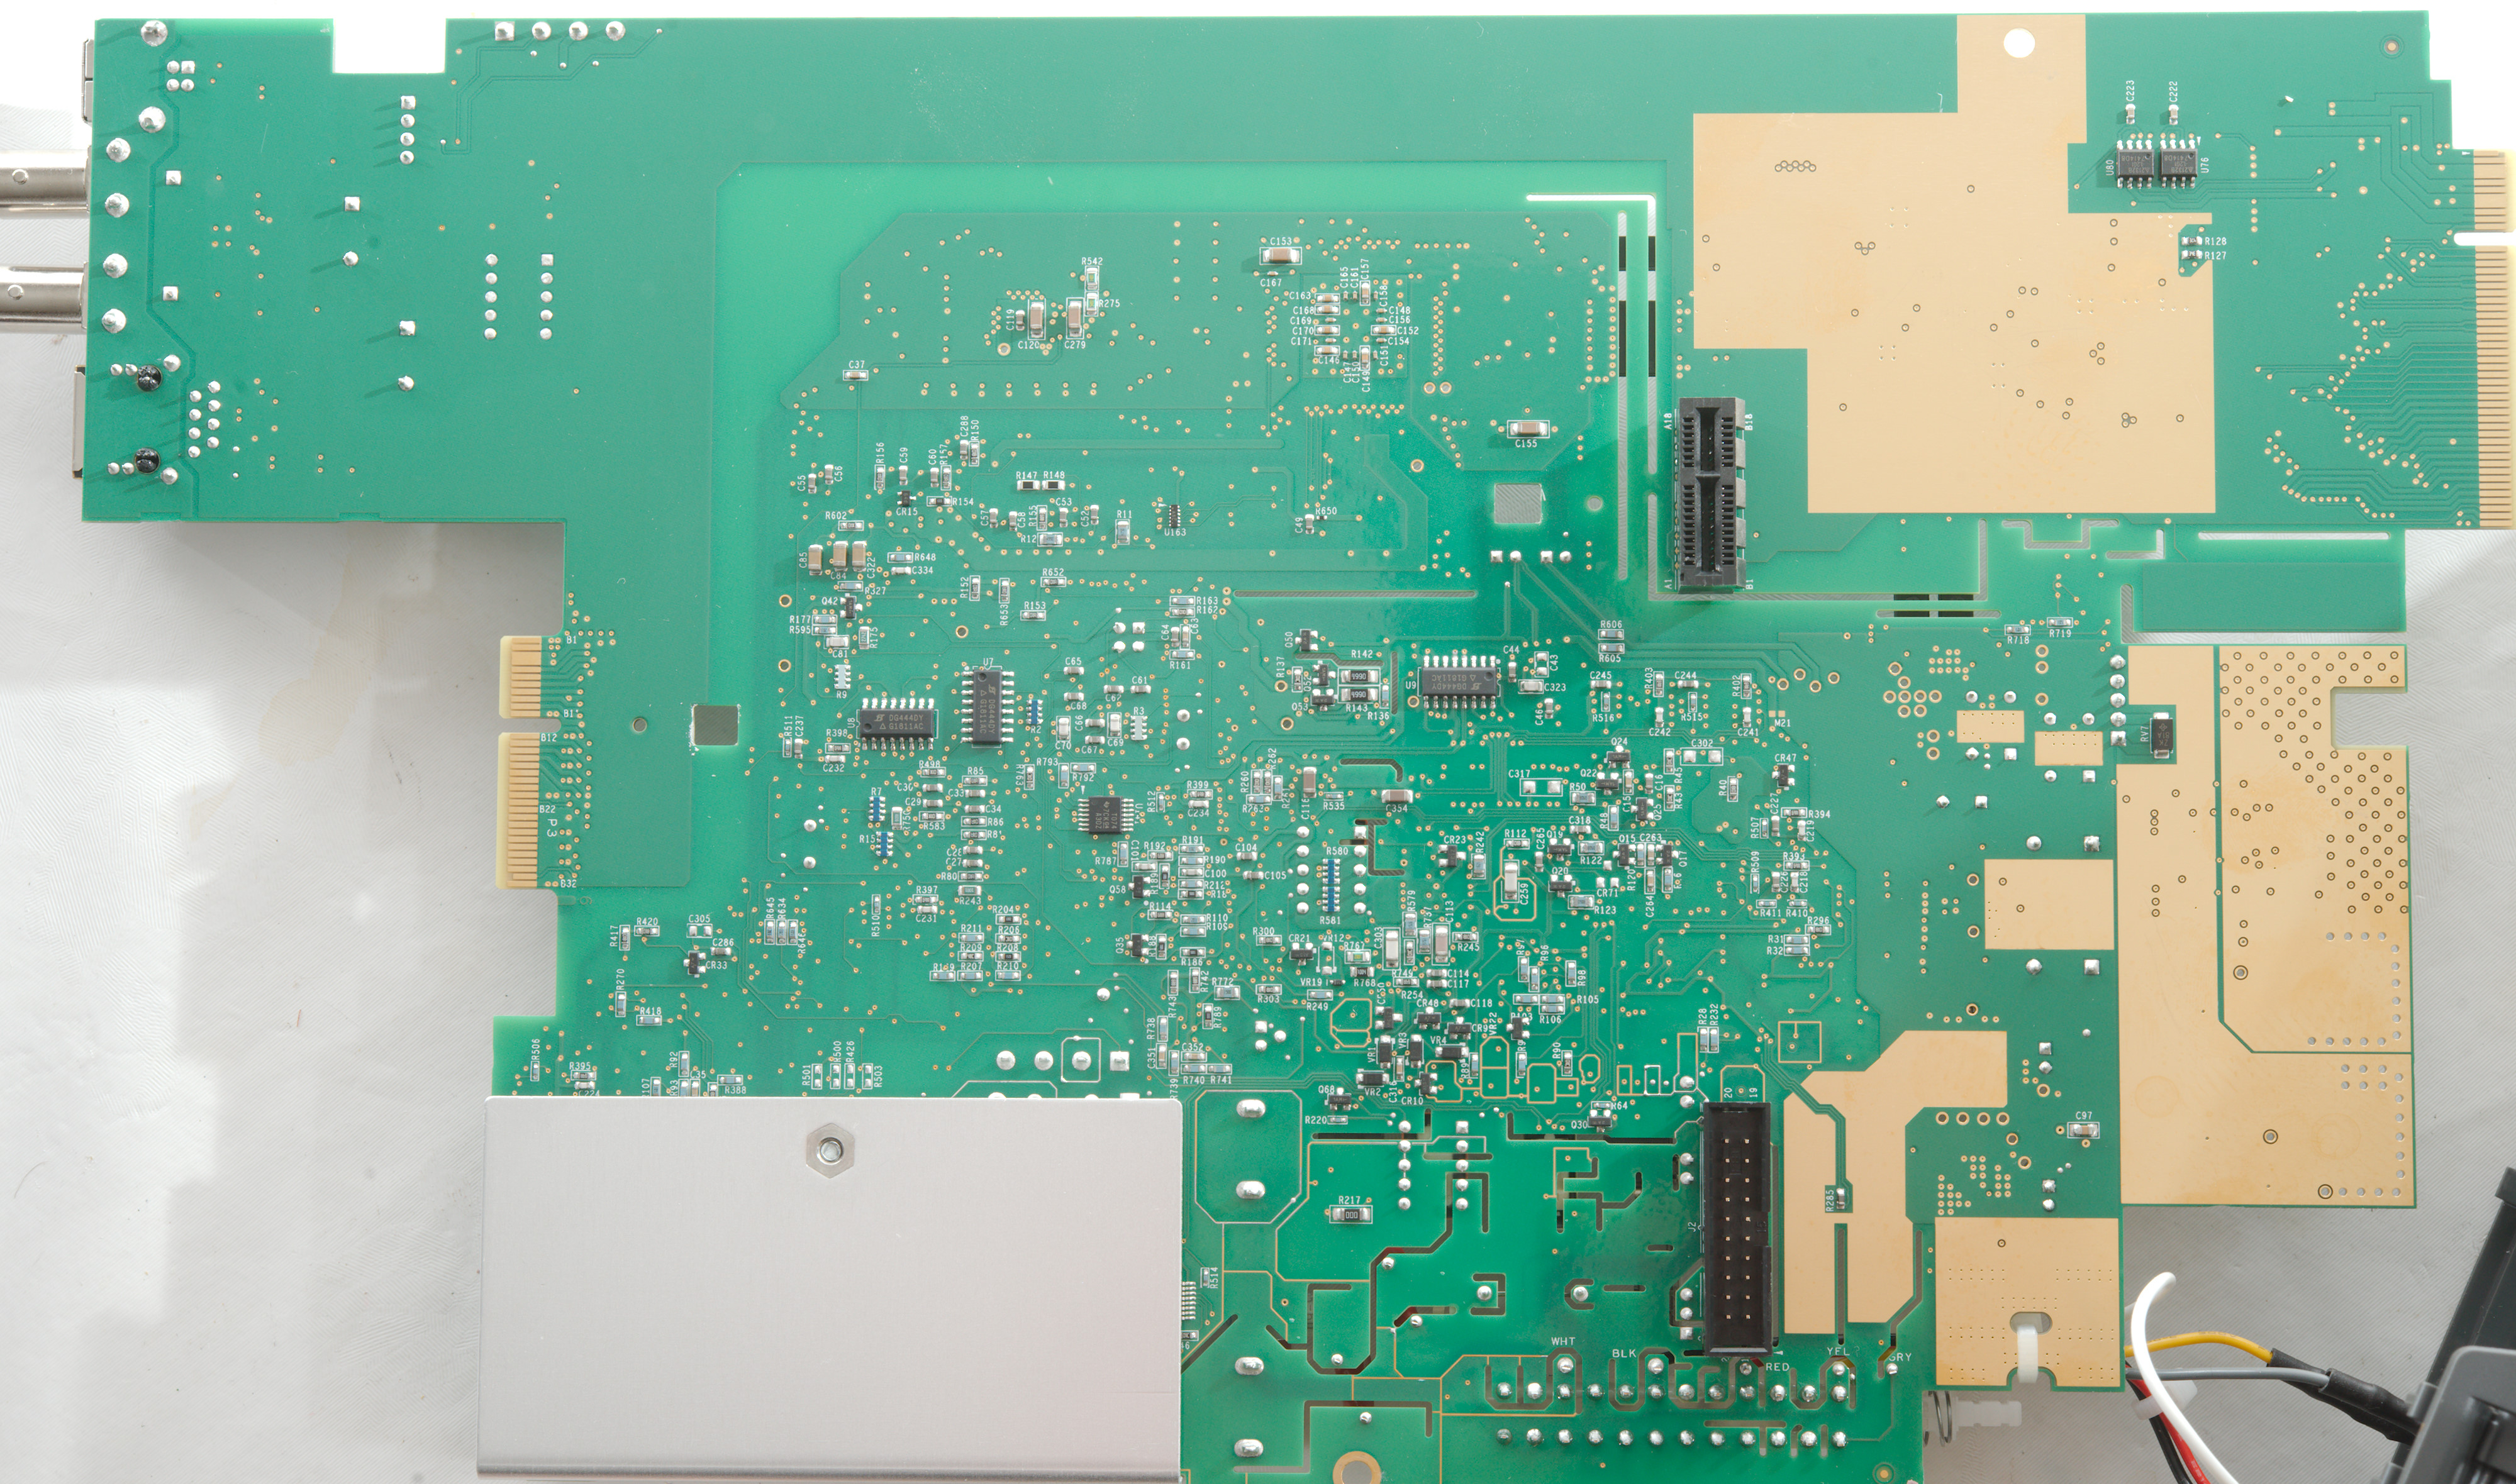
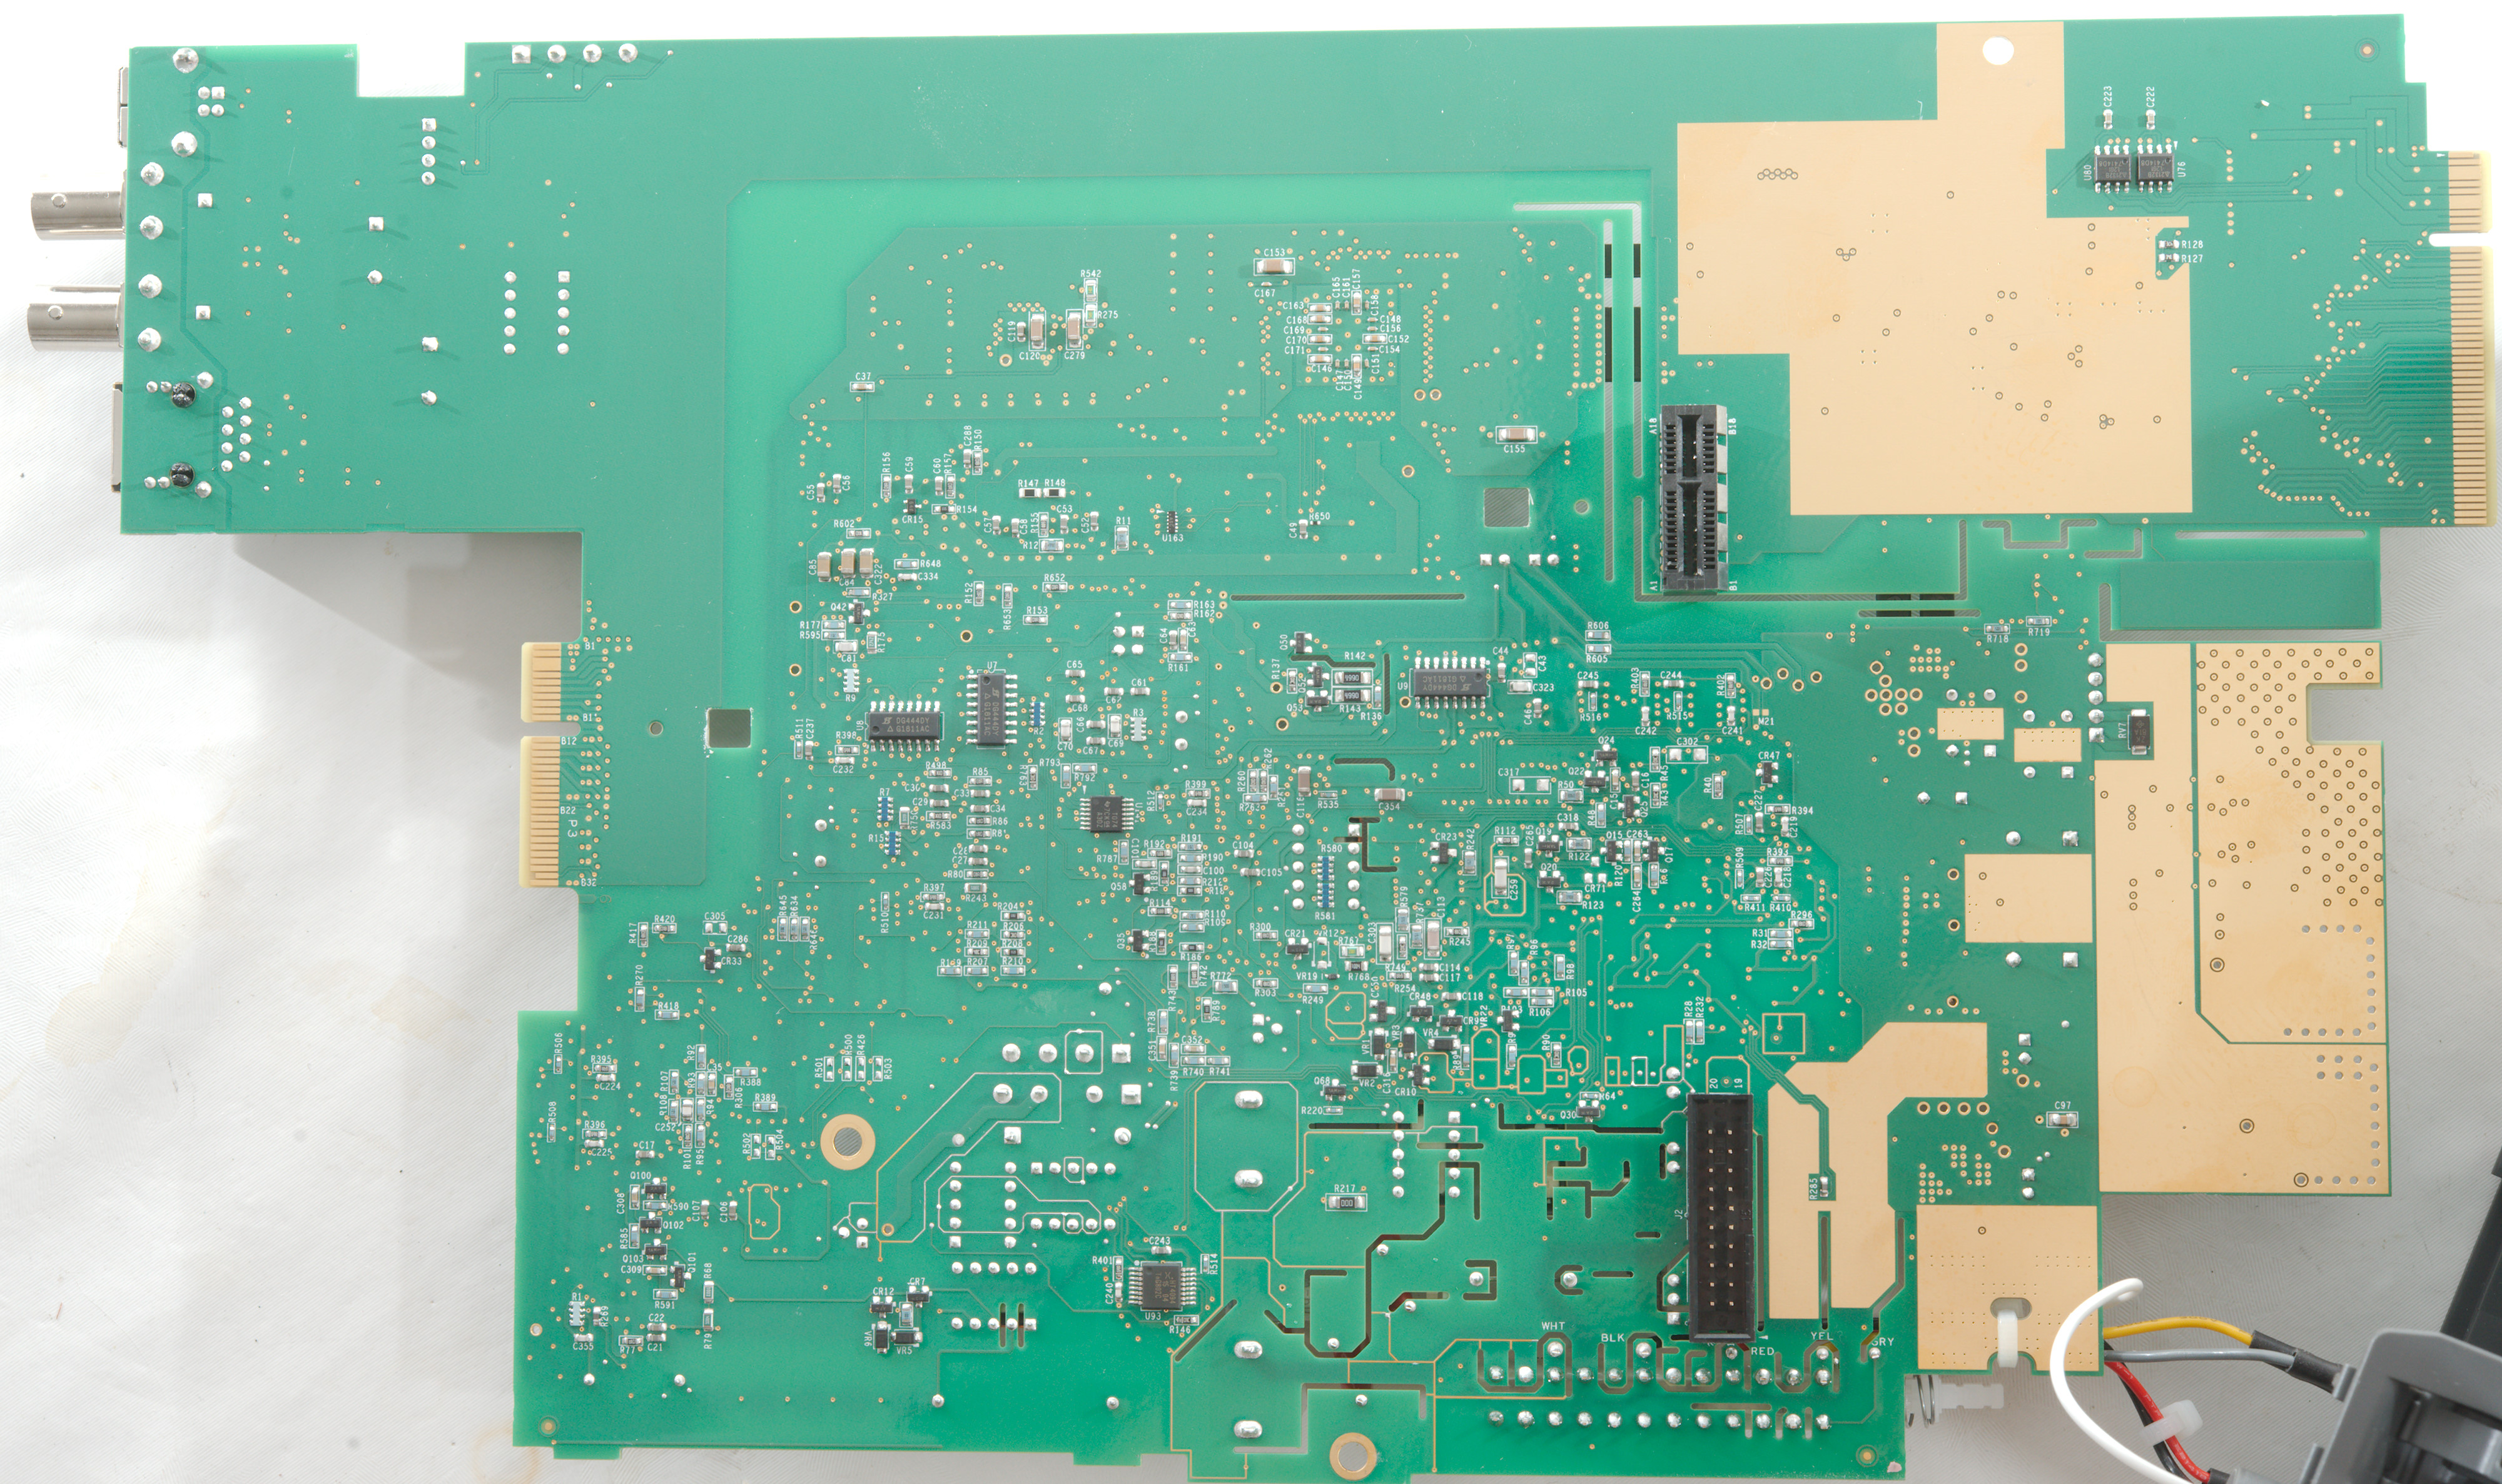
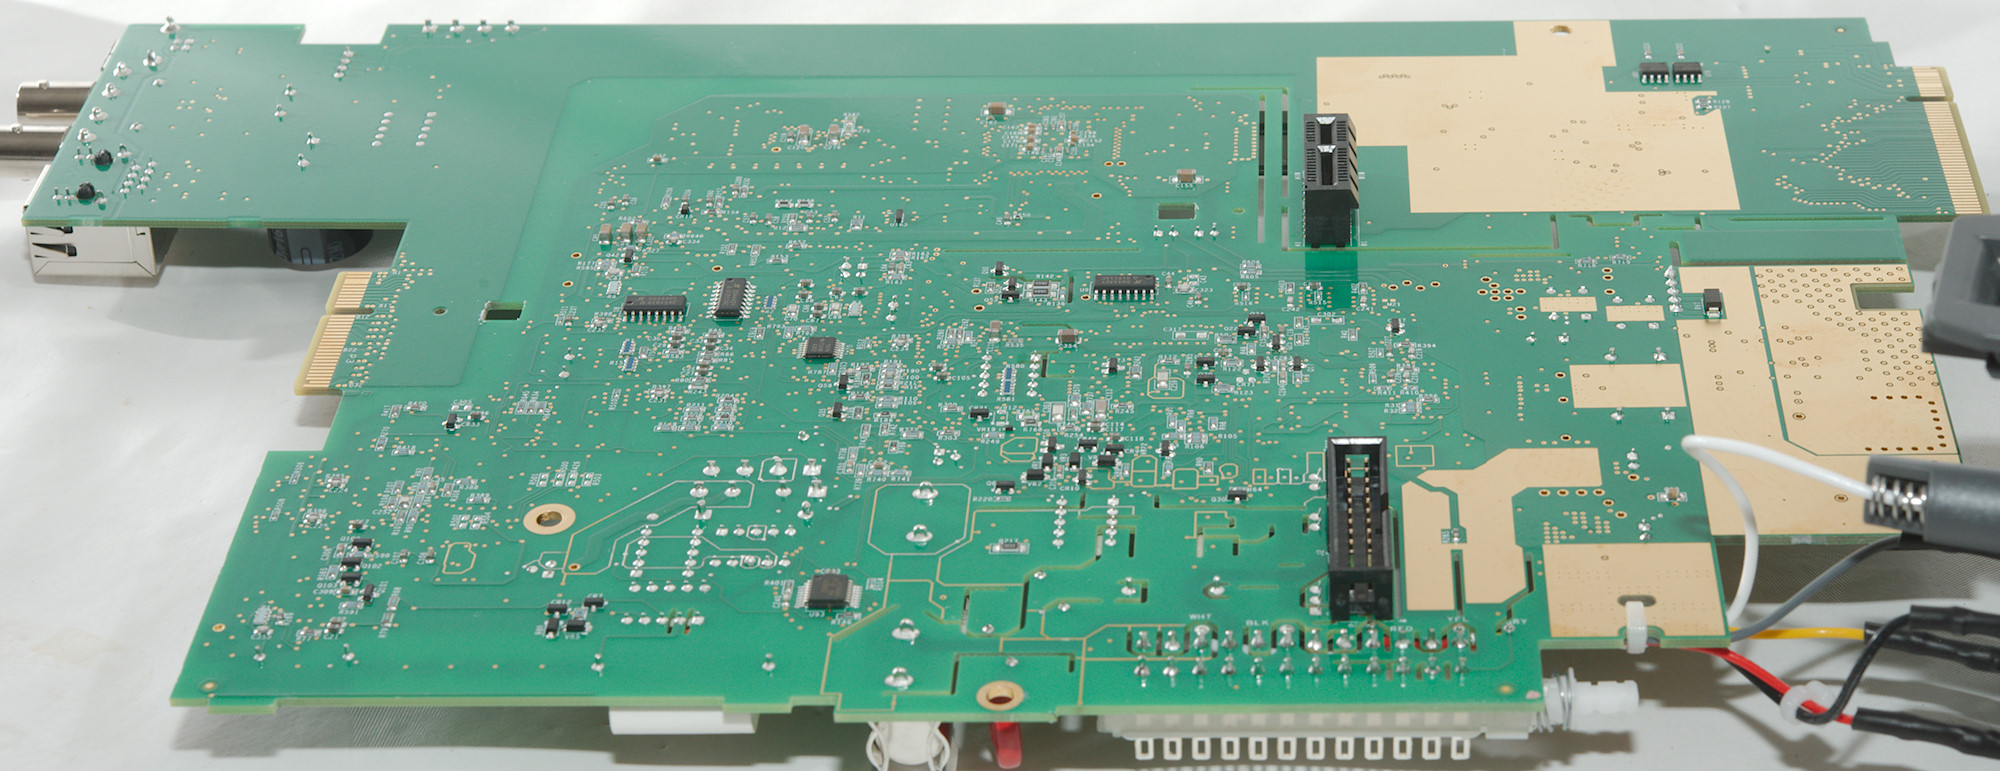
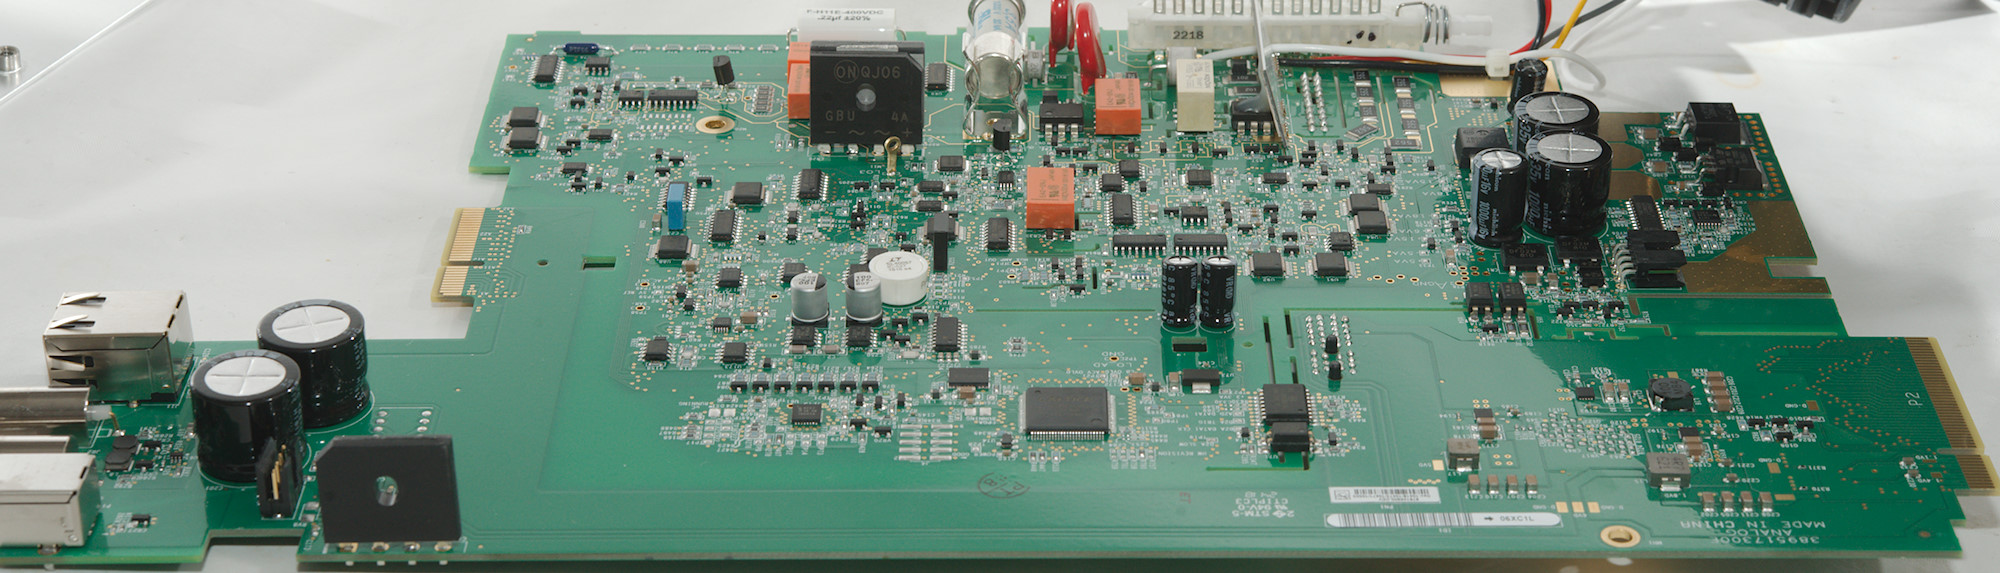
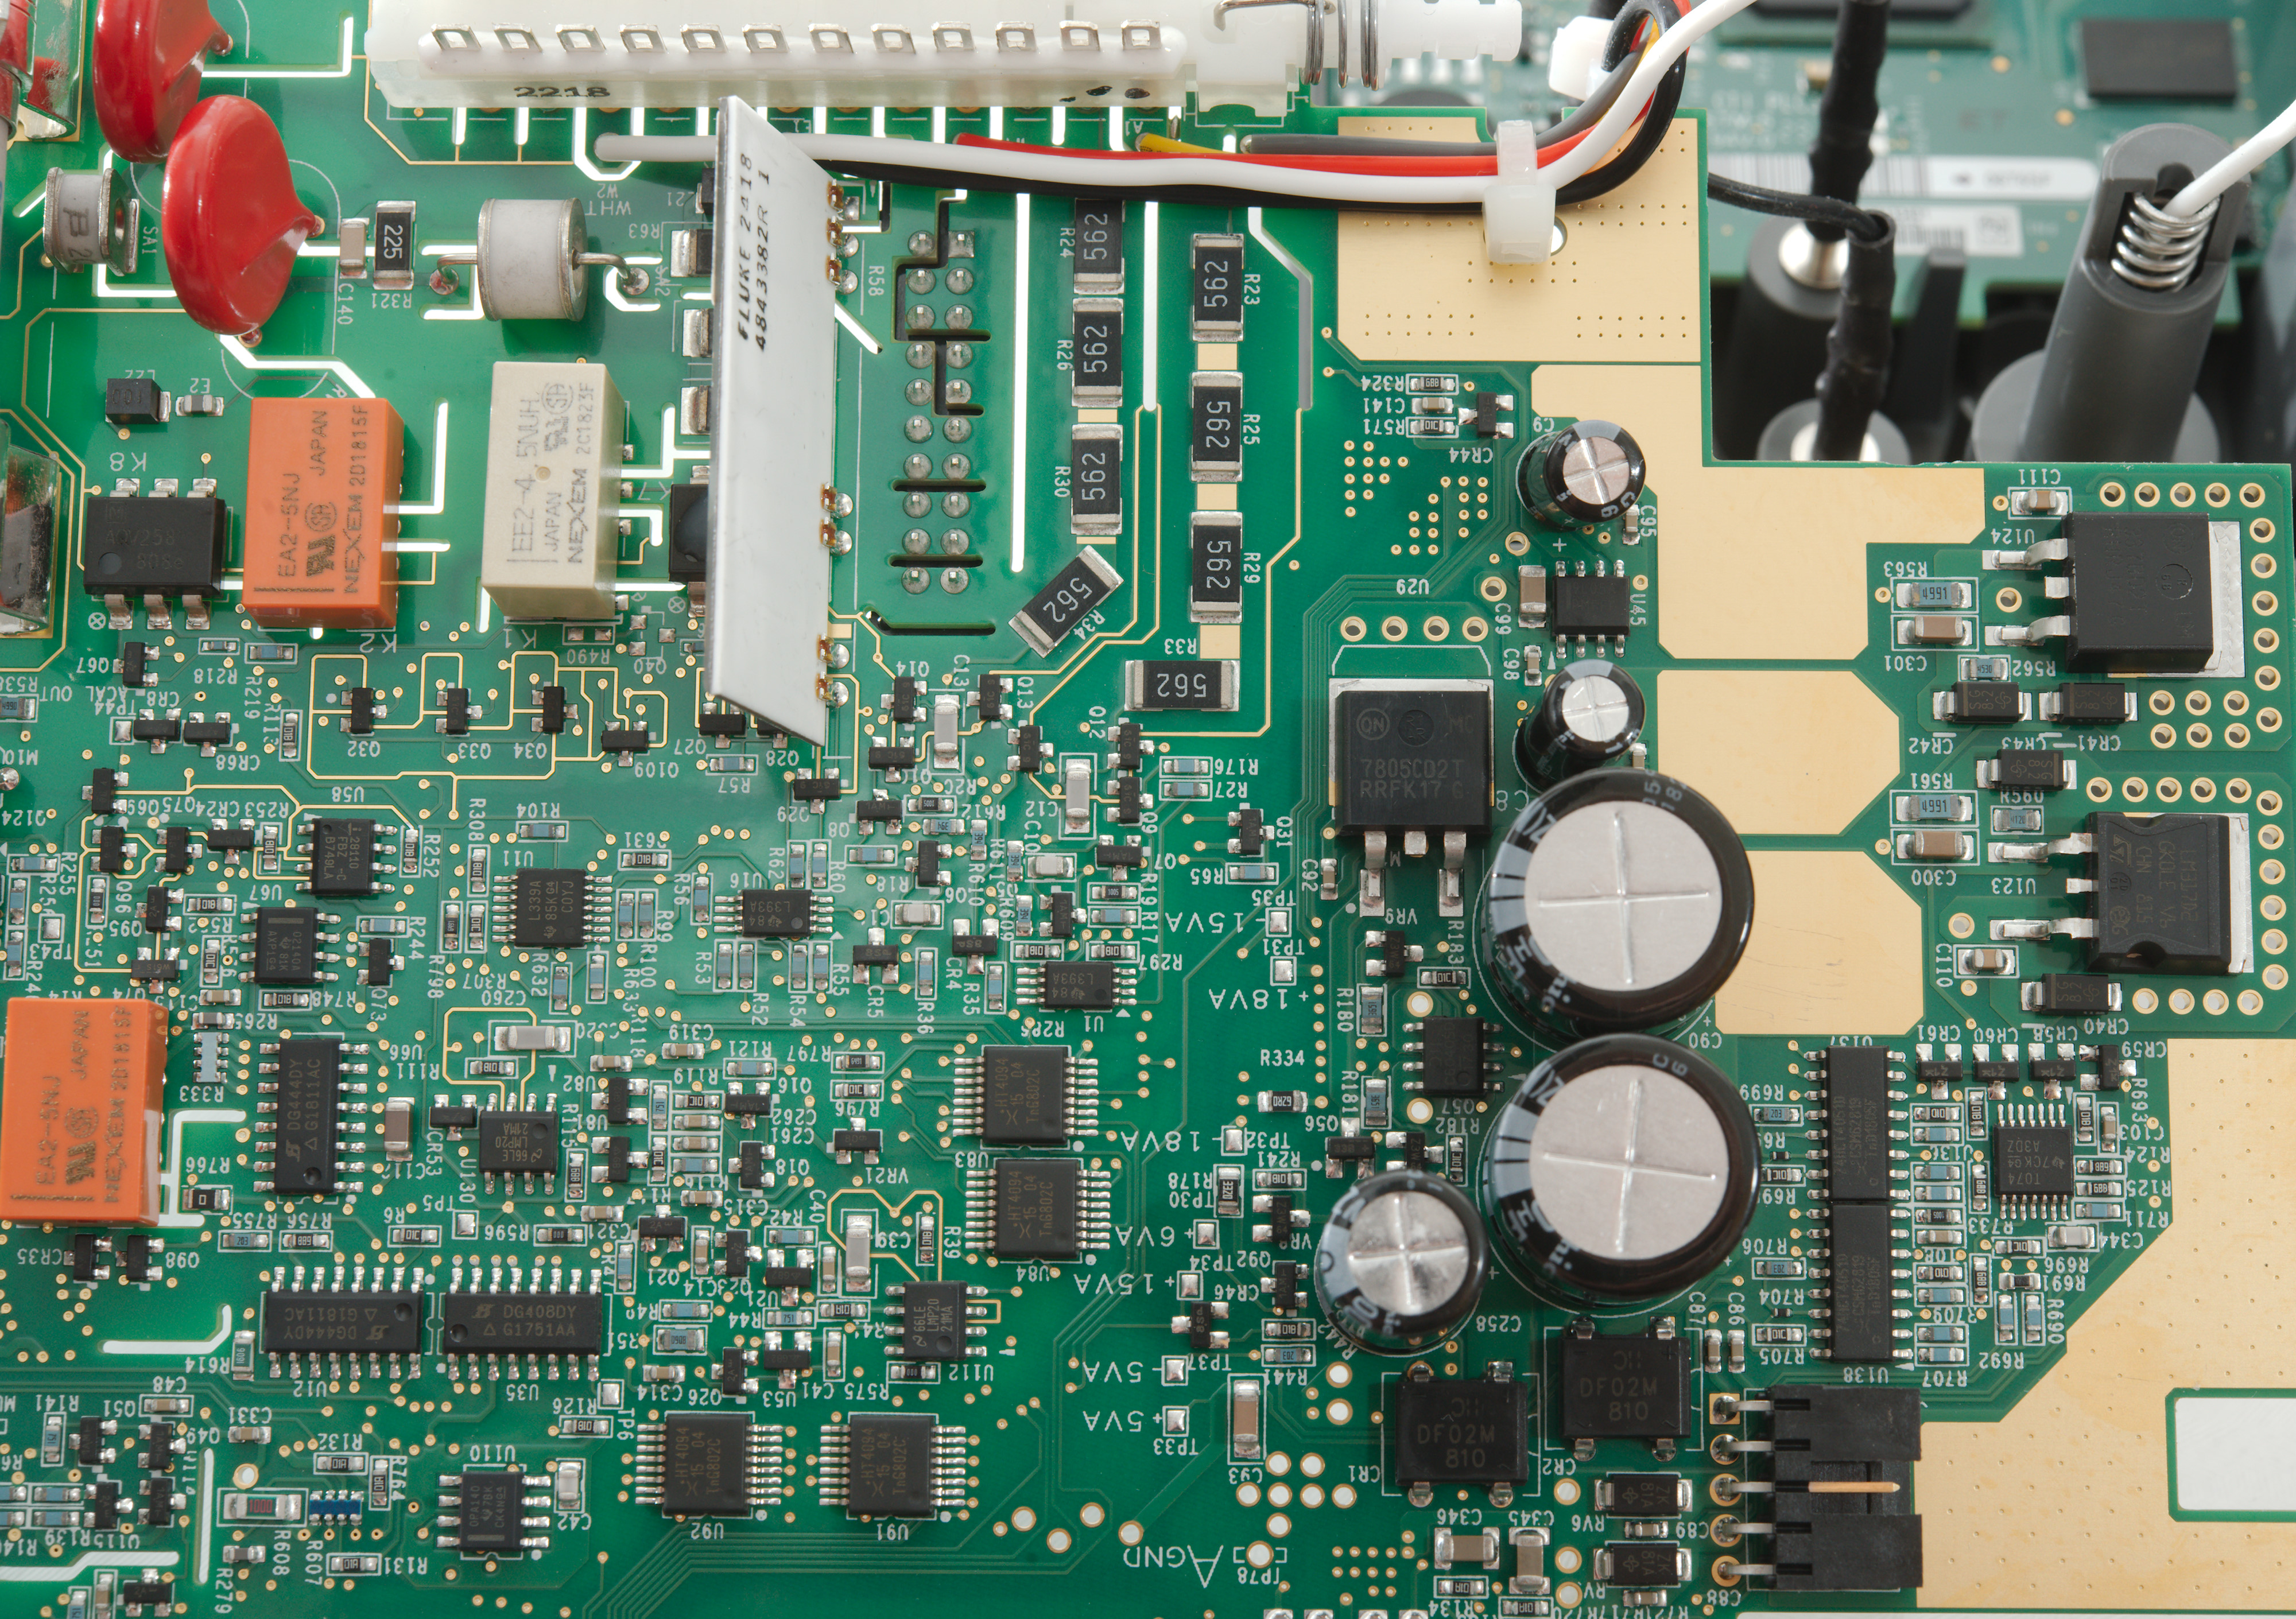
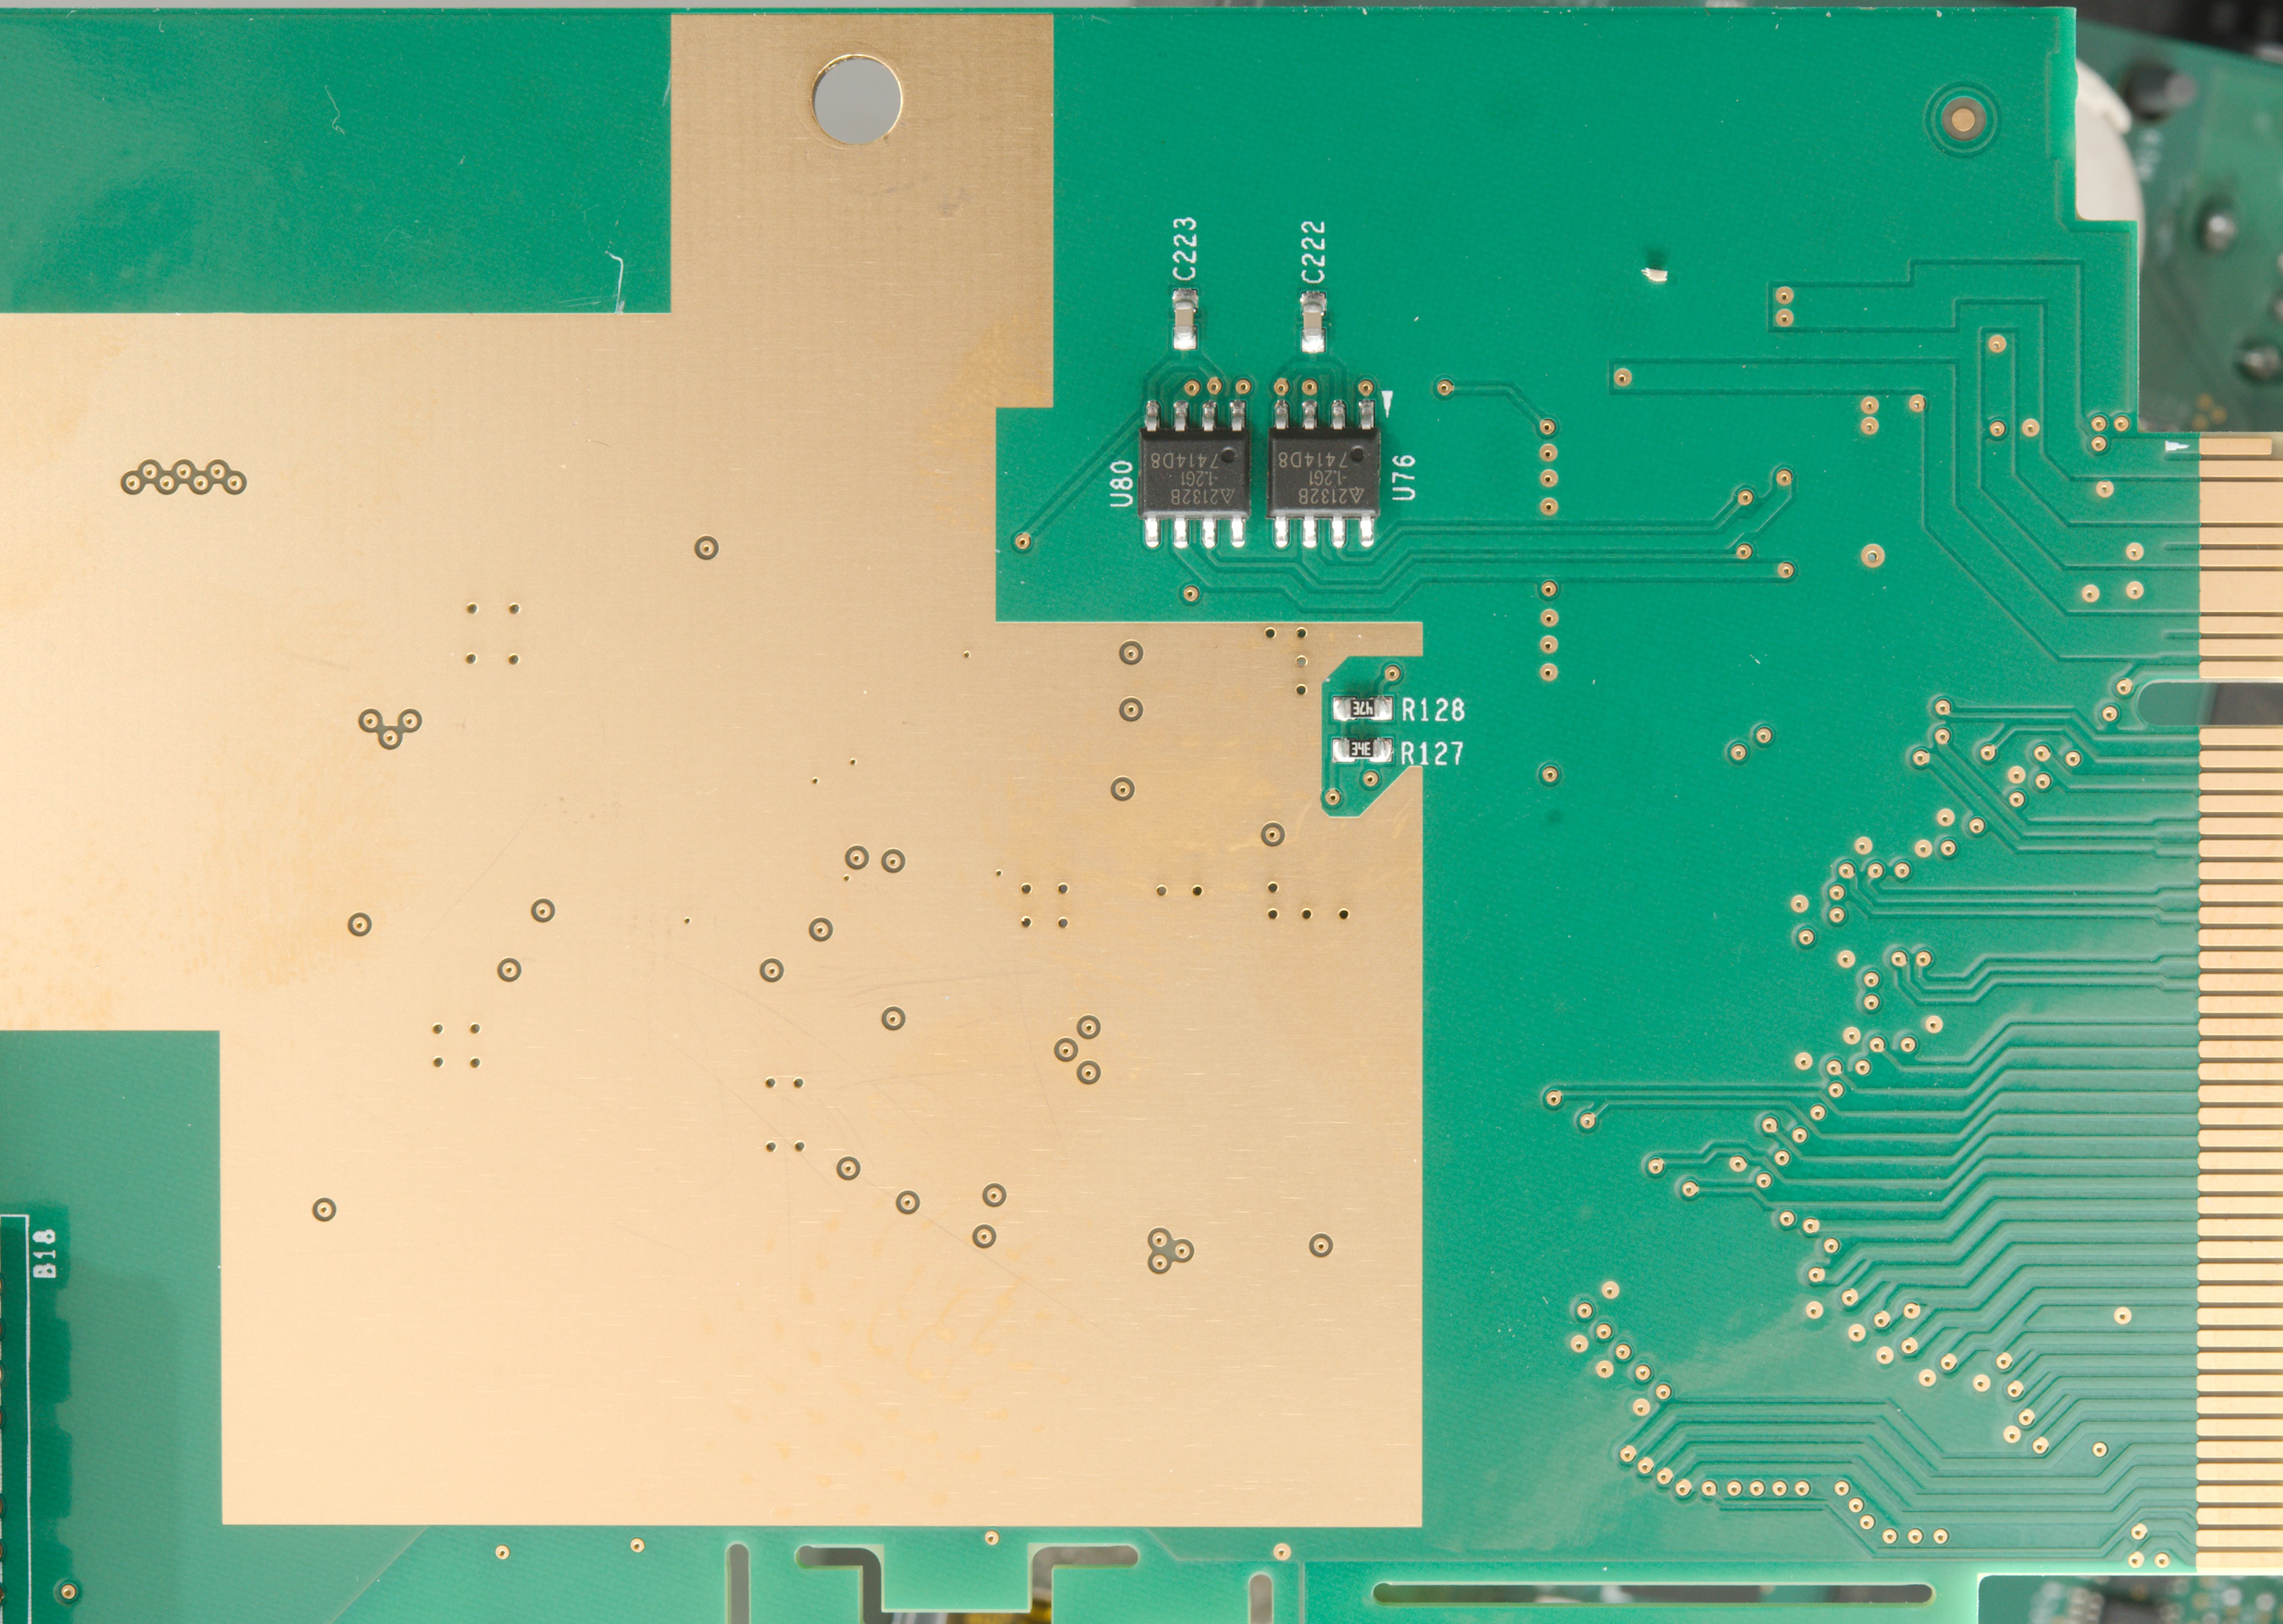
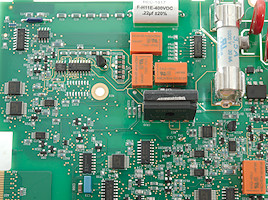
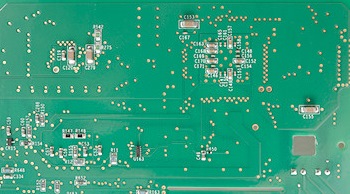
An area on the circuit board is covered by a metal shield.
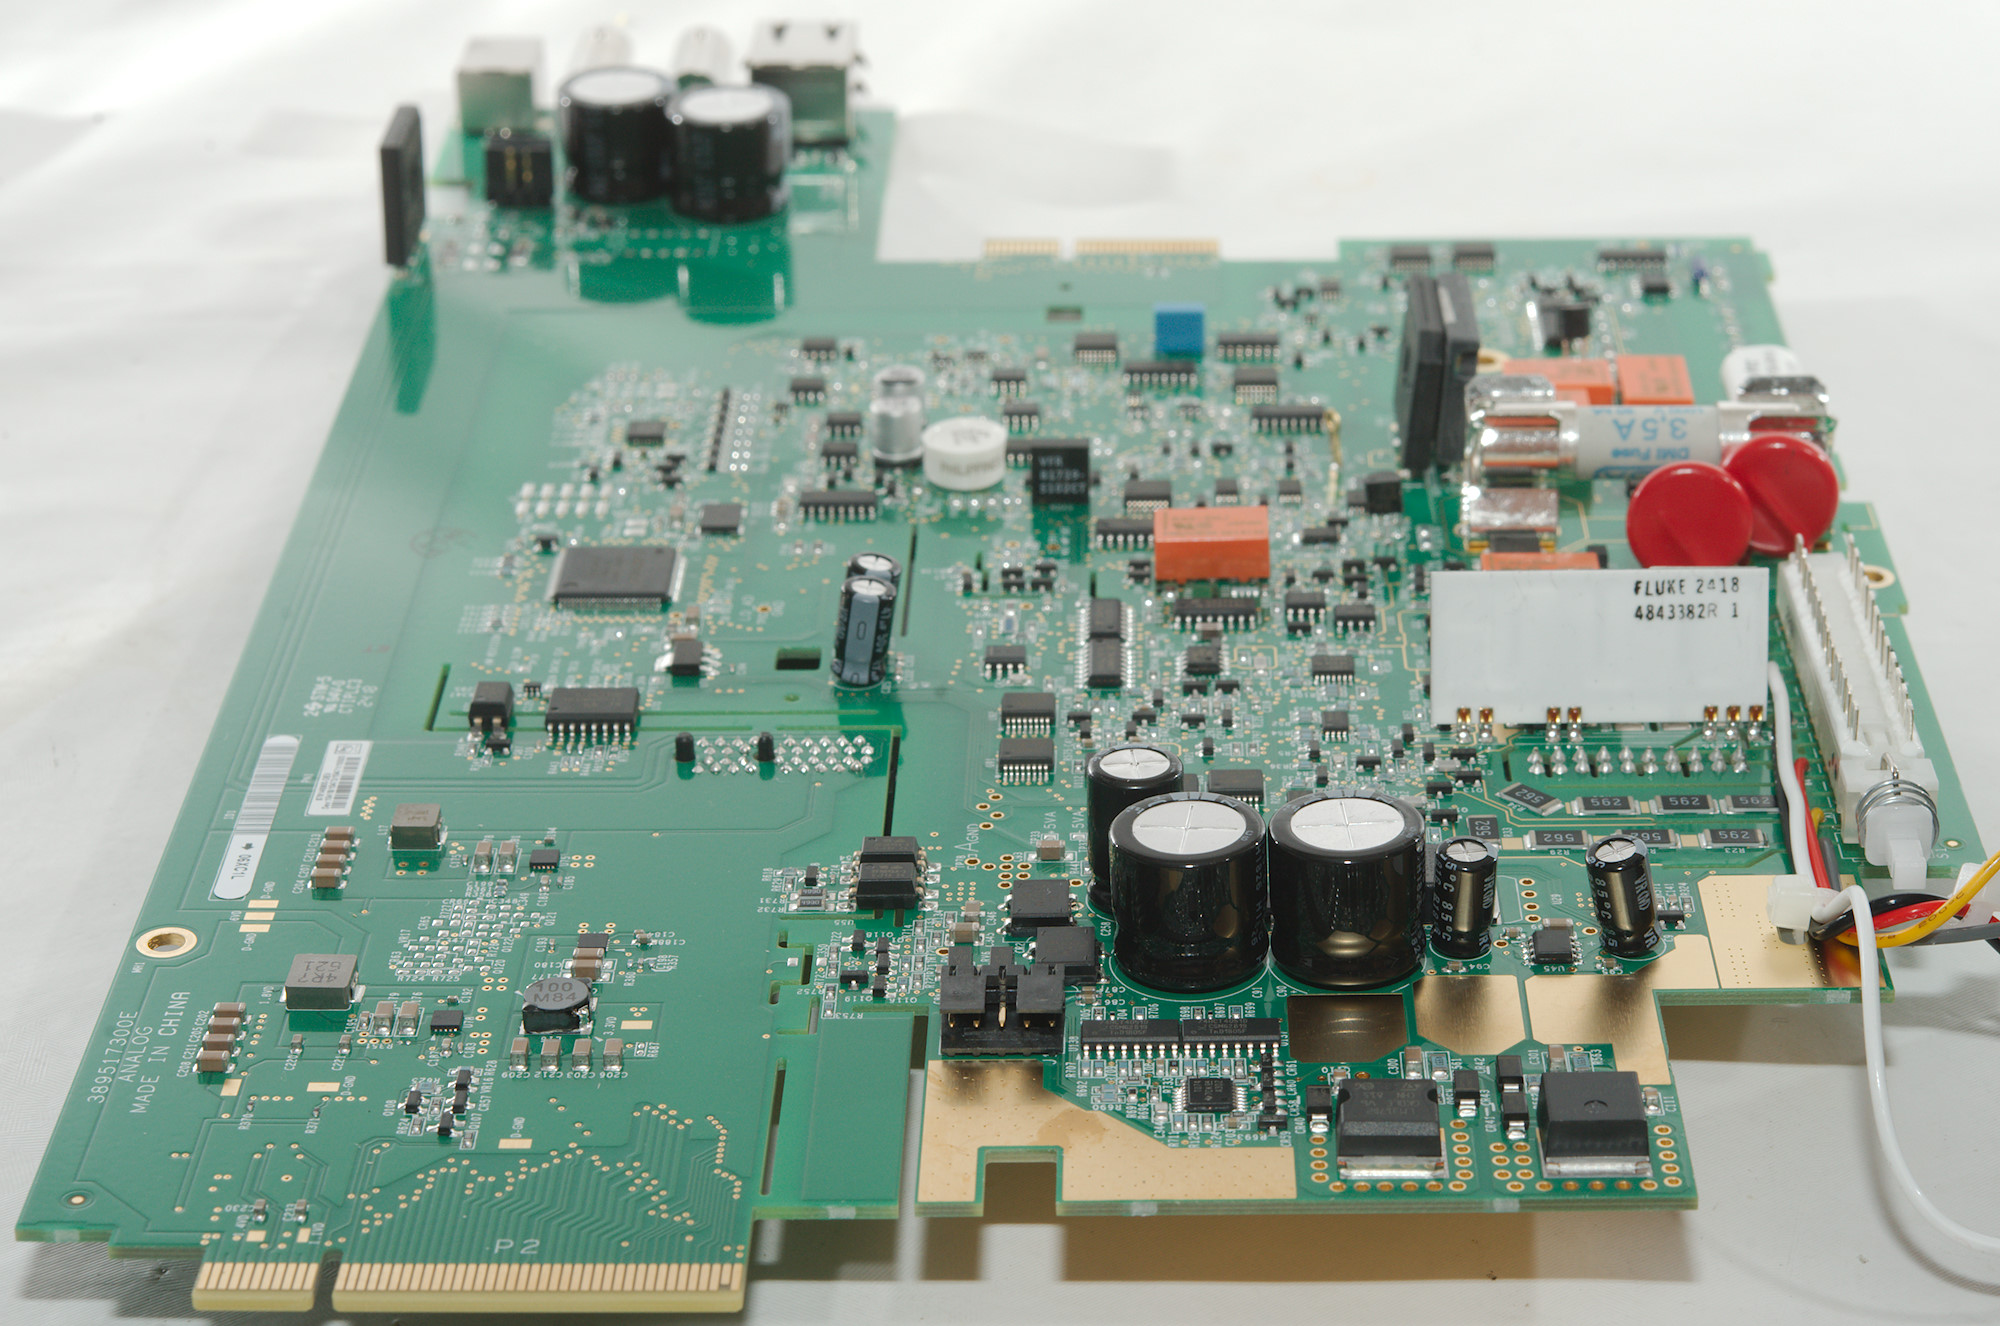
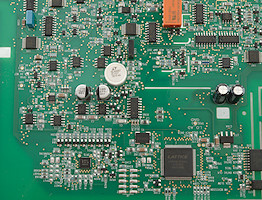
On this side their is not much below the metal shield. There is many areas on the circuit board with guard rings (A golden track around an area), this is done to avoid leakage current across the circuit board, the guard ring will usual be at the same voltage as the sensitive area, but driven from a low impedance source.
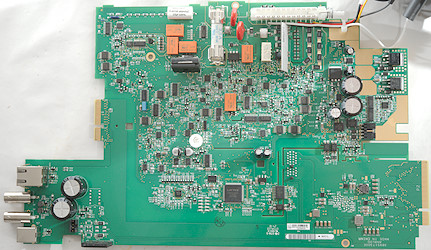
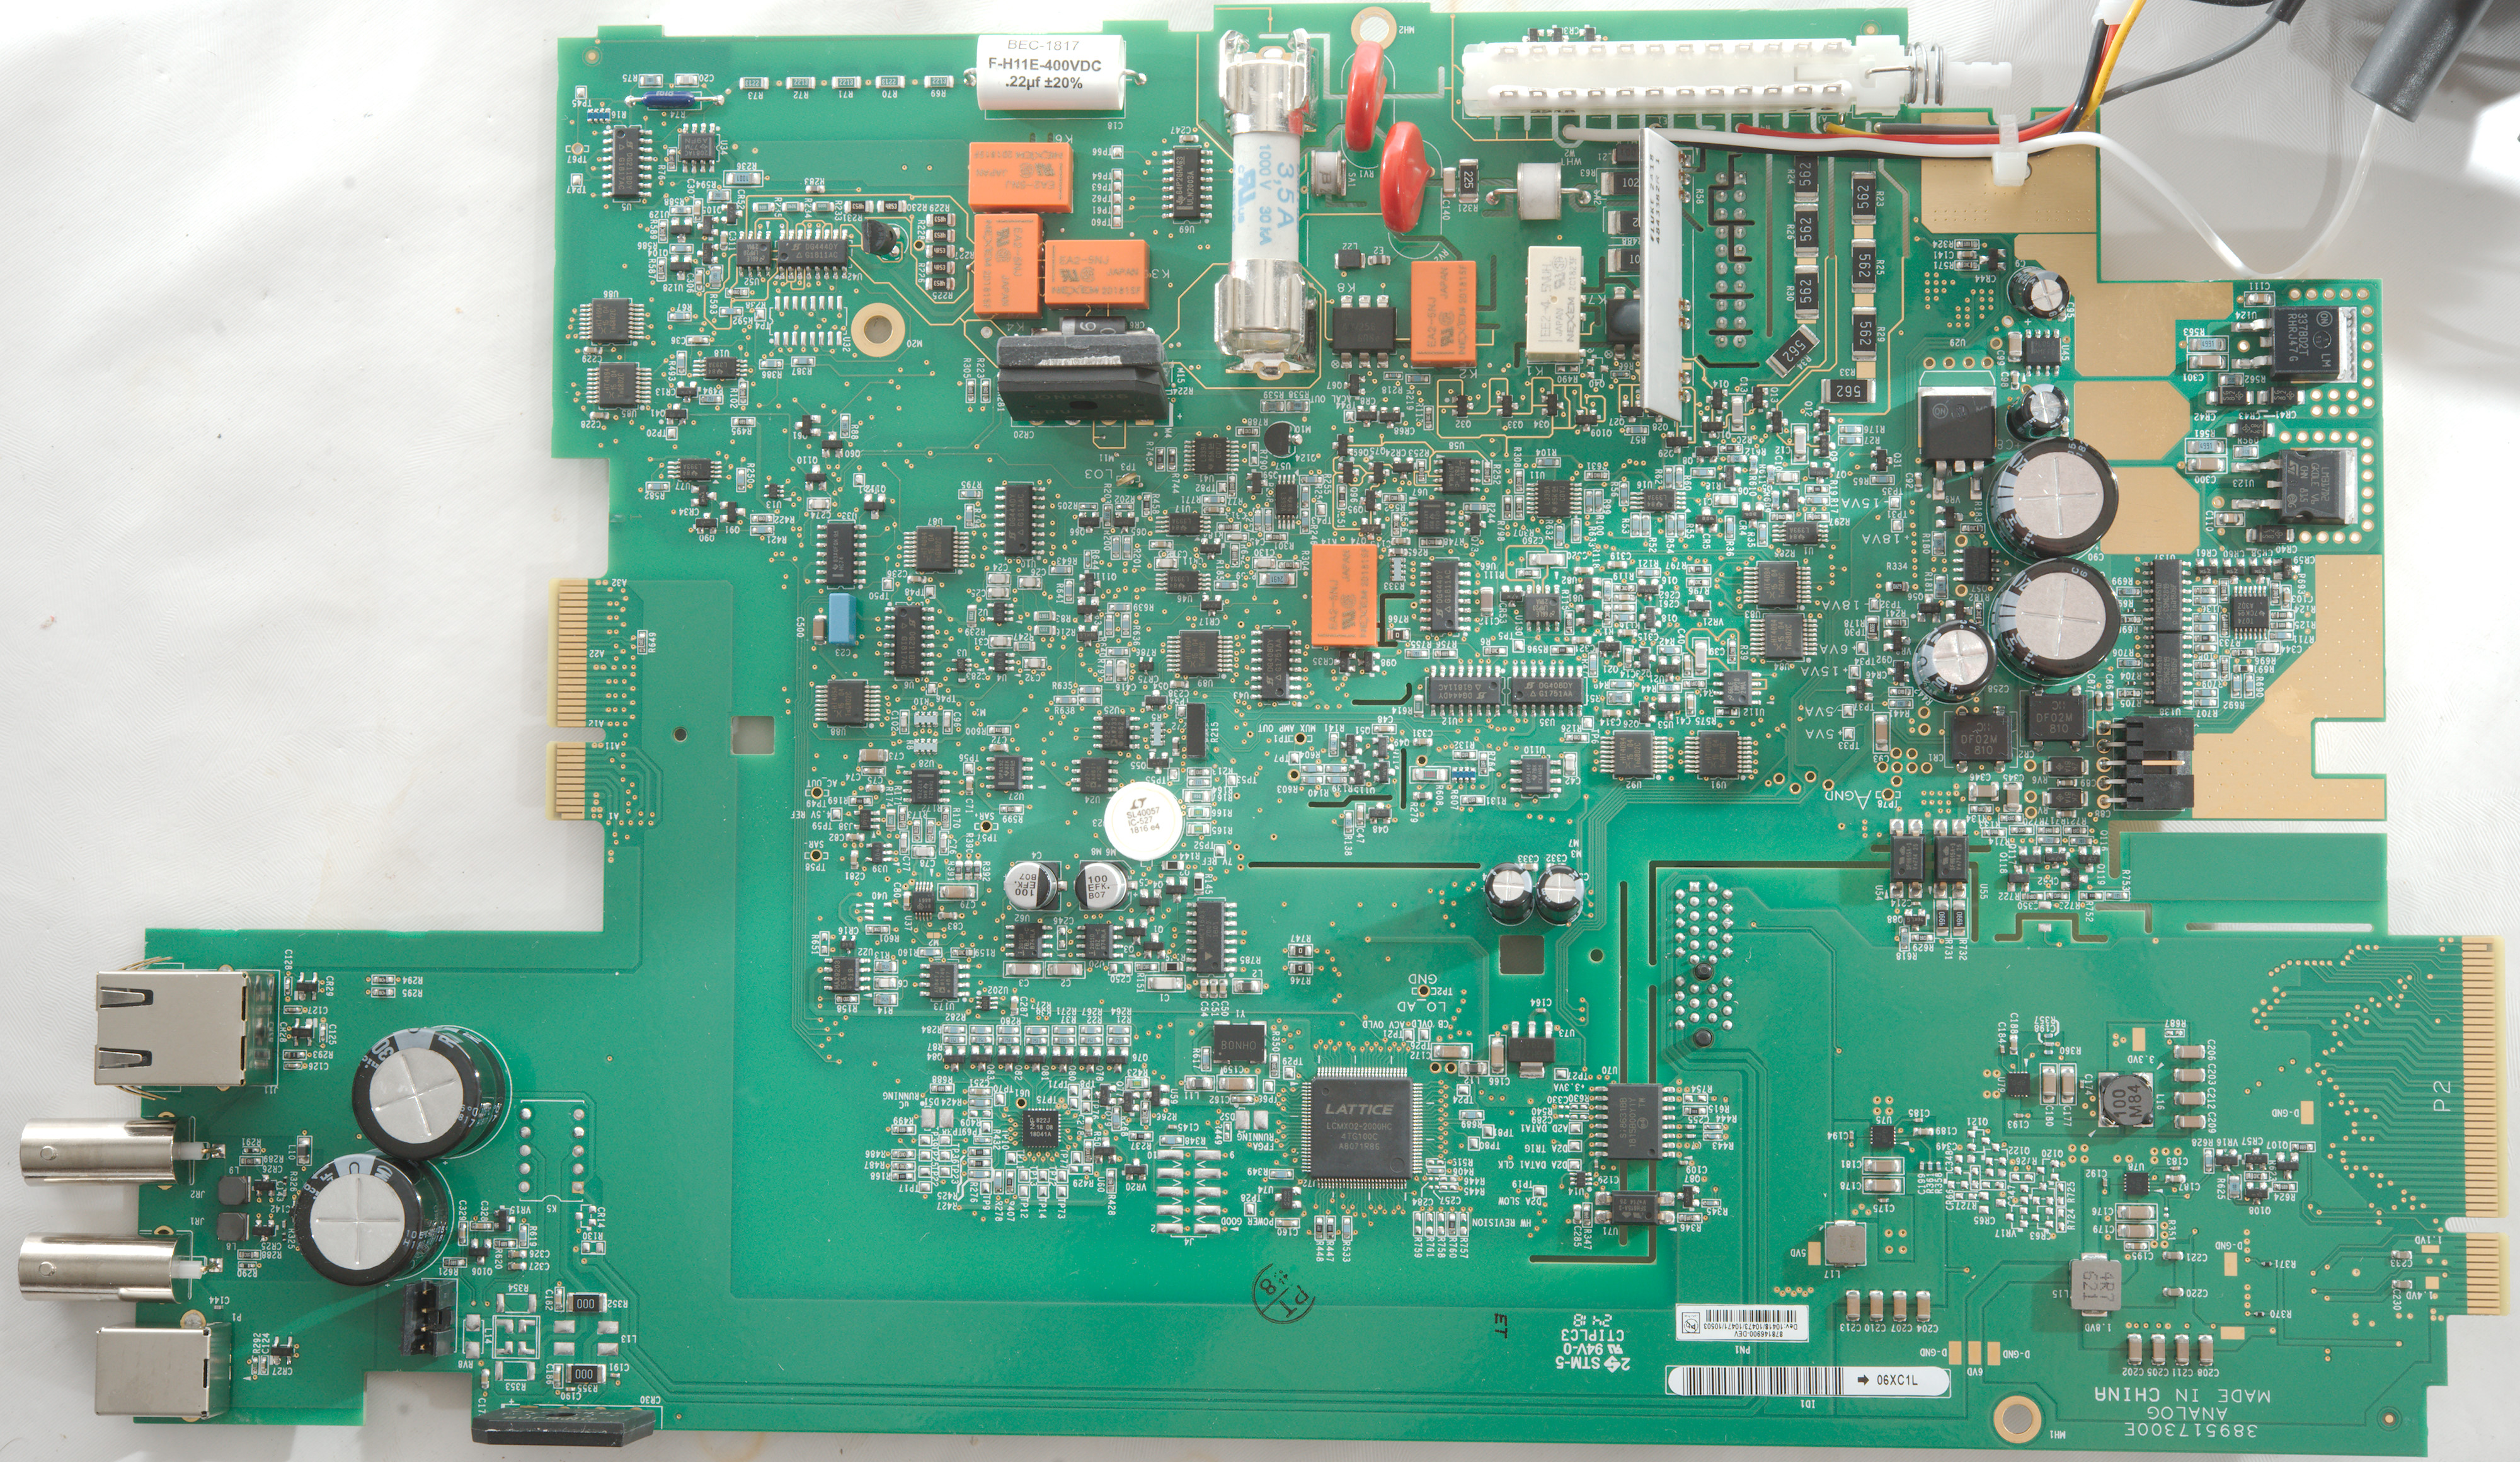
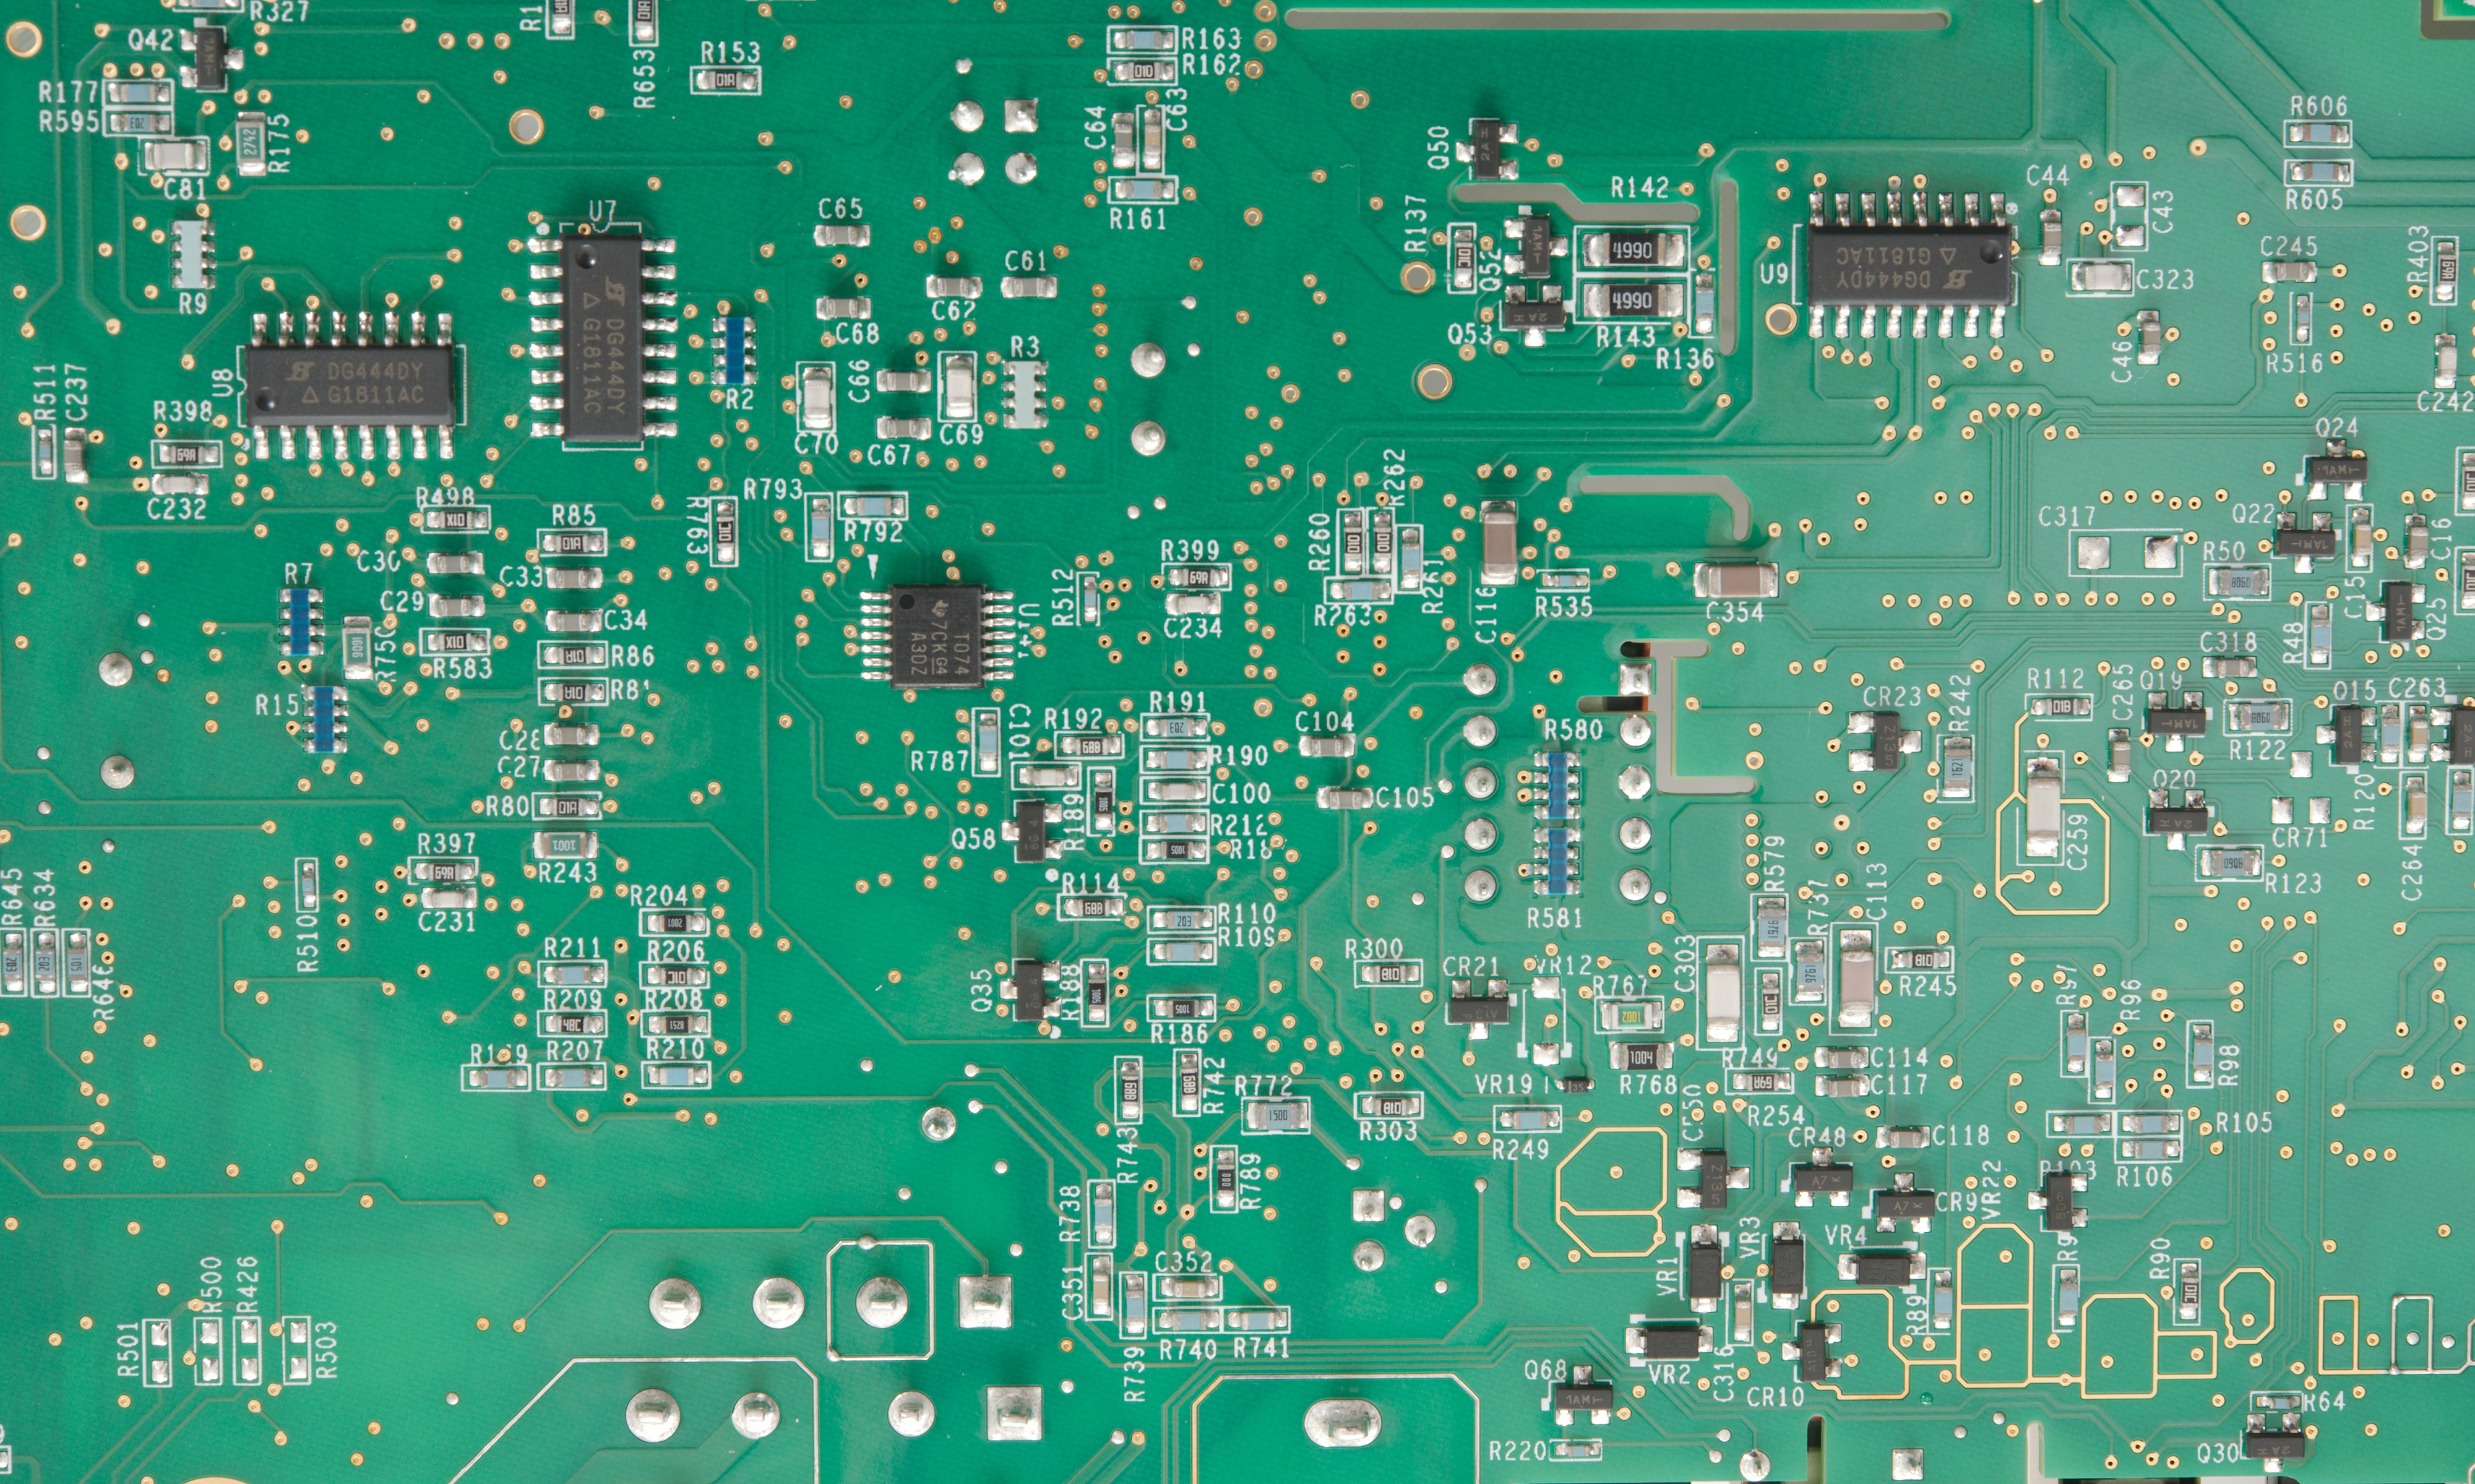
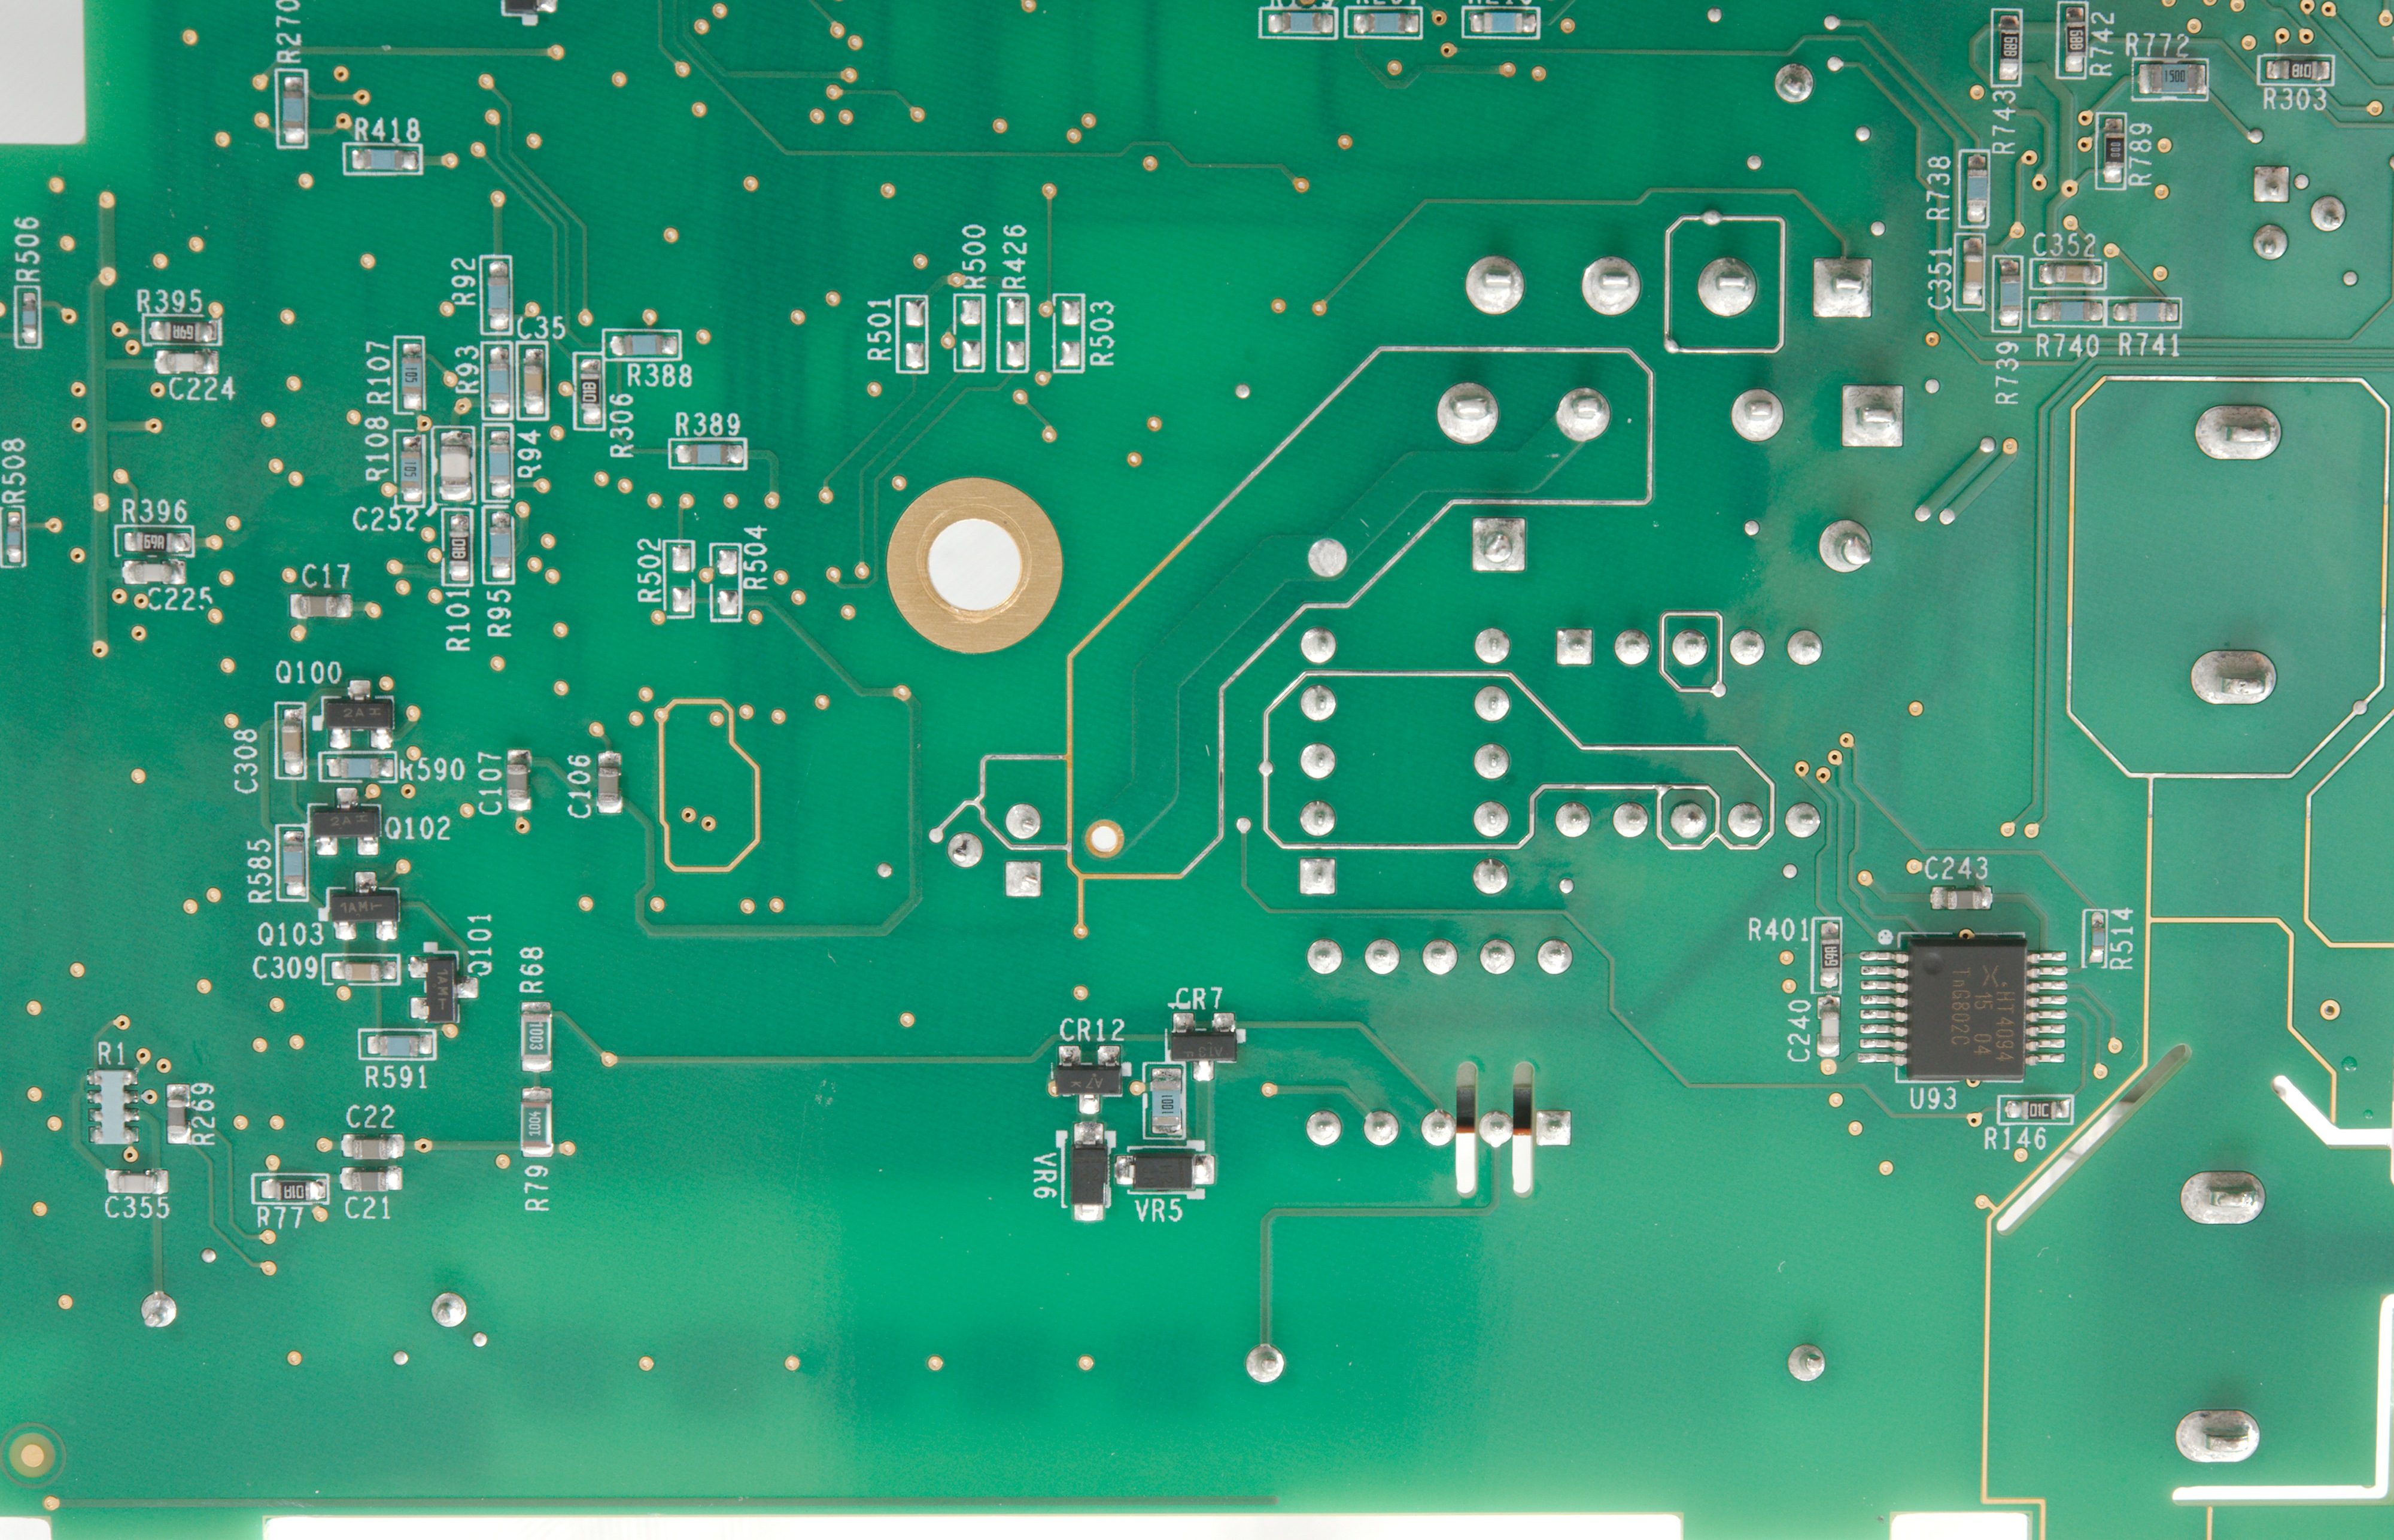
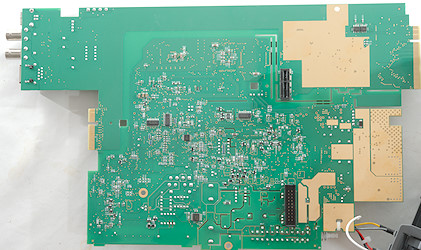
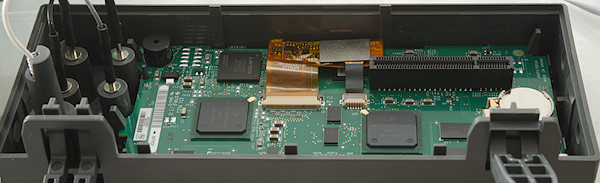
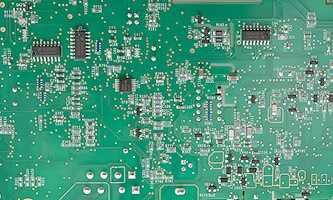
The large white switch is to change between front and rear terminals, next to it is some input resistors, relays and protection circuit, behind it is some more relays and the highly sensitive area where the ADC must be (It is usually covered by the shield).
There is two ADC in this meter, one high precision and one fast for the digitizer, they may be chips or build from other chips and controlled from the FPGA.
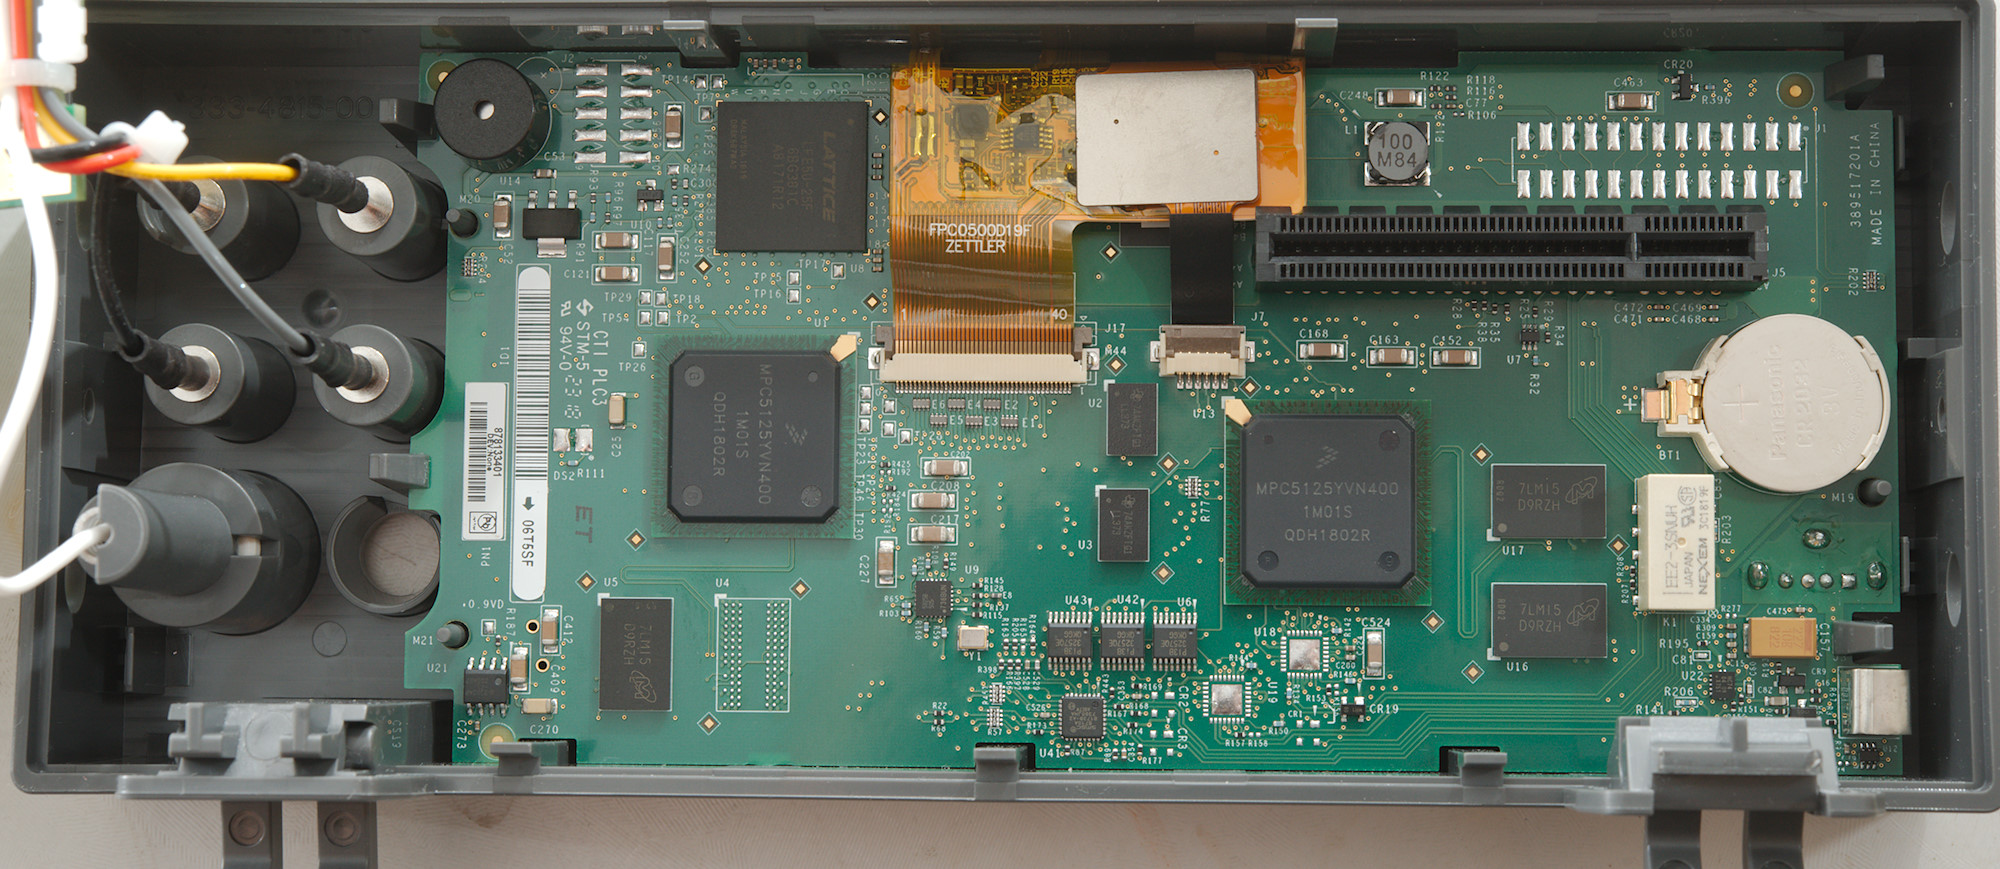
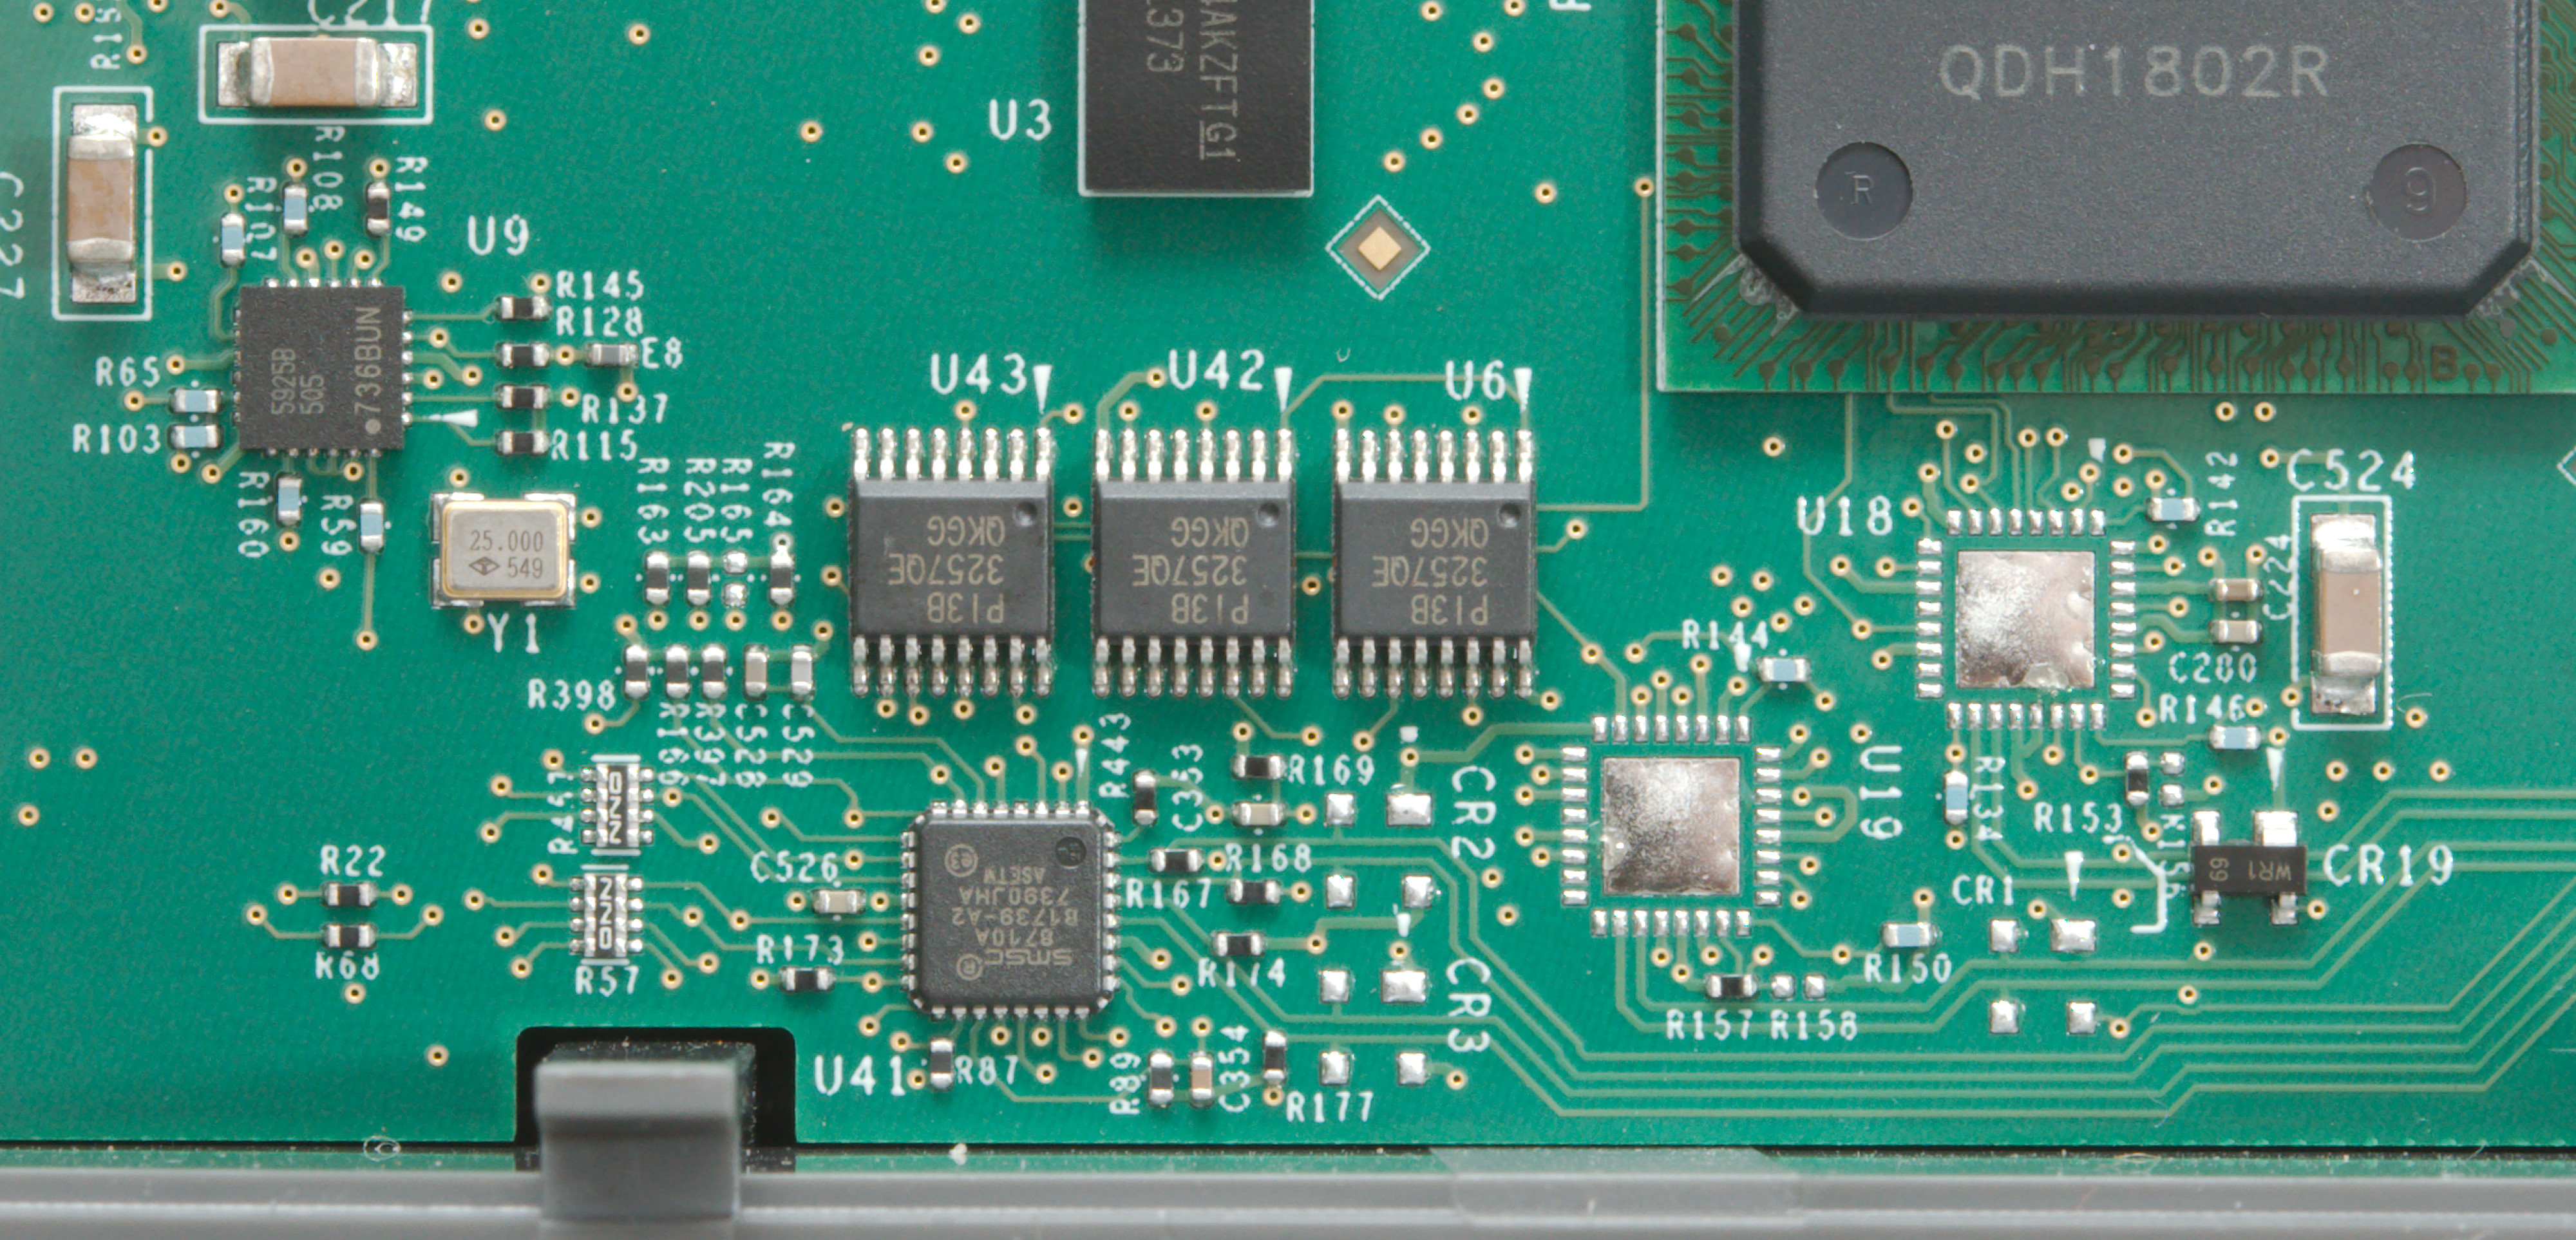
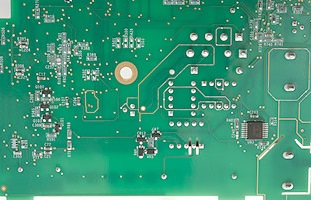
The microprocessor is on the front panel and the part of the circuit board that connect to it is isolated from the analog and ADC parts.
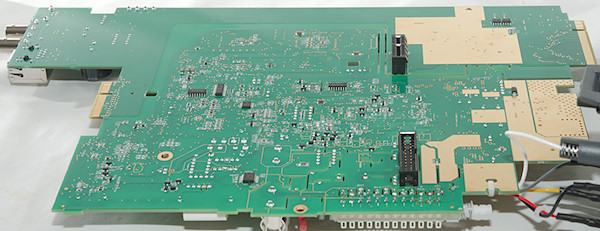
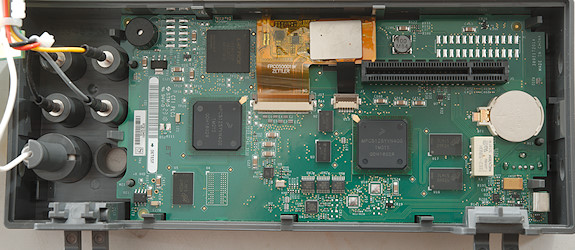
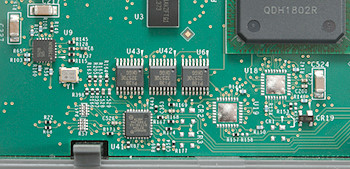
The front panel has two processors (U1 & U13: 2xMPC5125) and a LAN interface (U41: SMSC8710A) and a battery for the real time clock.
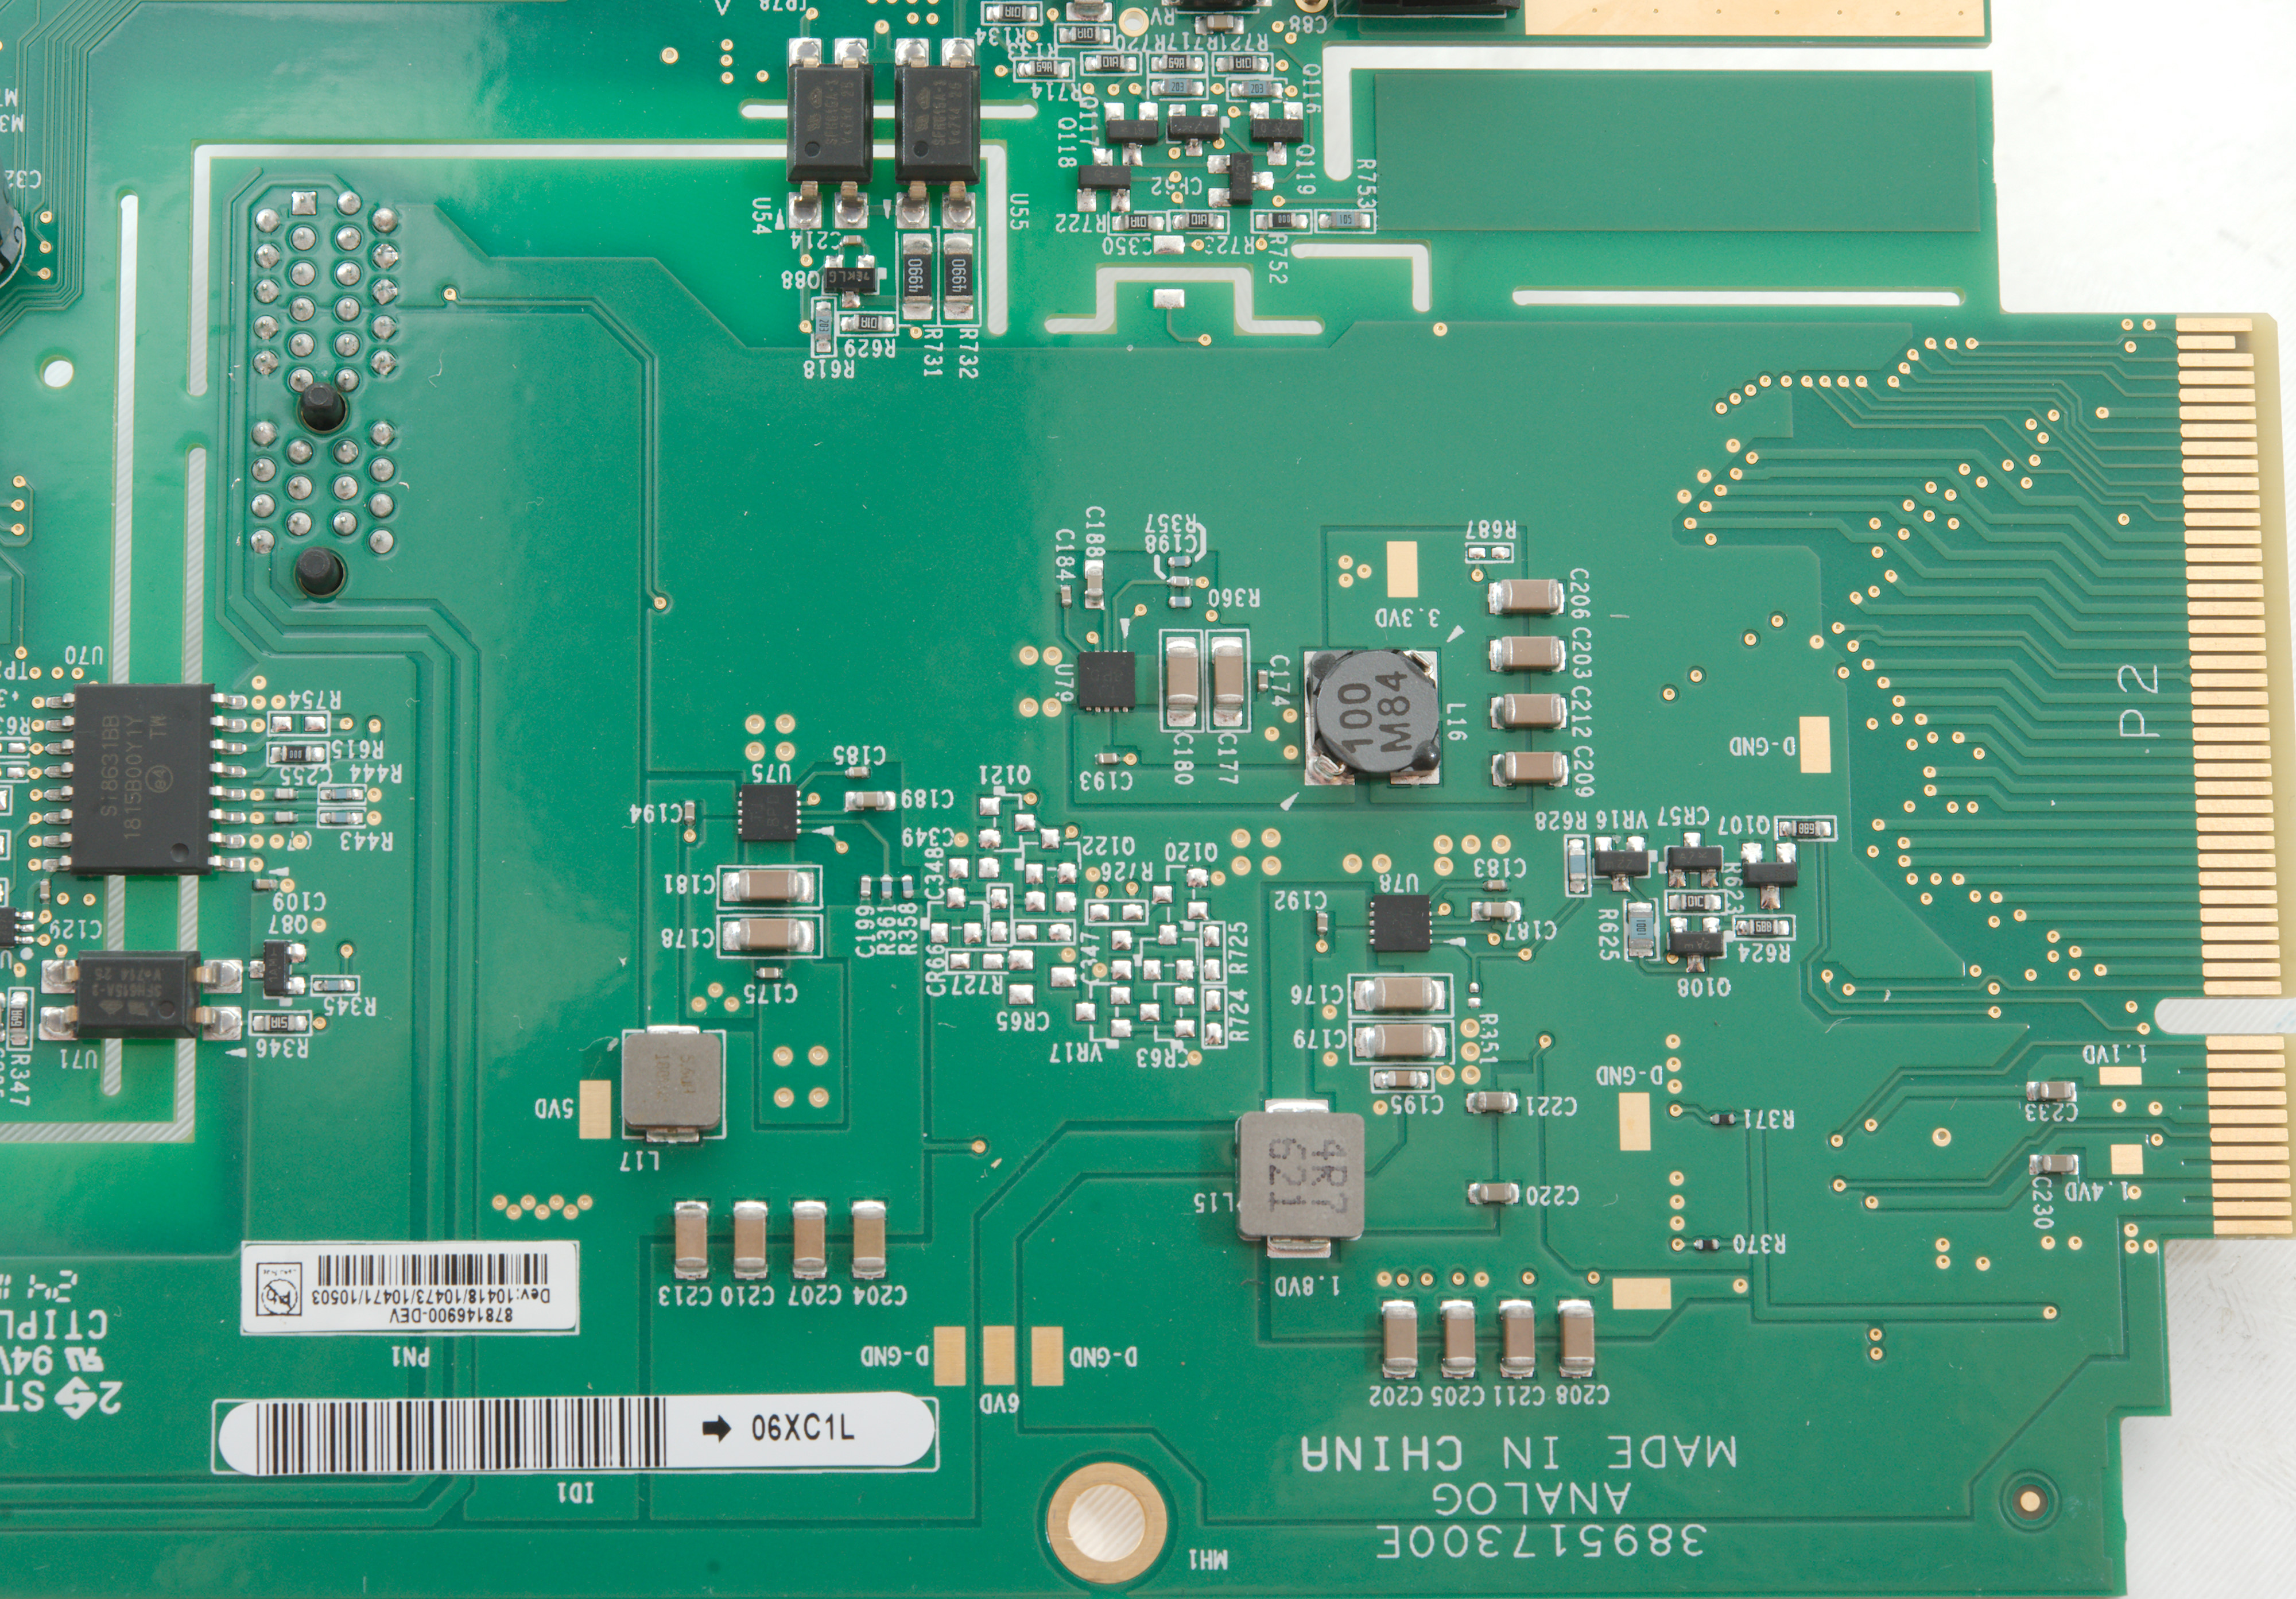
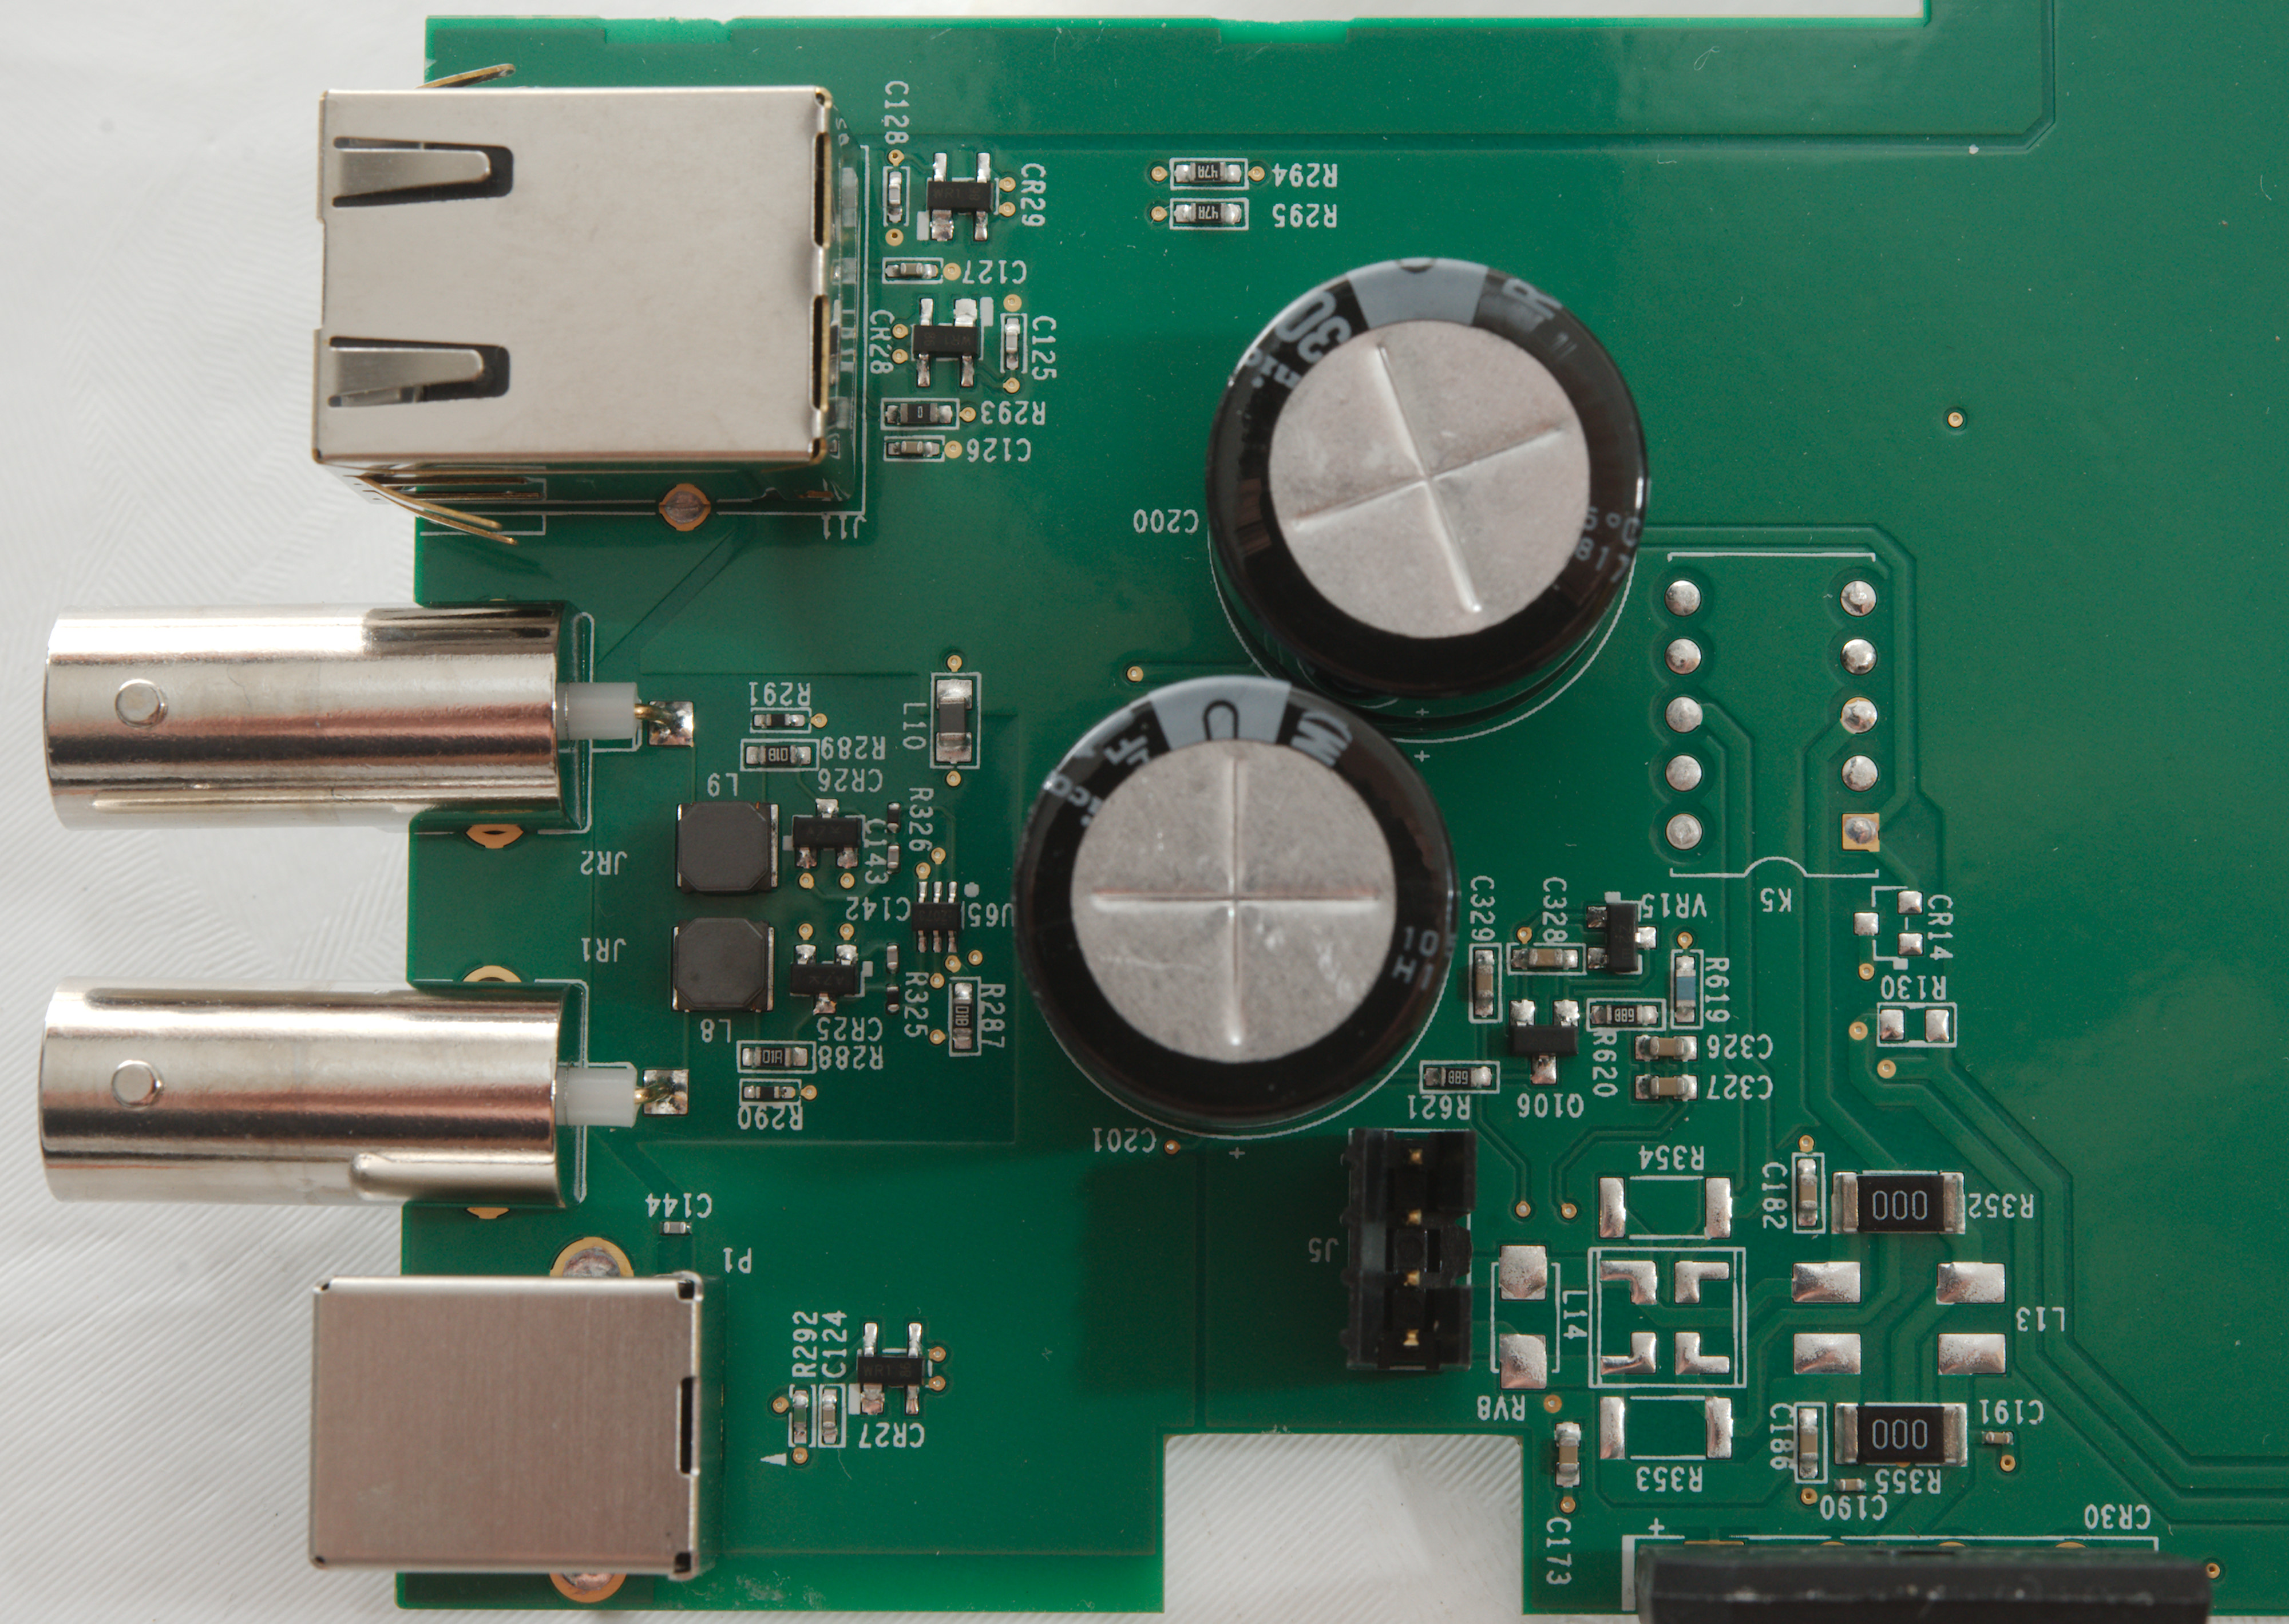
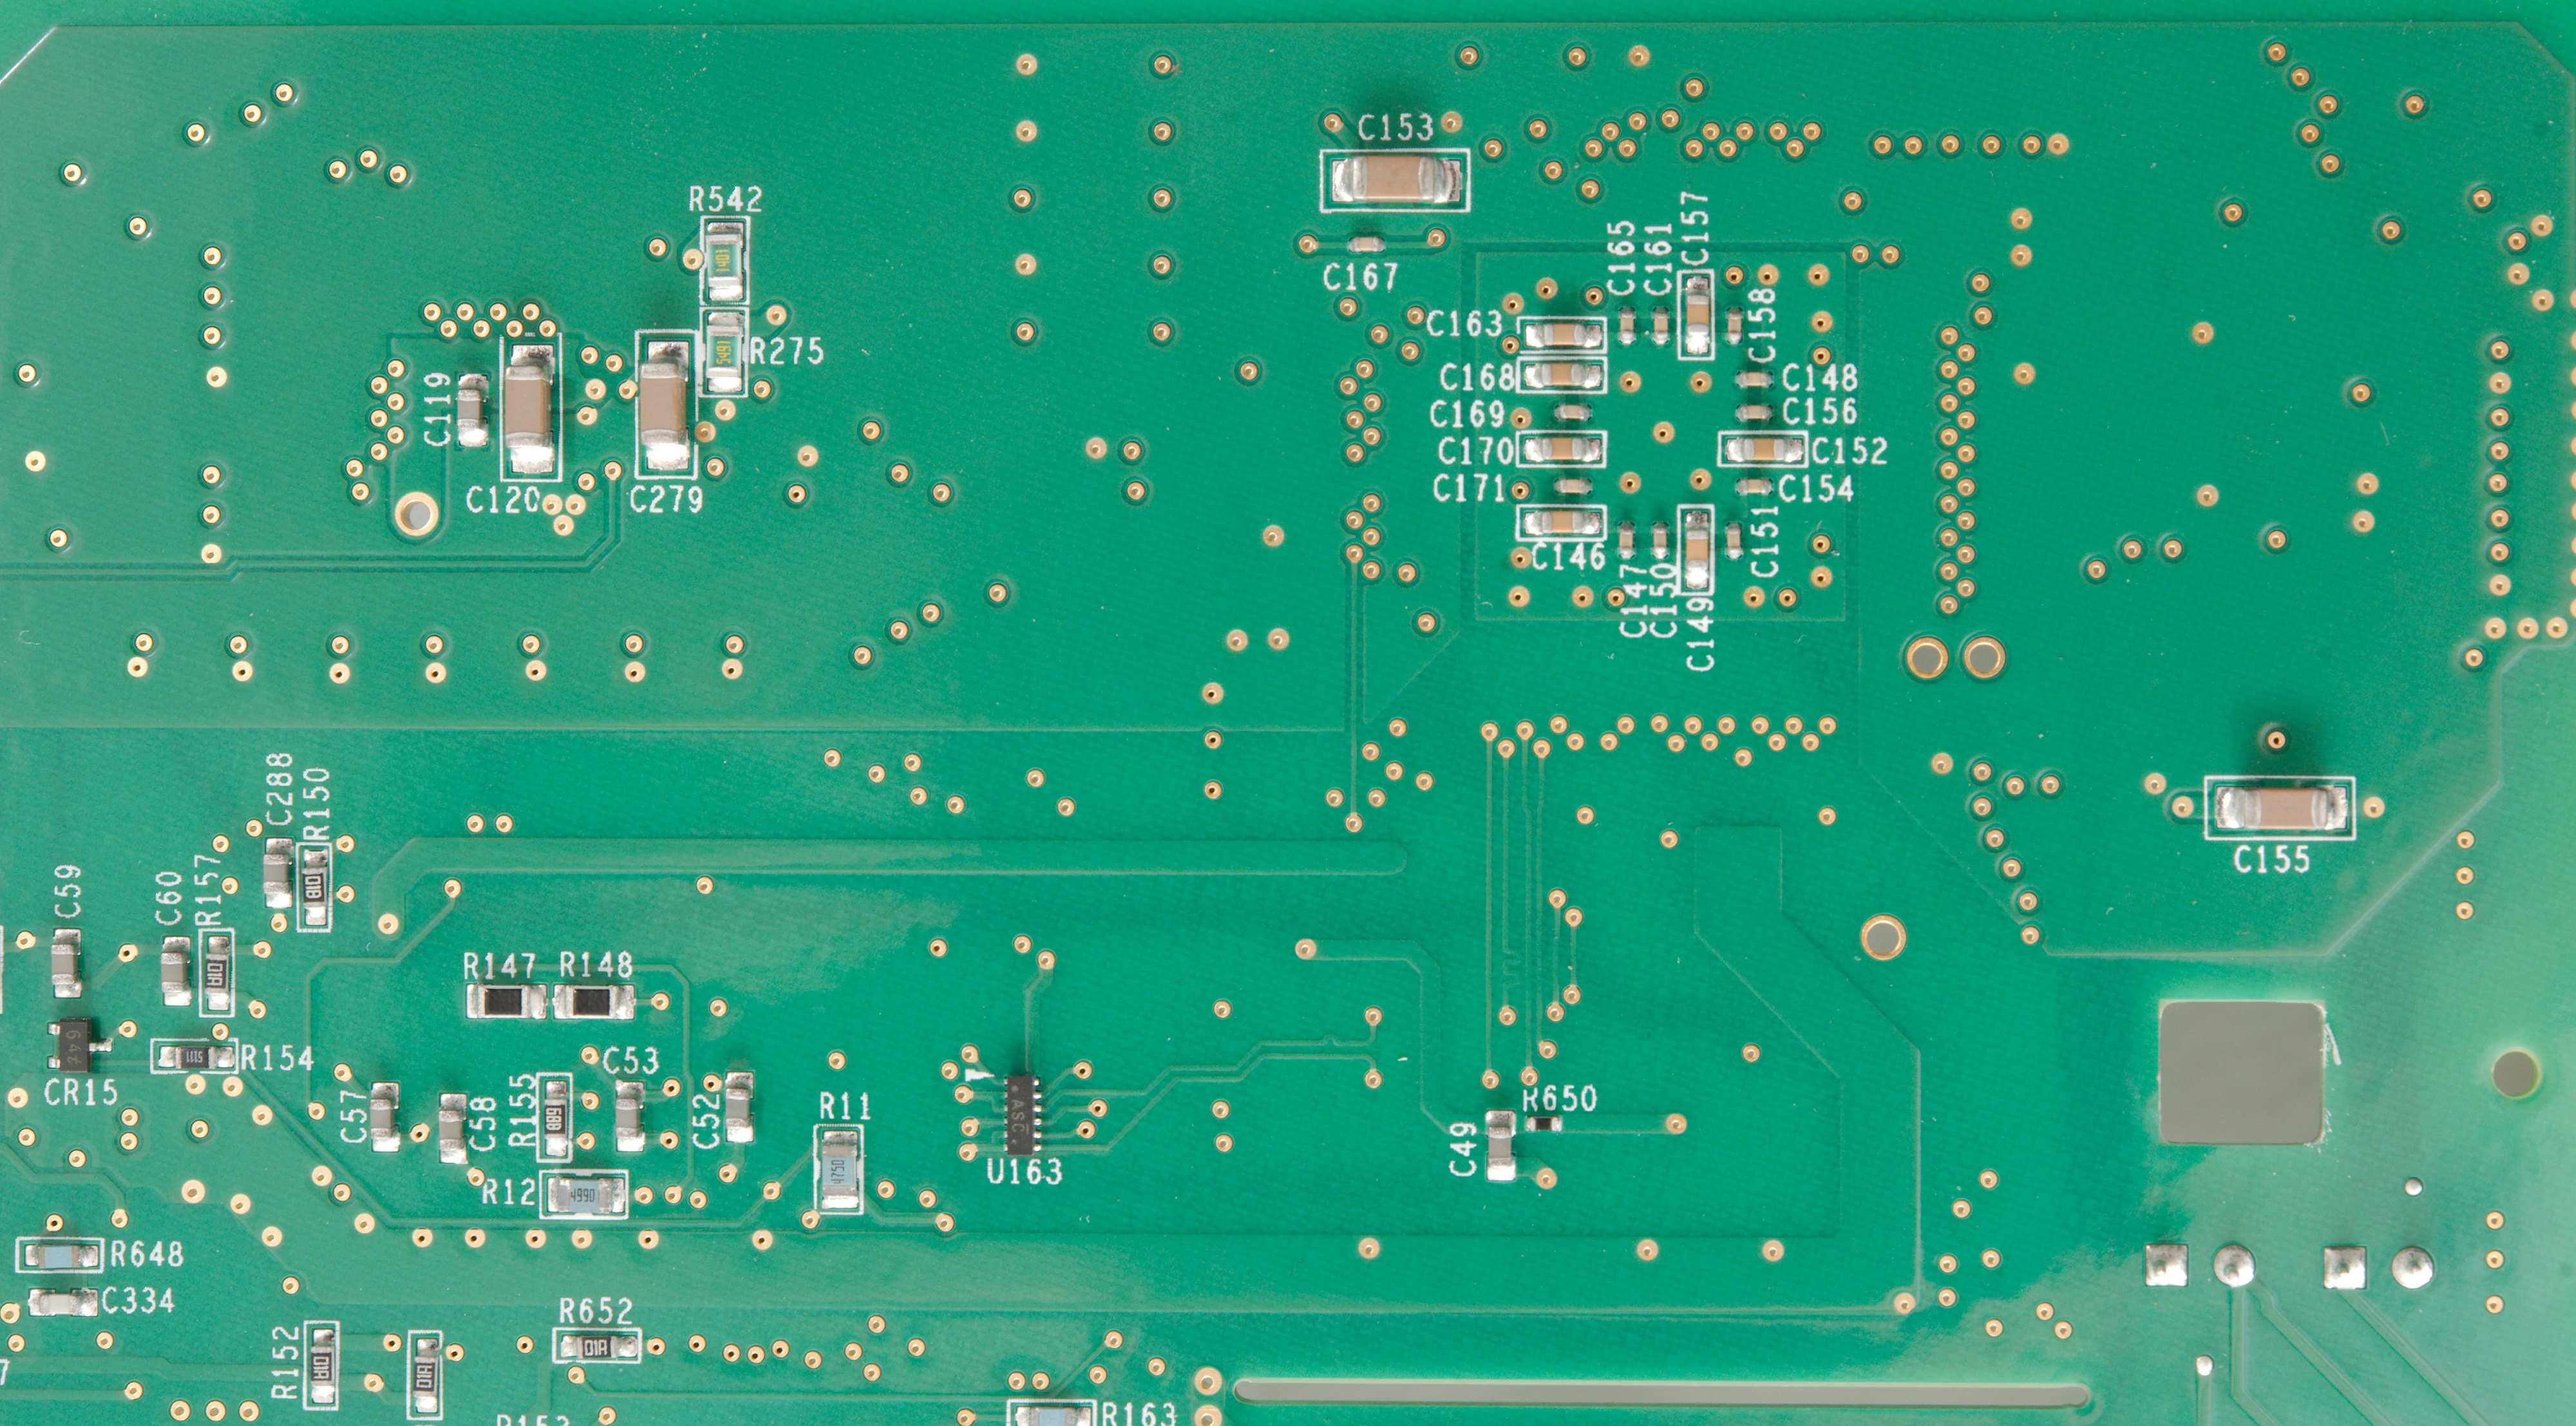
Higher resolution pictures of the circuit board


Conclusion
This is Keithleys cheap new generation bench multimeter. For high end bench meters it has the usual ranges and a little bit more, charting and tables is also common and the same for communication with the possibility for complete remote control, but where it is special is the extremely fast digitizer, the ability to load programs into it and the slot for a multiplexer that means the meter measure at 10 points more or less simultaneous (Within a few seconds).
The digitizer is sometimes very useful to check and measure pulses and variations in signals and compared to a oscilloscope the meter is much more precise (But the frequency range cannot match a oscilloscope).
Compared to a high end handheld DMM it is maybe double up but can do a lot more as long as it is on a bench and works very well together with a computer.
Notes
The software in this type of meters is fairly complicated and will have some bugs, I found a few during my testing and reported them to Keithley (It is easy to do software updates).
Keithley has 3 bench multimeters with similar design:
DMM6500 6½ digit with space for a small multiplexer.
DMM7510 7½ digit
DAQ6510 6½ digit with space for two large multiplexers.
How do I review a DMM
More DMM reviews