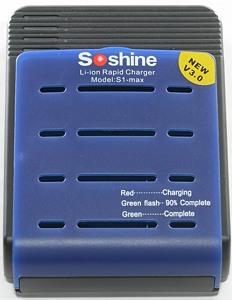
Charger Soshine S1 max V3


This is a update review of the S1 max V3, it looks exactly it has always done, but Soshine sent it to me and asked me to check it out. Last time it worked perfectly, does it still do that?
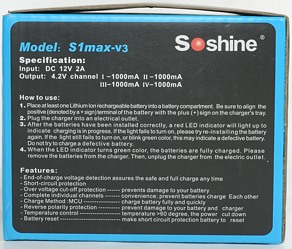
Note: The S1 charger exist in two versions the max and the mix.
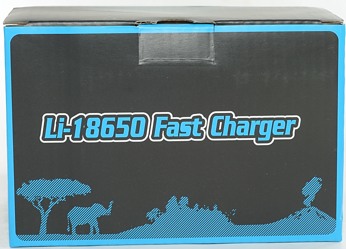
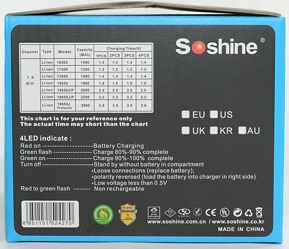
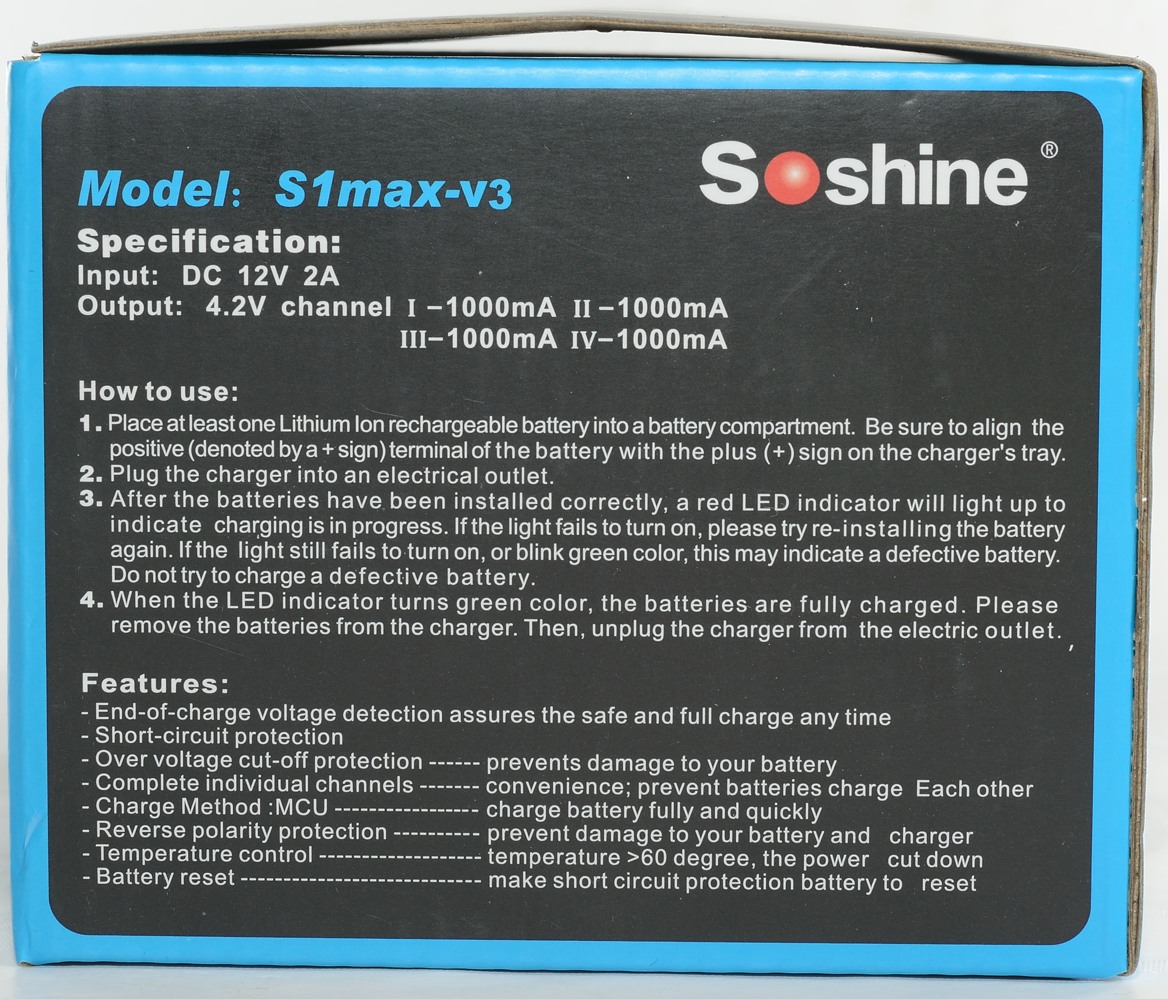
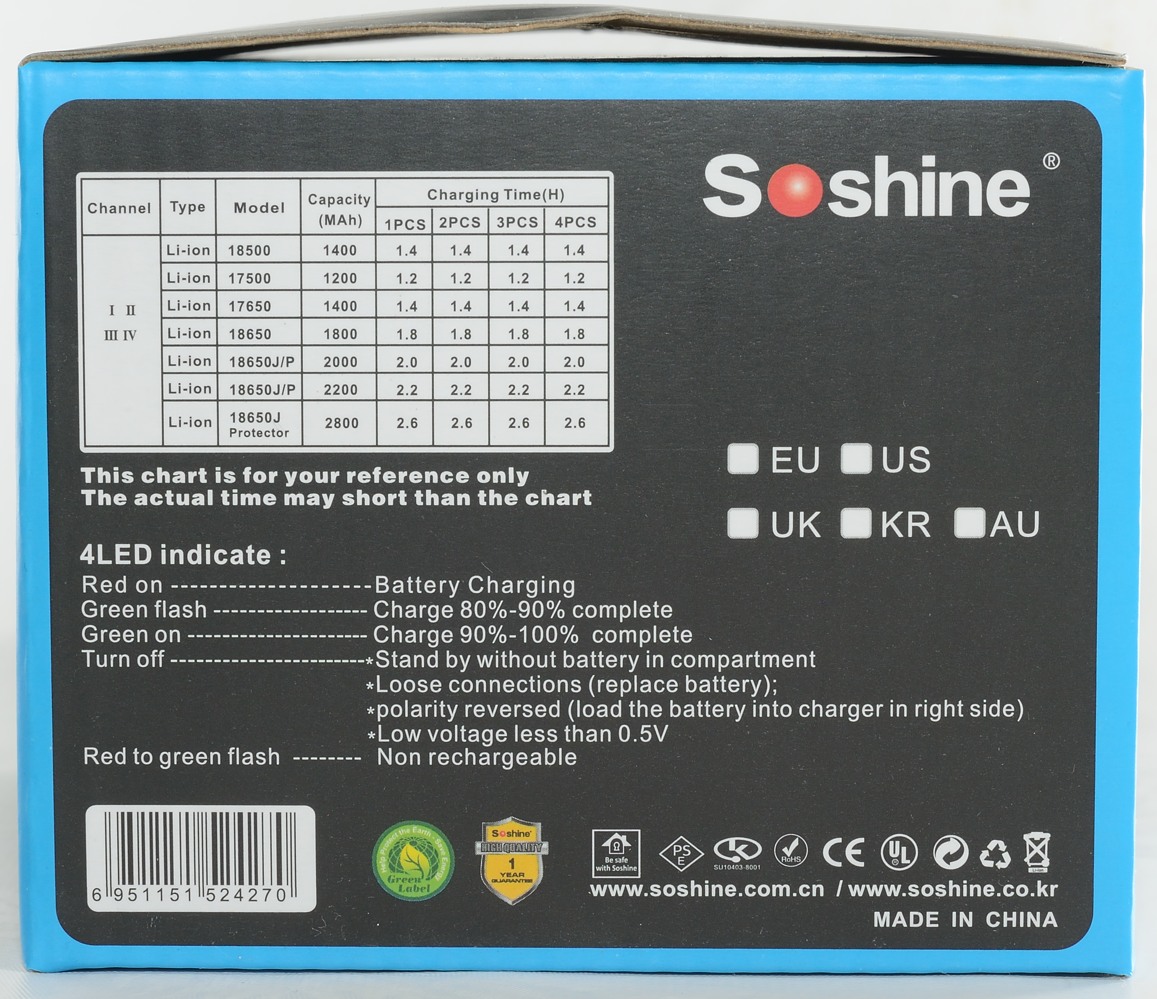
The charger arrives in a cardboard box, that does also work as manual (Click on the pictures to see hi-res images).
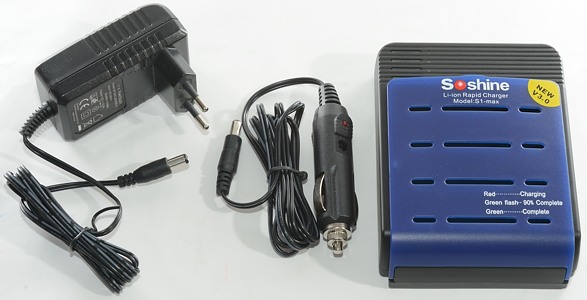
Actual contents is the charger, a universal power supply (100-240 VAC 50/60Hz) and a car power adapter.

Power input on the charger is a small DC connector, it need 12 volt 1.8A according to the label on the bottom of the charger.
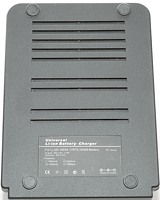
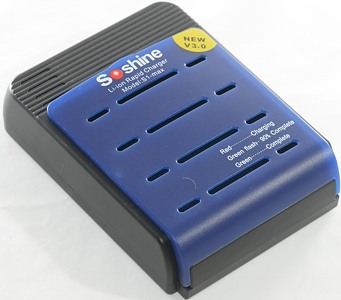
The bottom has the label and a lot of slots for air. These slots are not going to help much because the top of the charger does not have matching vents and when stuffed with batteries there is very little space around them.
The charger has 4 leds one for each channel, that can be either red or green.
- Red: Charging.
- Flashing green: nearly done charging.
- Green: Battery fully charged.
- Off: No battery, very low battery or reverse battery.
- Flashing red/green: Non rechargeable.
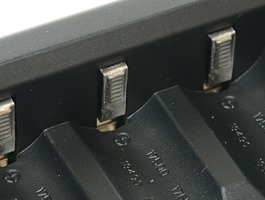
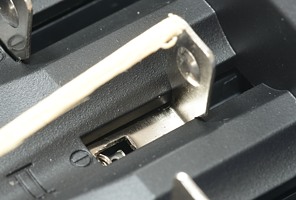
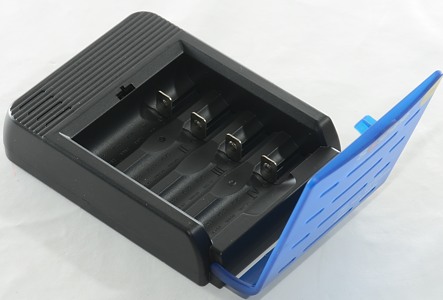
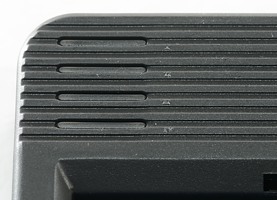
The connections are slightly raised, i.e. it can charge flat top batteries. The slider slides smooth.
Batteries between 47 and 71 mm can be used.
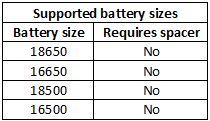
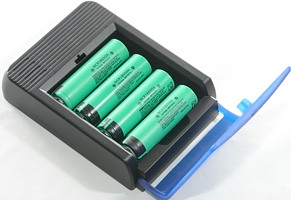
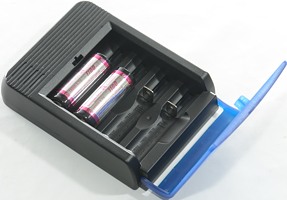
The charger is not rated for 26650 batteries, but it is possible to put one or two in the charger and charge them (The Soshine 26650 was a tight fit, due to their length).
The charger can handle over 70 mm long batteries, including flat top cells.
Measurements
- When not connected to power it will discharges with up to 0.4mA
- When power is connected with a full battery, the charger will discharge with 0.4mA.
- It will restart charging on reinsertion of the battery or power cycling.
- Charger will not restart if battery voltage drops.
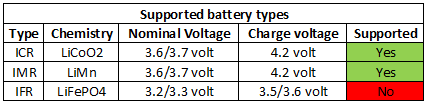
- Below 1.5 volt the charger will charge with 35mA and the leds will flash red/green.
- Between 1.5 volt and 3.0 volt the charge current will be 0.3A.
- Above 3.0 volt the charge will use regular charge current (See curve).
- Green leds will flash when battery is nearly full.
- The channels are independent and there is small variations between them.
%20%231.png)
Charging a 3100mAh battery takes about 3½ hours. At 185 minutes, the charger starts flashing green, i.e. signaling that the charger is nearly finished. This feature is very useful when short on time, as can be seen on the blue mAh curve there is very little capacity gain during the rest of the charge time. I.e. removing the battery when the green led flashes will give nearly full capacity, but save some minutes in charging time.
%20%232.png)
%20%233.png)
%20%234.png)
The other 3 channels looks nearly identical to the first channel.
.png)
Charging on all four channels at the same time, does not reduce the charge current, i.e. it will charge four batteries just as fast as one battery.
The temperature is from slot #3, slot #1 is hotter, especially if the lid is closed.
%20%231.png)
A 3400mAh battery is slightly slower to charge.
%20%231.png)
Going down to 2600mAh is slightly faster.
%20%231.png)
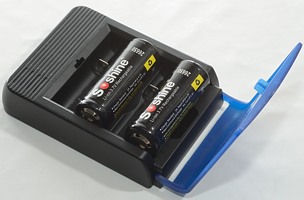
The charger does also handle my old IMR cell, without any problem.
.png)
With a 12 volt supply I can measure the maximum current draw to about 1.75A.
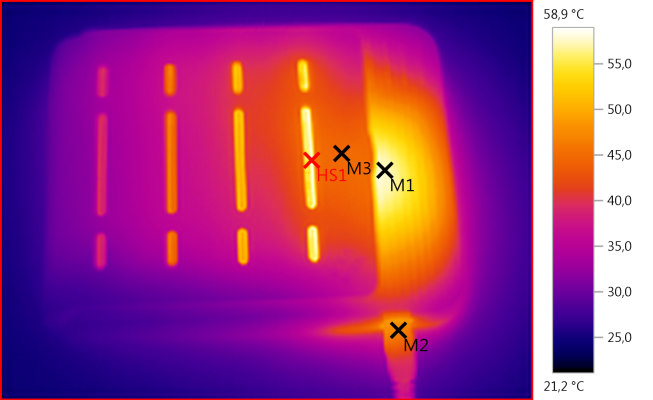
M1: 57,5°C, M2: 46,9°C, M3: 44,7°C, HS1: 58,9°C
With the lid closed while charging, a lot of stuff gets hot.
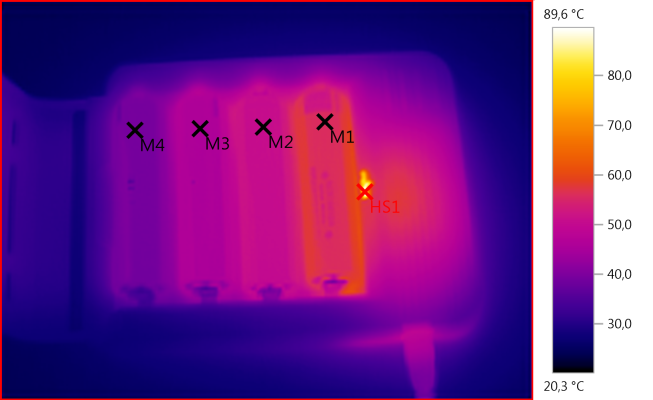
M1: 55,8°C, M2: 50,8°C, M3: 45,8°C, M4: 39,2°C, HS1: 89,6°C
Here I opened the lid to measure battery temperature, especially slot #1 gets hot.
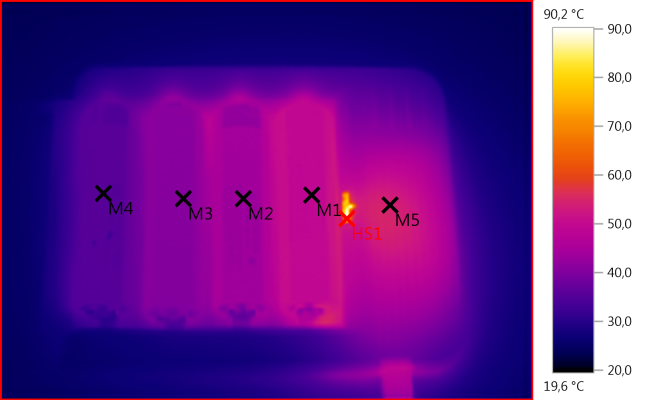
M1: 49,4°C, M2: 43,9°C, M3: 40,9°C, M4: 35,6°C, M5: 54,4°C, HS1: 90,2°C
Running the charger with open lid reduces the battery temperature significantly.

This charger uses soft start, it takes a few seconds to reach full charging current..
Testing the mains transformer with 2500 volt and 5000 volt between mains and low volt side, did not show any safety problems.
Conclusion
This charger is not a charger with a lot of smart features, but for charging up to four 18650 batteries it does a very good job and the "nearly finished" indication on the leds is nice. For people that need to charge many 18650 it is a good solution.
To keep the temperature down I will recommend using it with the lid open and preferable leave slot #1 empty (This will generate less heat and keep the batteries away from the heat).
Notes
The charge was supplied by Soshine for review.
Here is an explanation on how I did the above charge curves: How do I test a charger