Battery Length Gauge
When testing chargers for LiIon batteries I always check how long batteries it support, but it is sometimes a bit difficult to measure, because there is spring tension and the connections pads has dimples on them. I have for a long time wished for a gauge to measure the slot length, something I could screw in and out until it just fit and then measure it with my caliper. With a 3D printer I could make one.
Design
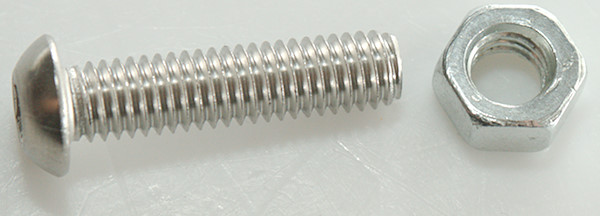
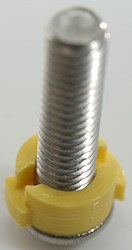
As the adjusting element I used a 6mm screw, I would have preferred a hex head, but it I did not have any. But I had a M6x24 with rounded Allen head that could be used. This is not ideal for strength due to the small hex, but then it is not supposed to need much.
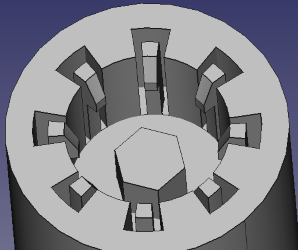
The tricky part was to design something to hold the screw, after a few experiments I got the above working. With a hex head this would have been more difficult to design, because I would not able to place the grips in a circle. Some other type of locking would probably be better (See below).
With the screw inserted it is held nicely.
The other part was easy enough with a hex nut and a hole.
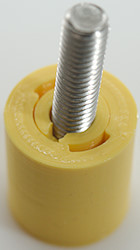
I designed it for a minimum length of 65mm and with the used screw I can measure up to about 80mm in length. The diameter is 18mm, this will also be fine enough for batteries with diameters of 20 & 21mm.
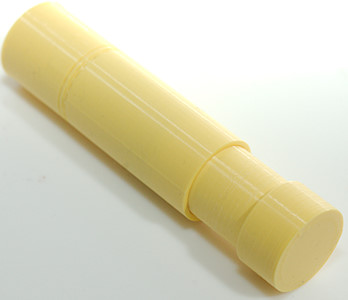
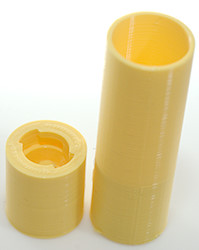
The final design with the two parts.
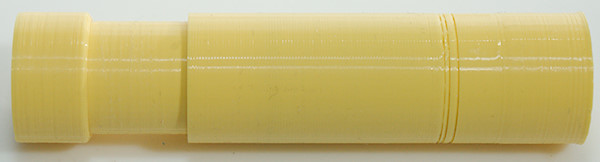
And together. To get the screw in I screwed it in the part with the nut and then careful slid them together. Twisting a bit to get the head aligned and pressed down to lock it in place.
More design
Above I talked about needing another way of locking the screw down, if using a hex head. I wanted to try it, but I had to use the screw with Allan head.
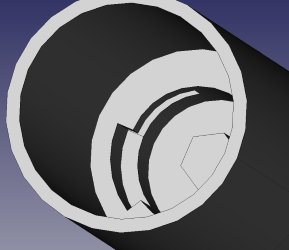

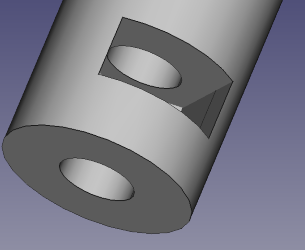
This was the design I wanted to try.
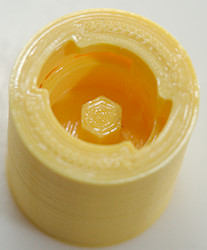
Designed and printed. The bottom in a short version for testing.
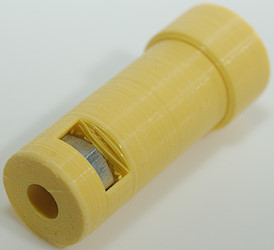
The lock fits around the screw and was easy enough to mount on a short test base.
But the longer base with the cover around the screw was a lot more difficult. Some needle nosed pliers and a thin screwdriver made it possible.
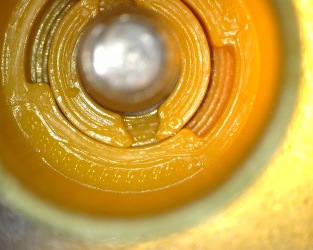
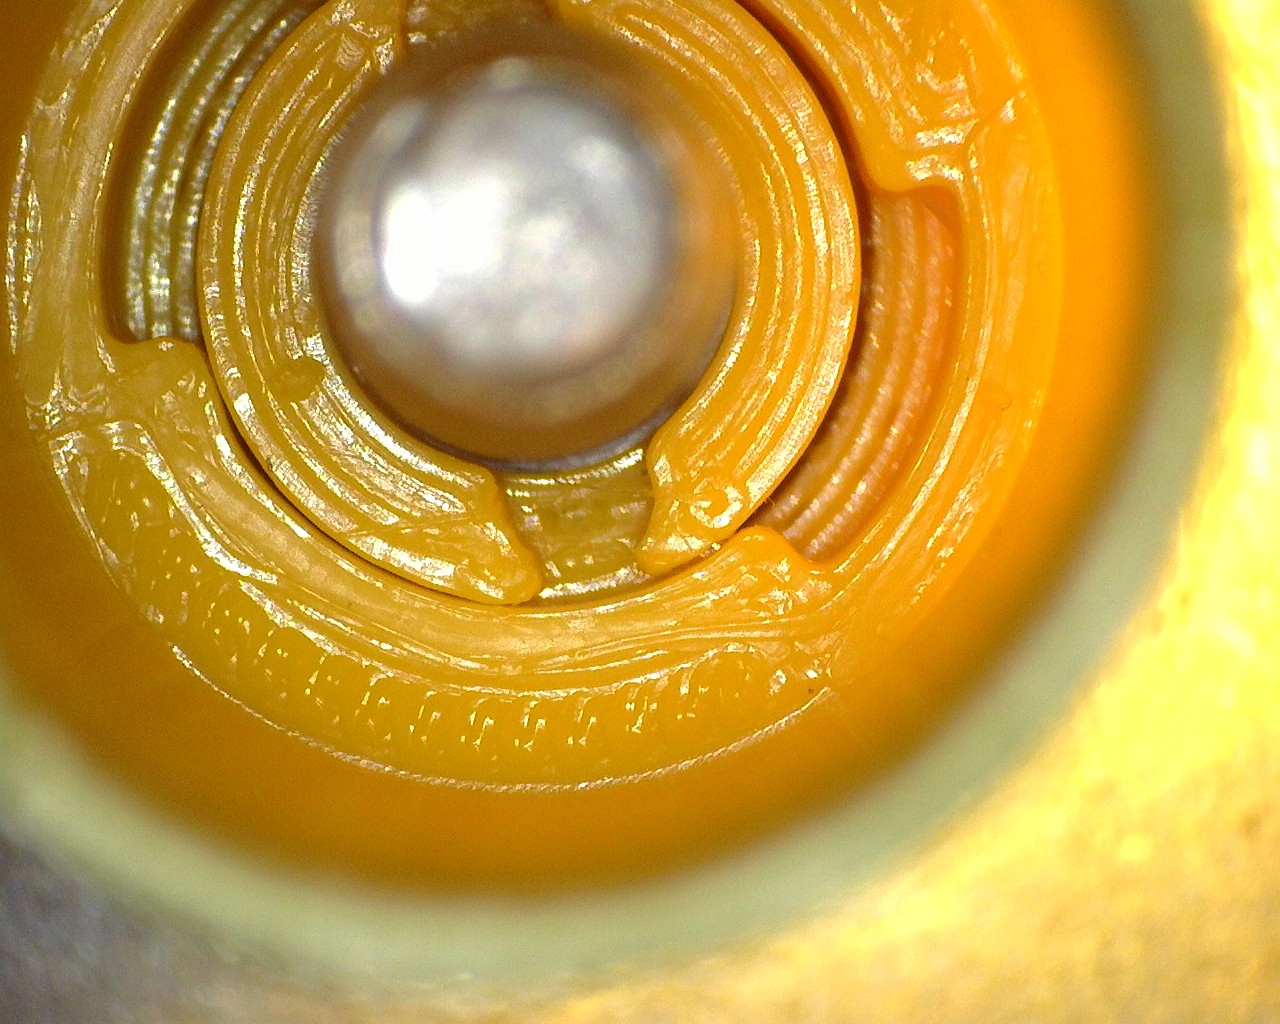
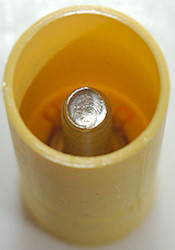
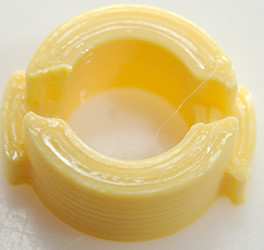
A photo into the final result.
Because I made the locking parts flat, getting a tight enough fit was trial and error. I could have adding some slant to one of the parts, but for that to work I would probably have to use the smallest layer size on the 3D-printer.
The base has same dimensions as the first one and can be used with the same top/nut part.
Testing

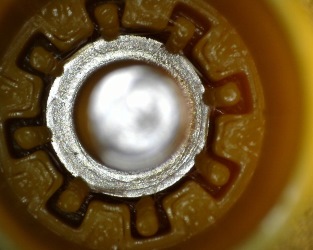
First I adjusting it until it just can be inserted and remove from a charger.
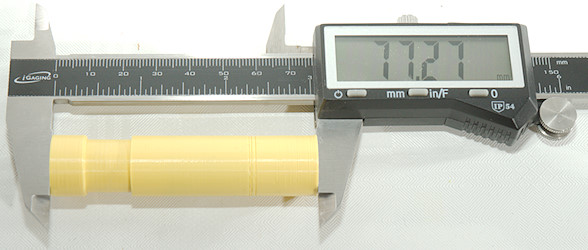
Then I take it out and measure the length.
Conclusion
A interesting project to design on the 3D printer, I believe it will be very useful in the future to get slightly more precise length measurement of the battery slots.
Notes and download
3D stl files
I printed with PLA, 0.2mm layer hight and 20% infill, but it would probably be better to use 100% infill. The horizontal surface in the nut part is a bit rough, because I did not use support, but it was easy to clean.
Both bottom designs are included.