Thermal Imaging Camera HT-02D
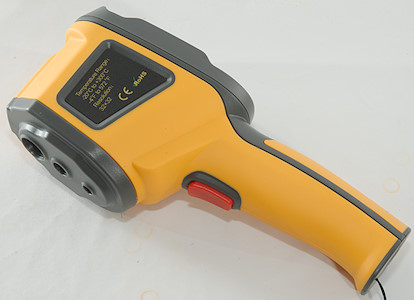
This is a fairly cheap Thermal Imaging Camera, the thermal resolution is only 32x32 pixels, for an image it is rather low, but compared to a IR thermometer it is 1024 times better. I will check it out and compare it to my much more expensive Thermal camera.
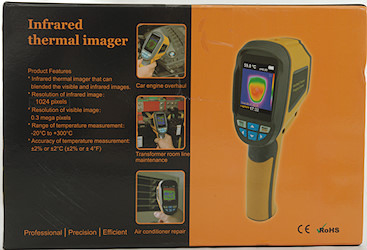
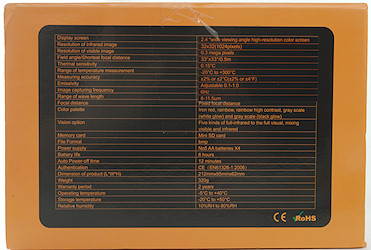
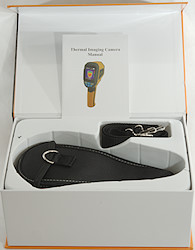
I got the camera in a fairly large cardboard box with a lot of specifications.
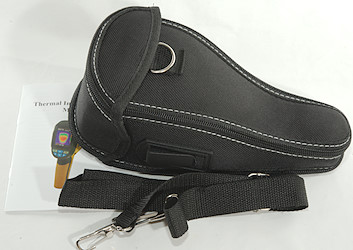
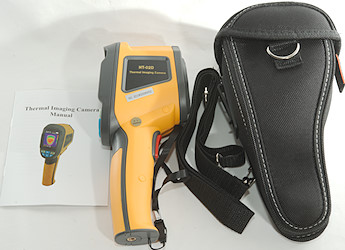
The box contained the camera, a pouch with shoulder strap, belt clip and the manual. Inside the camera was a 4GB micro SD card.
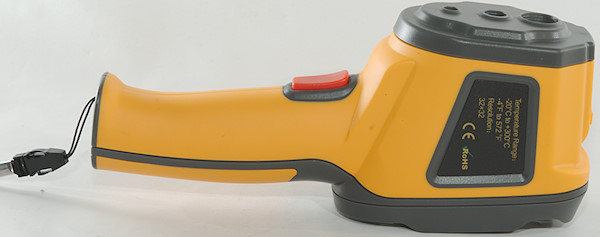
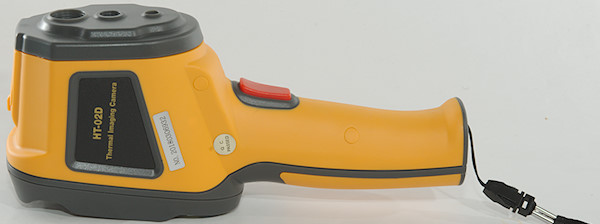

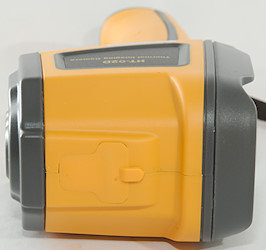
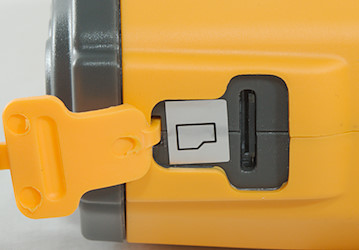
The micro SD card is behind a flap on the top of the camera.
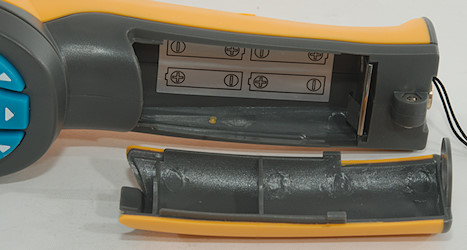
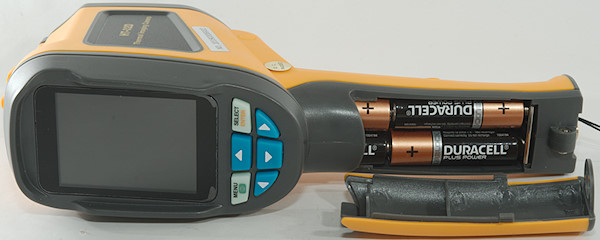
The camera did not include batteries. It uses ordinary alkaline batteries and is specified to work 6 hours on a set of four.
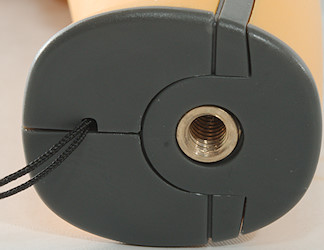
The camera can be mounted on a tripod.
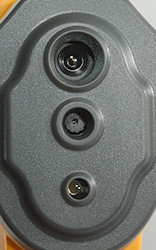
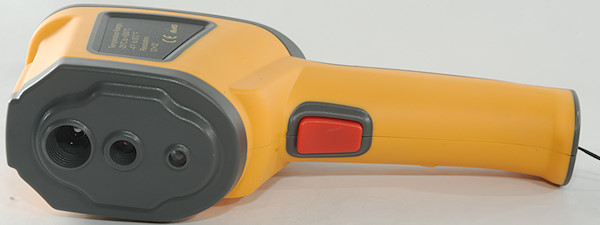
Business end of the camera, at the top is the IR camera, in the centre a visual camera and at the bottom a white led.
User interface
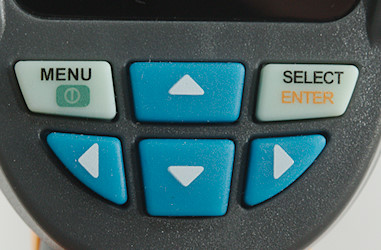
These 6 button is the main user interface. Hold the Menu key down turn on or off, when on a short press will enter/leave the menu system. To edit a menu setting press Select and press Select again to enter or Menu to leave a sub menu. The arrow up/down is used to adjust most settings, date/time setting and image preview requires the left/right arrows.
When viewing an image the left/right key adjust the mix between temperature and visual image (See below).
The Menu key is also the "Yes" key.
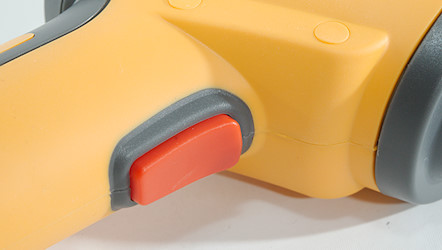
The trigger button is used to take images, to save a image the Menu key must be pressed after the trigger.
Holding down the trigger will turn the white led on.
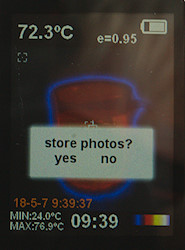
When the trigger is pressed this dialog pops up, press the menu button to save. Pressing the trigger again or the Select button will discard the image.
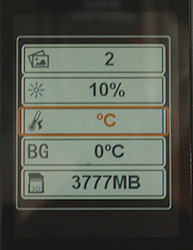
The menu is a mix of options, information and functions.
It has information about: Memory card space, images on card, ambient temperature, time.
It has settings for: °C/°F, environment temperature, emissivity, color palette, mark high low on image, date/time, background light brightness
It has a function to view the saved images.
Images
I do not necessary point the camera at the most interesting spot, check the MIN/MAX annotation in the lower corner, it matches the two other markers.
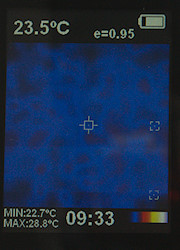
When pointing at a fairly uniform surface the display just shows noise.
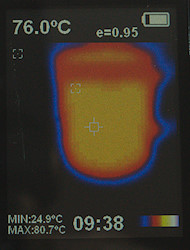
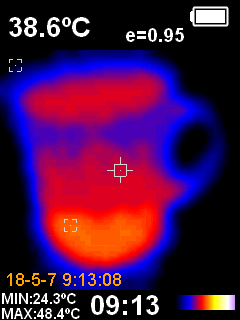
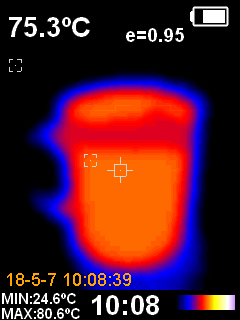
A hot cup of tea. Photo of screen and saved image, on the saved image is added a date/time stamp.
The center marker is always at the center, the two other markers move around to show where the maximum and minimum temperature is found (They can be enabled/disabled in the menu system).
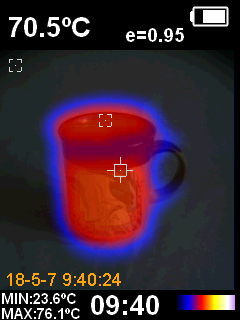
Mixing visual and temperature image, it is possible to adjust the mixing.
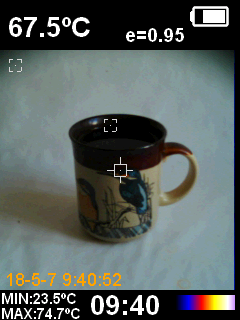
Only visual image, but the temperature is still shown.
Comparing to another much more expensive thermal image
These two images where take at the same time with the cameras beside each other.
This comparison gives an idea about what can be done with the HT-02D.
The HT-02D saves a final image with all information embedded in the image.
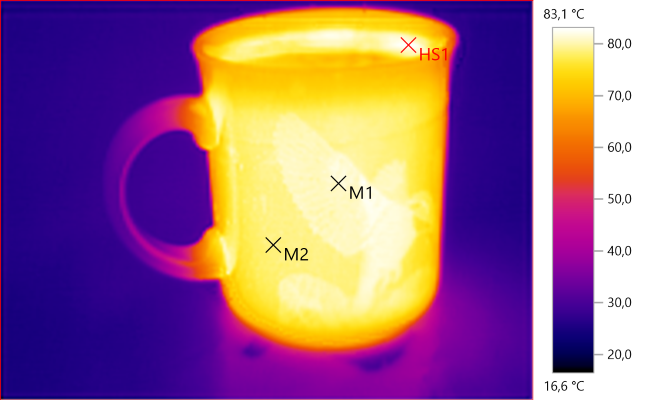
M1: 81.3°C, M2: 79.2°C, HS1: 83.1°C
This camera saves a proprietary file with both temperature and visual image in it. To get the final image I must use some proprietary software on a PC where I import the file, then put the markers on. I can combine with visual image or not and finally export the image (The above image is not in full resolution, I have scaled it a bit down).
The final image has much larger resolution and the temperature scale (colors) are adjusted to fit the image (This is a setting, I can define max. and min. temperature in the scale).

For next comparison i used a usb load, it gets very hot.

Due to the large pixel size this camera do not find the hottest point, but it is close. I am surprised that the color scale only goes to read, I would have expected some yellow dots in this image.
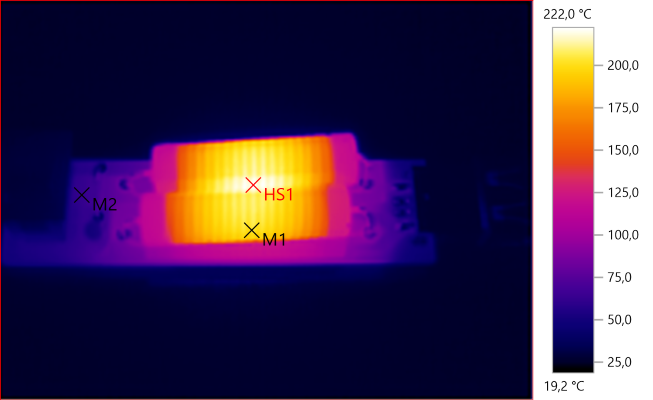
M1: 202.9°C, M2: 61.8°C, HS1: 222.0°C
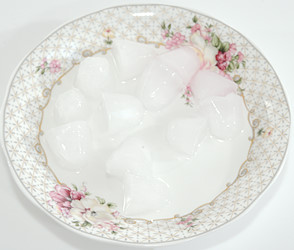
Lets try low temperatures, a dish with ice and a bit of water
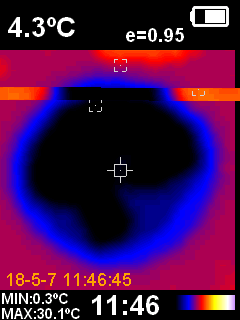
The camera has an error in the saved image, I have seen that a few times.
Again the camera cannot find the absolute lowest temperature due to the pixel size.
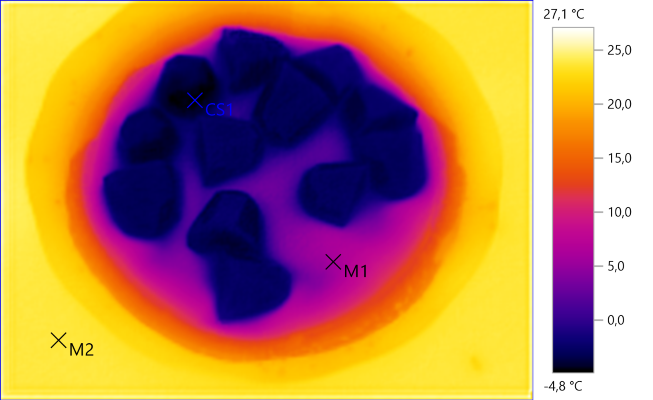
M1: 5.9°C, M2: 23.8°C, CS1: -4,8°C
As above, but with some salt added to the water, this brings the temperature down:

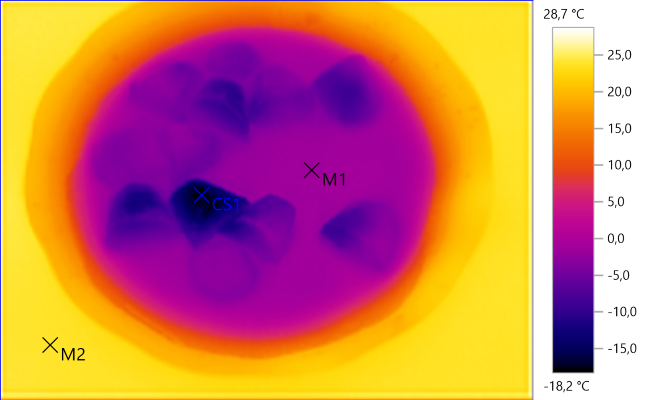
M1: -1,3°C, M2: 23,9°C, CS1: -18,2°C
Lets also check a charger IR image:

It is a bit difficult to see what it is.

Adding some visual image helps, but there is some parallax error (The red area is slightly besides the charger), this is because I am too close to the charger.

A bit more visual and turning the camera 90°.
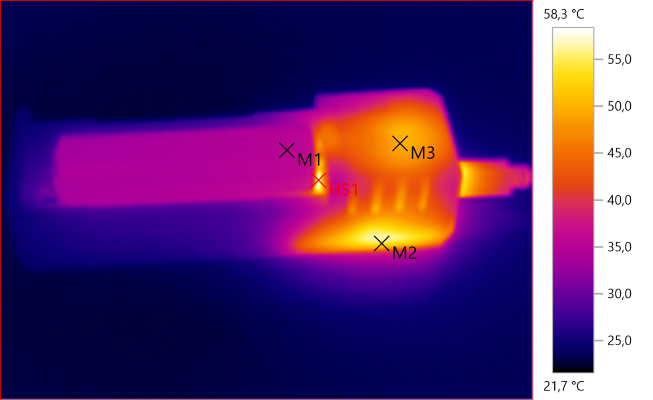
M1: 35.3°C, M2: 53.9°C, M3: 49.8°C, HS1: 58.3°C
The higher resolution gives a much better image, but the HT-02D shows the essential temperature information.
Measurements
- Weight: 327g inclusive batteries, but excluding pouch.
- Power consumption when off 1.4uA
- Power consumption when on 160mA with 10% backlight (Default)
- Power consumption when on 240mA with 100% backlight
- The rated 6 hours may be a bit difficult on alkaline, but is easily done on NiMH batteries.
- Led light add 4mA to consumption.
- Turn on time is about 7 seconds, but it need about double that time before the temperature reading is correct.
- Turn off time is about 7 seconds
Conclusion
The low resolution prevents the camera from seeing the correct temperature in small areas, but it do give a good idea about what is hot and cold, approximate temperature and the location of it. The color palette is not used very effectively, why do it not not have any yellow or white color in it, it never goes higher than red. There is also the detail about occasionally image faults.
Even with the low resolution I believe this thermal camera is very useful and a huge upgrade from a simple IR thermometer, using the higher resolution visual overlay makes it possible to recognize objects on the image.
Notes
The Thermal Imaging Camera was supplied by Banggood.com for review.


