USB meter: RD Tech USB 3.0 tester USB-3.0-H
Official specifications:
- Voltage measurement range: DC 04.00-24.00V
- Current measurement range: DC 0.0000-3.0000A
- Capacity accumulation range: 0.0000-9.9999-99.999Ah
- Energy accumulation range: 0.0000-9.9999Wh-999.99Wh
- Voltage measurement accuracy: ± (0.2% + 1digit)
- Current measurement accuracy: ± (0.1% + 4 digits)
- Time measurement range: 0-99h59min59s
- Temperature measurement range: -10??65?
- Temperature measurement error:±2?
- Screen brightness setting: 1-7 level
- Delay closing screen time: 1-9 mins
- Voltage curve range: 04.0-24.0V
- Current curve range:0.00-3.00A
- Update rate: 2Hz
- Protection function: OVP (over-voltage protection), UVP (under-voltage protection), OTP (over-temperature protection), OCP (Over-
- current protection) and UCP (Under-current delay time protection).
- Charging mode: Direct Mode, Quick Charge Mode, Disconnected Mode.
- Other functions: Screen rotation Shunt-down screen
- Quiescent current: about 10mA
- Product weight: 14g (package 46g)
- Product size: 64.0mm*21.6mm*11.2mm (L*W*H)
- Port mode: compatibility USB 2.0 USB 3.0
- Display screen: 0.91 128*32 lattice OLED screen
I got this unit from "RD official store" on Aliexpress
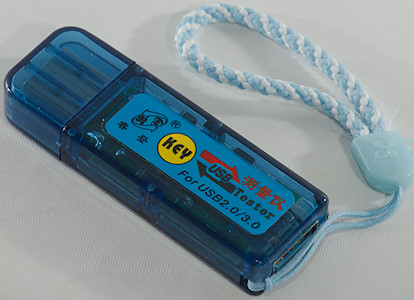
How does it look
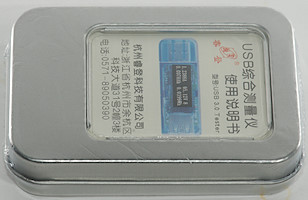
The meter is delivered in a metal can.
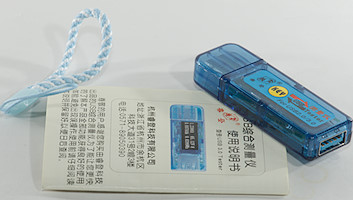
It includes the meter, a instruction sheet with 8 pages in English and a lanyard.

He "key" is a button, pressing on it is time sensitive in 3 steps: short press, medium press and long press, a red led on the front can be used for timing the presses.
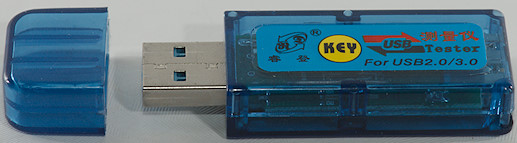
There is a cap on one of the usb connectors.
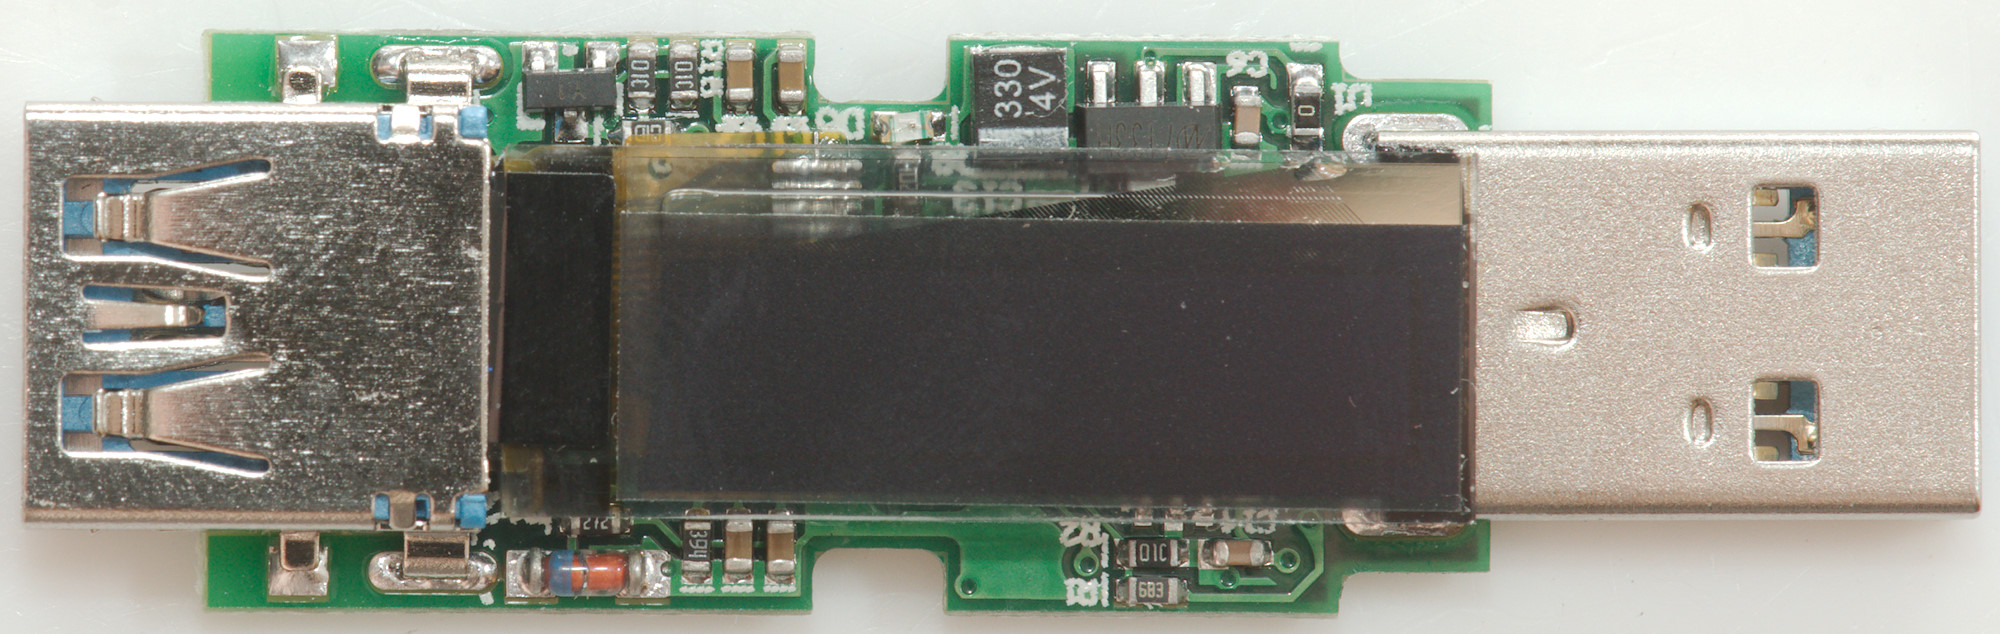
The display is a OLED display with many modes. Below the display is a red led that is used to time the presses on the button.
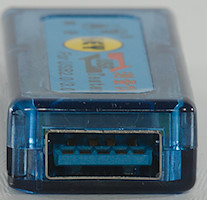
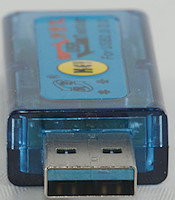
The two connectors with usb 3 support. The only thing that usb 3 does it running the signals through, it do not affect the measurements.
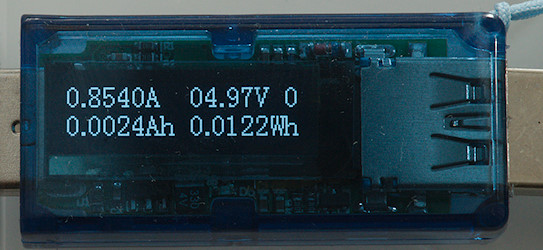
This is the main measuring display
The meter has 10 memories, these can be selected by a long press. Memory #0 is auto reset, the other requires a manual reset.
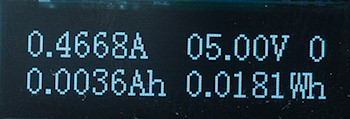
The auto reset function works fairly well: Connect the meter to power without any load connected and the last value can be read. Start drawing current and it will reset to zero.
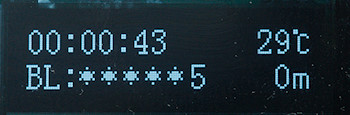
This display shows the runtime and internal temperature. It is possible to adjust the display brightness and the display off time.
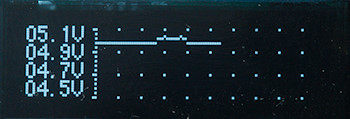
Voltage curve, it will only record a curve when visible and it will be lost when power goes off or another screen is selected.
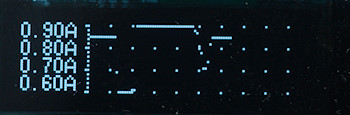
Current curve, it will only record a curve when visible and it will be lost when power goes off or another screen is selected.
The scale will not change, but move up/down as needed.
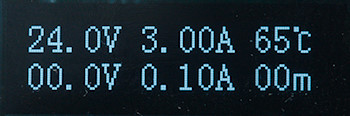
The limit settings, this can be used to turn the output off on over/under voltage, over/under current and if the meter gets hot. The "m" setting is a delay for under current.
These values are rather difficult to adjust. It is possible to reset these setting by powerering up the meter with the button held down.

This sceen is used to select usb mode, the above symbol is standard where the data pins are connected from input to output.


The two other modes are: Data pins unconnected and battery charging mode (Meter will auto code output with Apple 2.4A as maximum, ignoring any coding on the input).

Adjustment of display orientation.
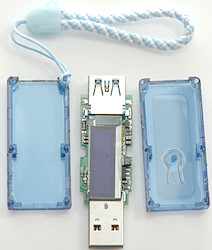
I only needed a (sharp) spudger to open it.
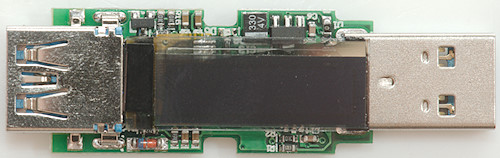
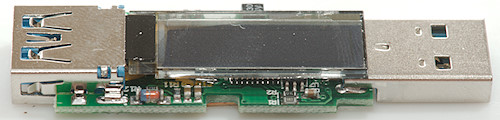
Display is hiding most of the electronic here, only a transistor and a voltage regulator is visible.
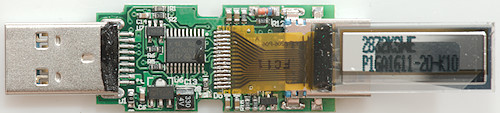
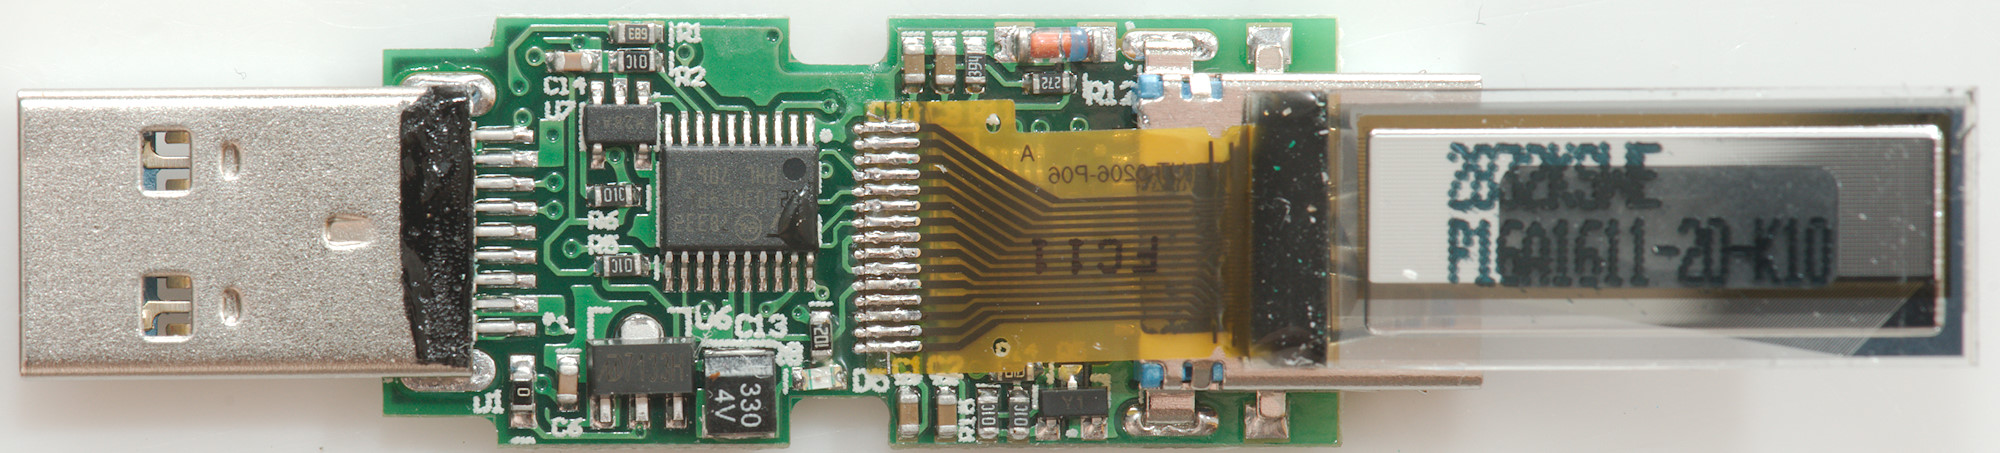
The processor is a STM32F030F4P6, the 5 pin chip besides it (U7: marked M28A) may be some sort of memory.
There is one more chip hidden below the flat cable to the OLED display. Again I will have to guess, maybe it is the chip that disconnects the data pins (Closeup of the chip).
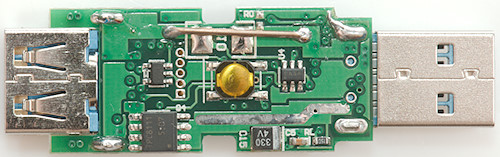
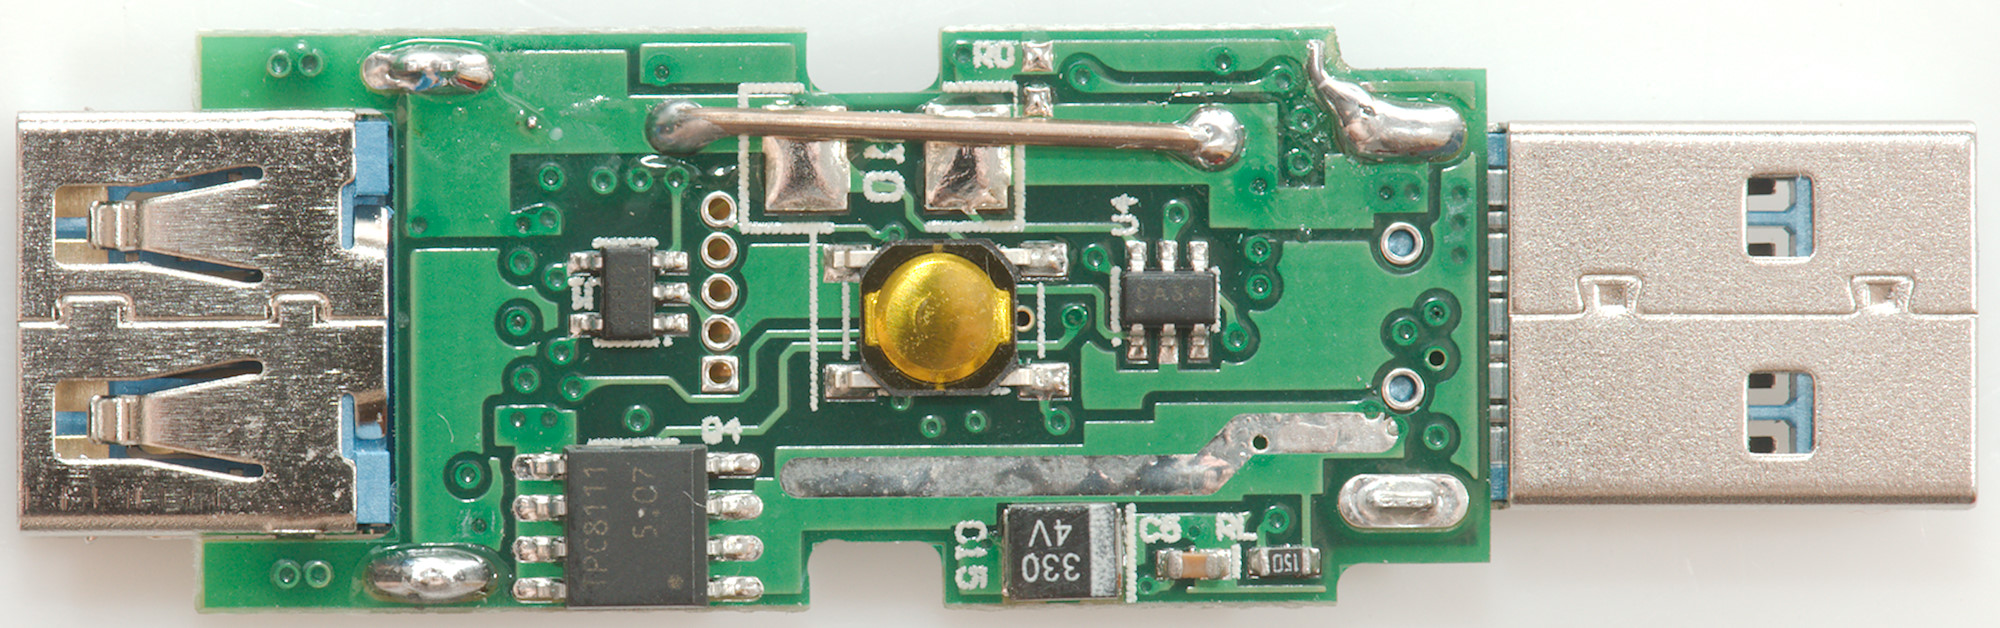
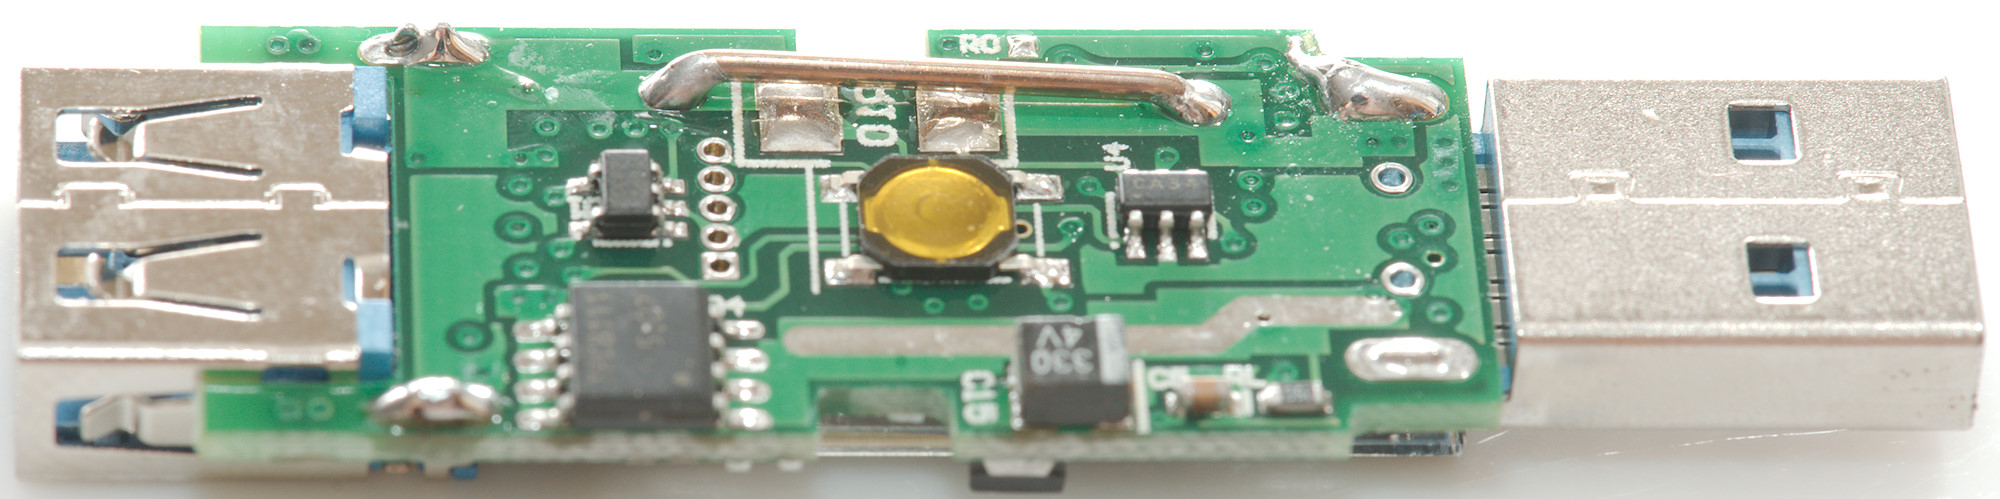
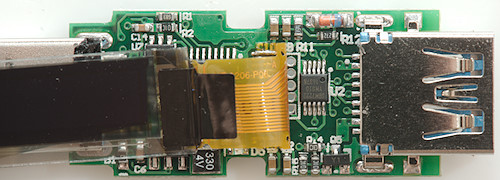
The current shunt is a piece of wire, but there is space for a resistor below it. Across the shunt a ADC (U4:Marked CA34) is measuring the voltage. The 8 pin chip is a a mos fet transistor that handles the connect/disconnect of the output. Besides it is a 5 pin usb coding chip (888F2).


Measurements
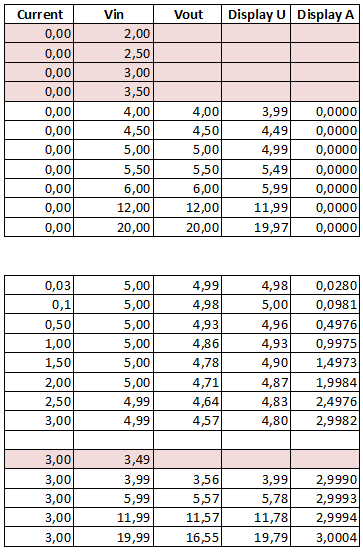
This device needs nearly 4 volt before it will work, even with the undervoltage protection adjustet to zero.
- Own current consumption is 13mA with display on and 6mA with display off.
- Internal resistance is about 0.11ohm including connection resistance.
- Remembers Wh and Ah when power is off
- Voltage display is within 0.03 volt in the 4.0 to 20.0 volt range.
- Current display is within 0.03 ampere in the 0 to 3.0 ampere range.
- USB data works fine.
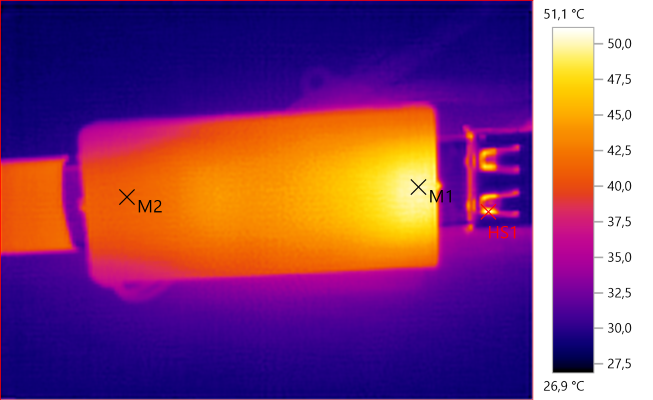
M1: 50,0°C, M2: 41,2°C, HS1: 51,1°C
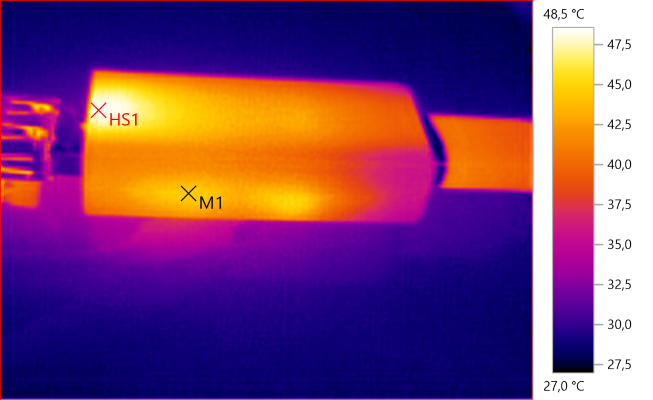
M1: 44,8°C, HS1: 48,5°C
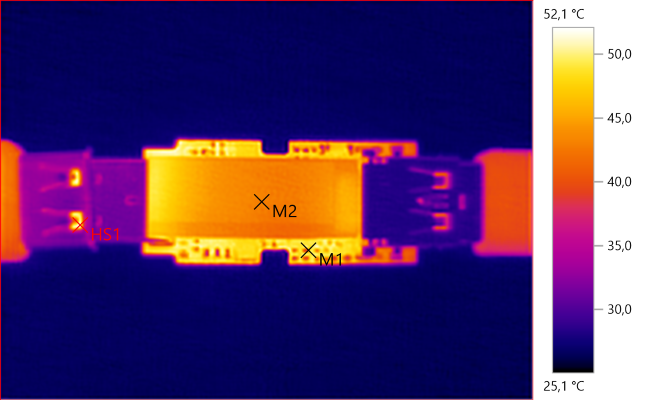
M1: 43,0°C, M2: 42,8°C, HS1: 52,1°C
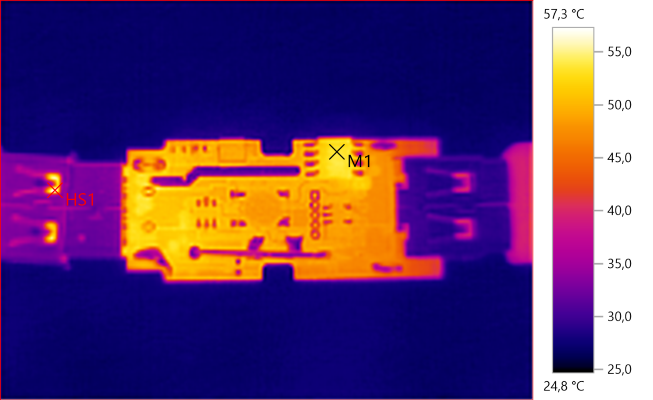
M1: 53,5°C, HS1: 57,3°C
M1 is the power mos transistor that handles disconnect on faults.
Conclusion
With the ability to remember Ah and Wh this device can be used to check capacity of power banks. The safety cutoff can also be useful, but is a pita to adjust.
The internal resistance is acceptable, but as usual I could with for a lower resistance.
The ability to disable usb data connections and optimize charging can be useful sometimes, but has to be carefully used (i.e. do not optimize charge on a weak power supply).
It is a good usb meter.
Notes
The meter was supplied by RD tech for a review.
How do I make the test