Charger Fenix ARE-X1+
Fenix has upgraded the ARE-X1 charger, there is now support for NiMH in adition to LiIon and it also includes a display. It has lost the power bank function.
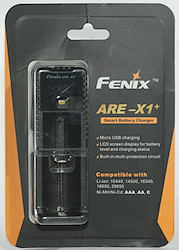
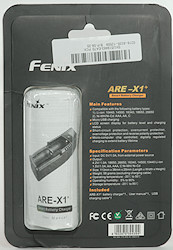
The charger comes in a blister pack with specifications on the back.
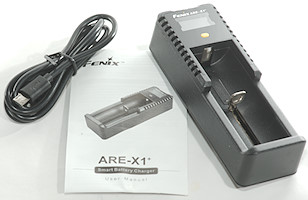
The pack contained the charger, a usb cable and a instruction sheet.

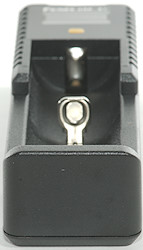
The micro usb power input connector.
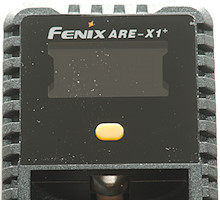
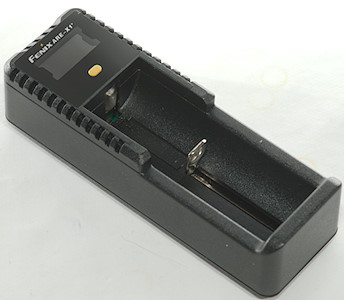
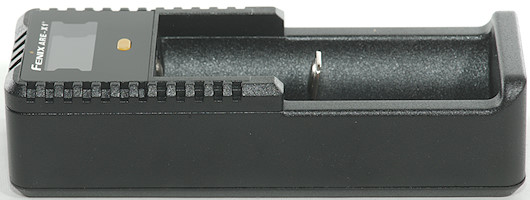
The user interface is a display and a single button, the button is only used to select what to display and turn the display off.
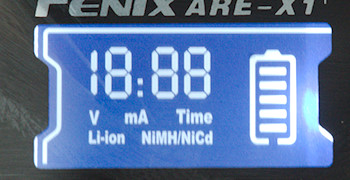
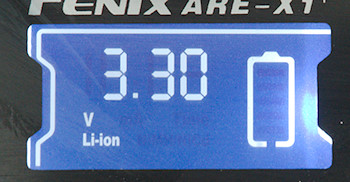
On the first picture I have captured the power up display that shows all segments, the next it the default charging display for LiIon.
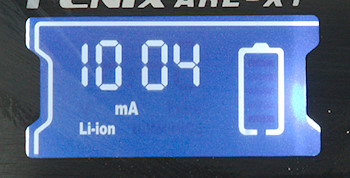
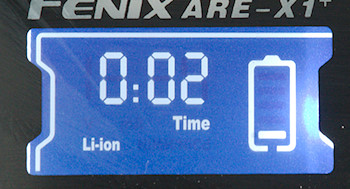
Current and time can be selected by the button.
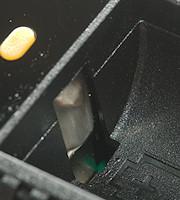
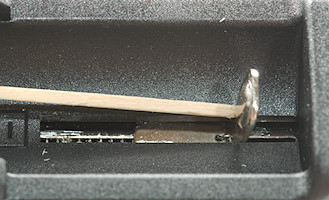
The charger uses the classical slider construction, it will handle from 33mm to 69.5mm long batteries. This prevents the longest 18650 and 26650 cells from being charged in it. The new 21700 cells will not fit either.

The charge current is too high for smaller cells.
Measurements on charger
- LiIon batteries will be discharged with up to 0.3mA when power is either on or off.
- NiMH batteries will be discharged with up to 0.1mA when power is off.
- Below 0.3 volt the charger will charge pulse current trying to start battery and report "Err"
- Below 2.2 volt the charger assumes NiMH batteries.
- At 2.2 volt and above the charger assumes LiIon and charge with 250mA.
- Above 3.2 volt the charger will use full charge current on LiIon
- Meter is within 0.02V measured with current off.
- Meter has a smoothing function, making voltage changes very slow with NiMH.
- Meter will not reduce reading, except if the battery is removed.
- Meter stops updating when battery is full.
- Idle current with display on is about 20mA and 7mA with display off.
- Charger will not restart if battery voltage drops.
- Charger will restart on battery insertion and power cycling.
Charging LiIon
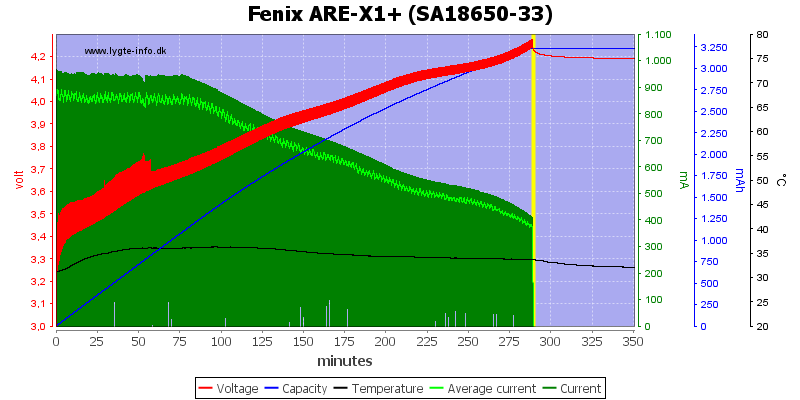
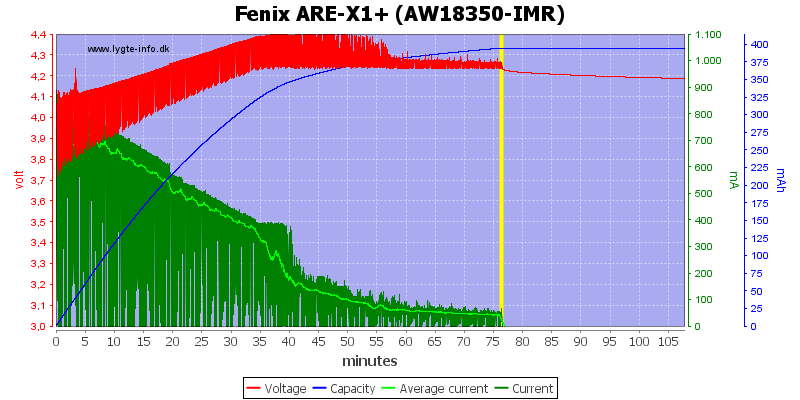
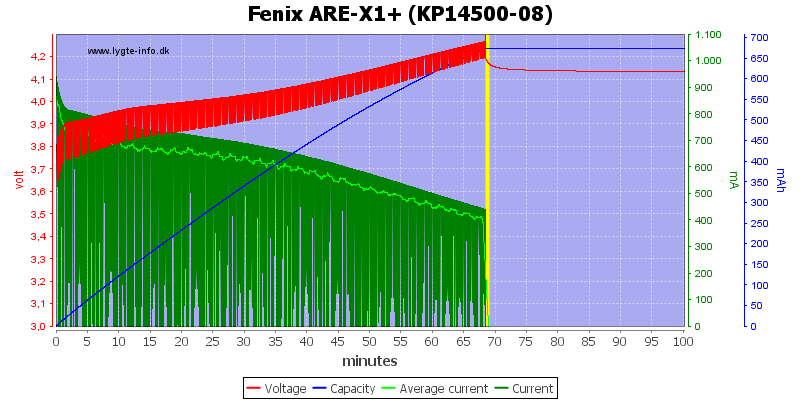
The charger uses a (simulated) CC/CV charging. it charges above 4.2V and stops at a rather high termination current, but the batteries is charged to 4.2V
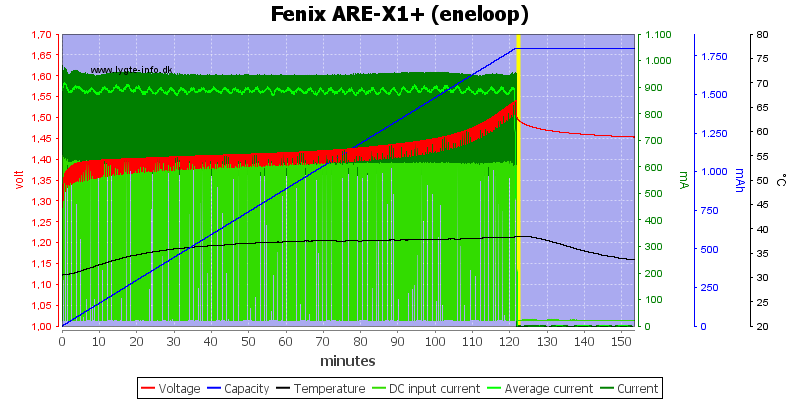
Same as above, but with current consumption curve. The charger uses 1A from usb.
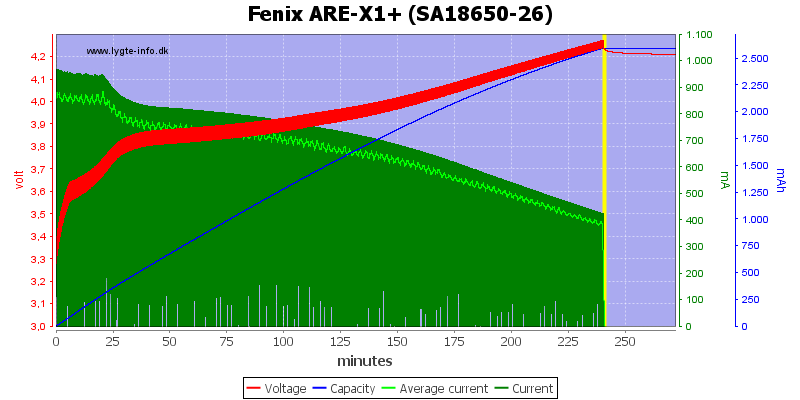
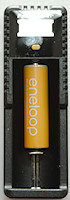
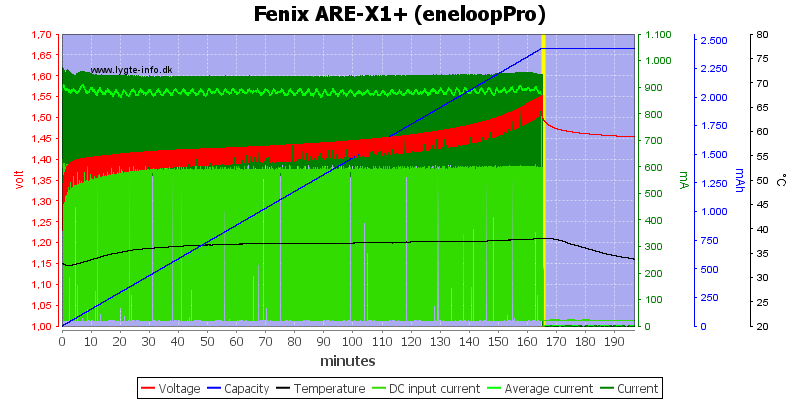
This cell is charged the same way.
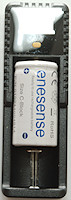
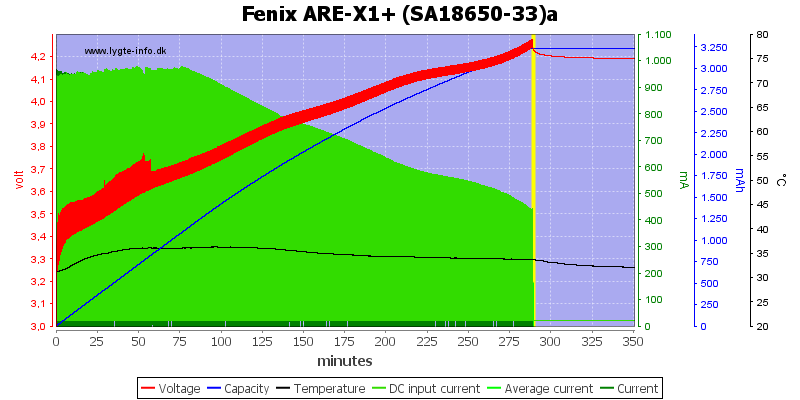
This cell is older and the final voltage is 4.3V, but the cell do not reach 4.2V
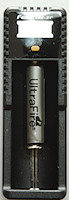
An even older cell, just after 225 minutes the charger reduces the charge current, probably because the voltage is above 4.3V.
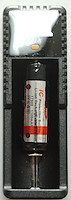
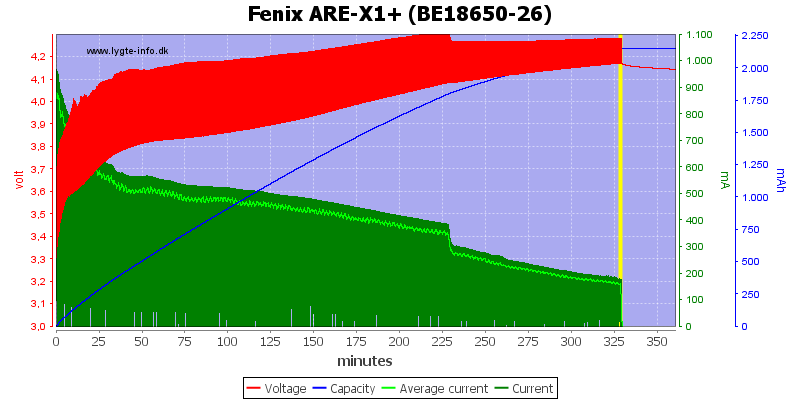
With this old cell the overvoltage is easy to see. The charger will reduce current to keep the over voltage down, but here it is slightly above 4.4V
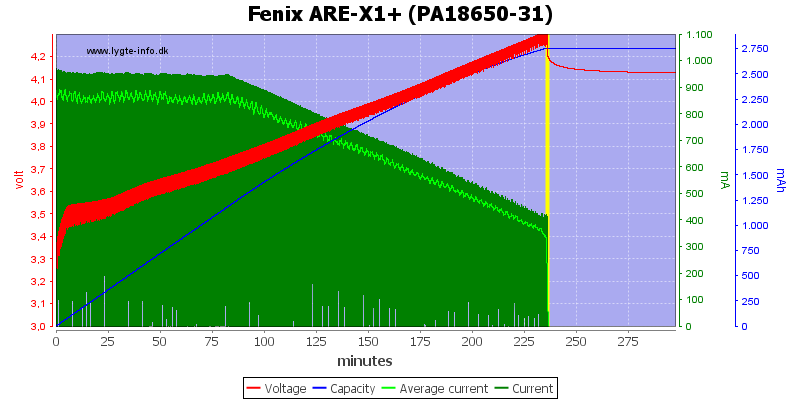
The charge current is too high and the charger do not charge the cell completely.

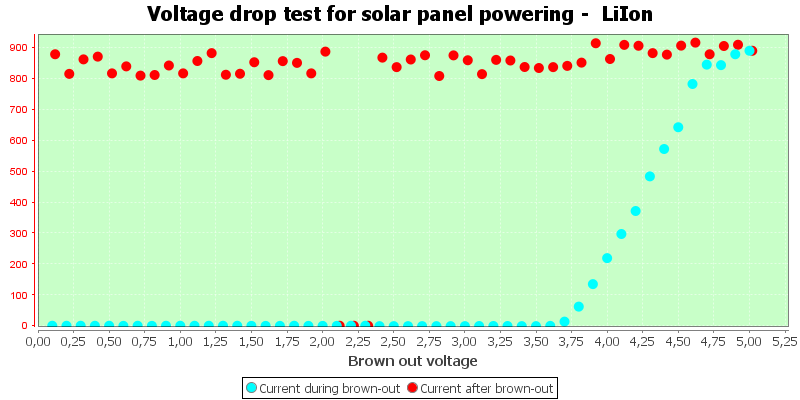
Adding a 0.5ohm resistor to simulate a long cable or weak charger did not work perfectly, the charger stops too early.
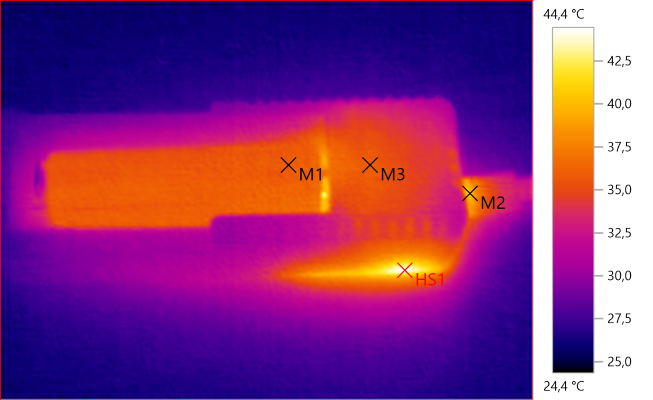
M1: 35,6°C, M2: 40,2°C, M3: 36,0°C, HS1: 44,4°C
The temperature looks fairly low.
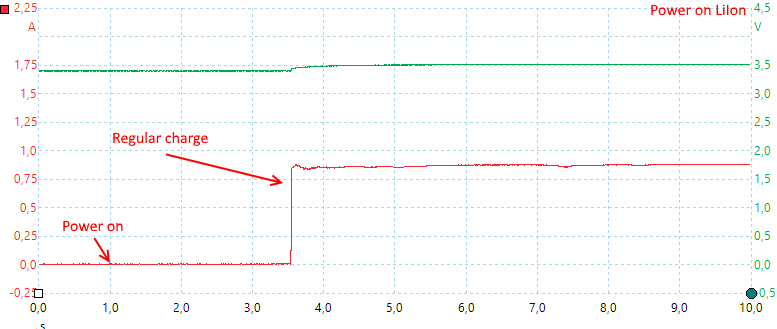
The charger needs about 2.5second to start.
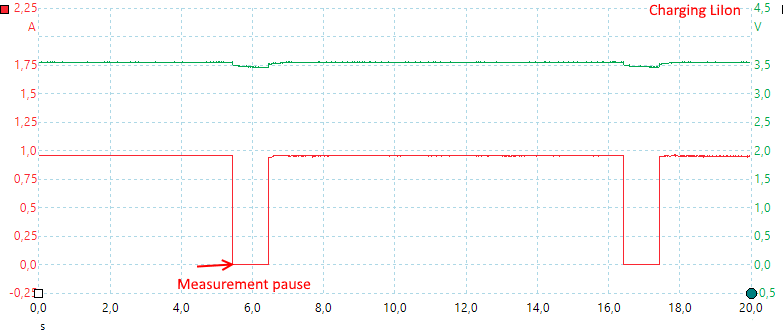
It pauses every 10 seconds to measure the voltage, it is acceptable for displaying voltage, but is not really a good way to control charging.
The charger has a problem working with a unsteady supply, if the voltage drops to just above 2V it will not resume charger when it increases again.
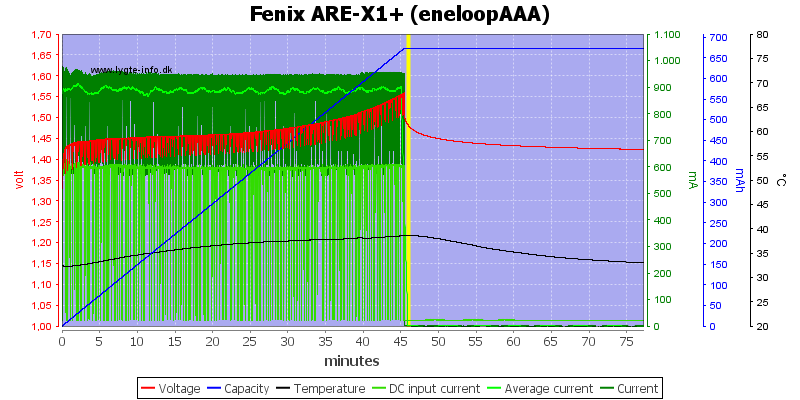
Charging NiMH
The charger uses voltage termination, but without any top-off charge. It looks like the temperature is just about to increase, i.e. the battery is full.
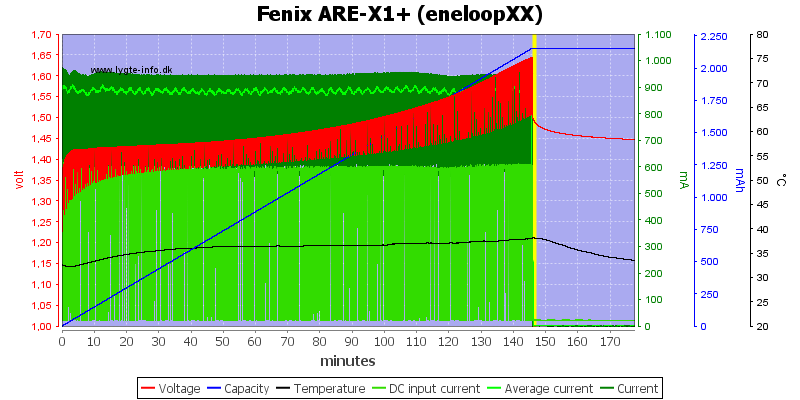
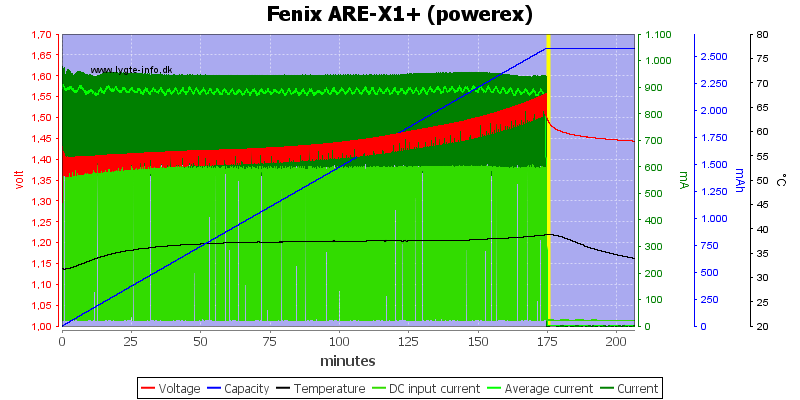
All these 3 cells looks like they are perfectly charged.
Again it looks like the temperature is just about to raise.
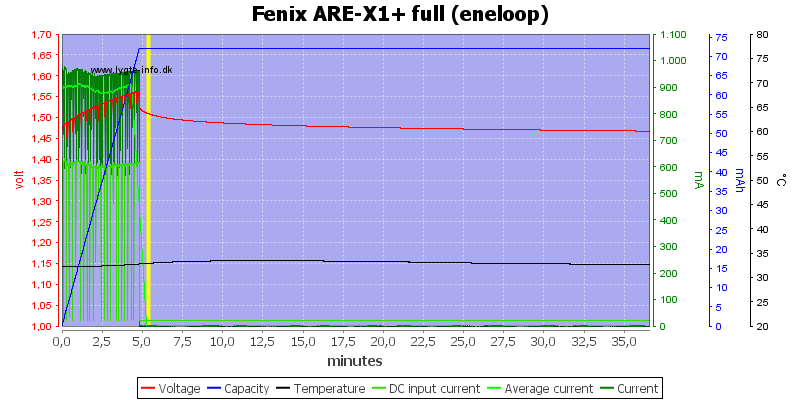
A full battery is detected within 5 minutes.
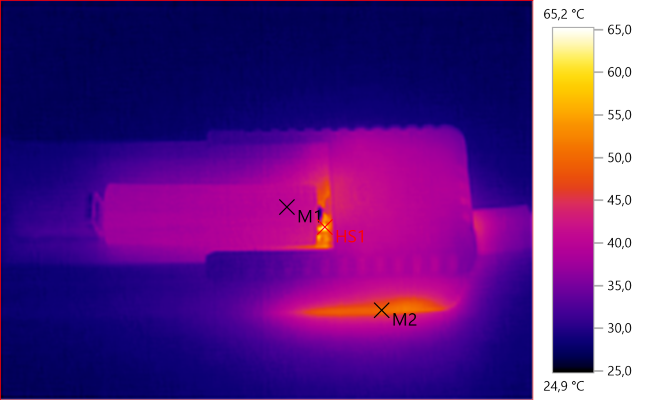
M1: 40,1°C, M2: 49,9°C, HS1: 65,2°C
During NiMH charging the charger is warmer than at LiIon.
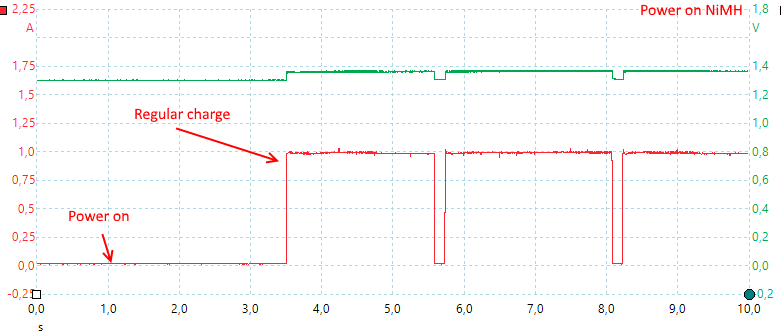
Again the charger needs 2.5 second to start, here the measuring pulses occur more often.
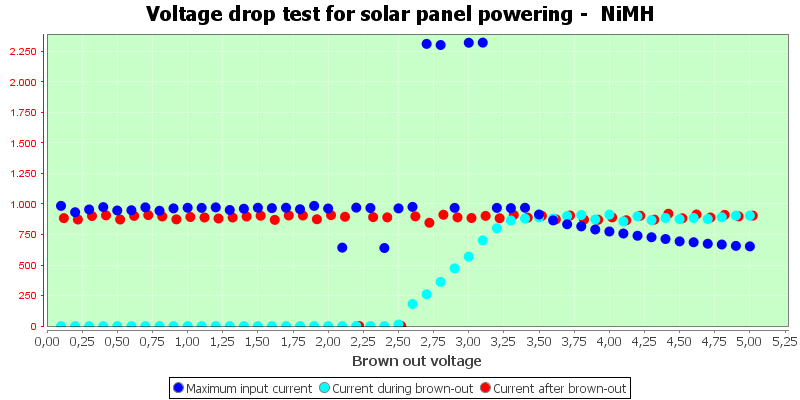
It will also fail with NiMH cells and the current regulation also has trouble if the voltage increases fast.
Conclusion
The LiIon charging is not with the recommended voltage and the batteries will get some over voltage.
NiMH is charging to just about full but I am missing the top-off charge, this would have stuffed slightly more energy into the batteries.
I will rate the charger as acceptable.
Notes
Here is an explanation on how I did the above charge curves: How do I test a charger

