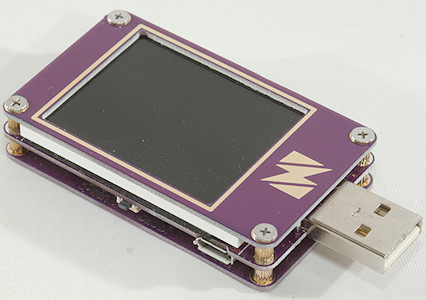
YZXStudio USB meter ZY1280
Official specifications:
- Item: ZY1280
- Size: 57*35*12
- Display: 1.8 inch TFT
- Resolution: 160*128
- Communication: USB2.0
- Input port: A male M female C female
- Output port: A female C female
- Online mode: MicroUSB
- Fast charge trigger: YES
- PD trigger: YES
- PD straight through: YES
- Fast charge straight through: All models support the normal fast charge protocol through the meter
- VOOCDASH: Need original line *2
- Upgrade method: NicroUSB
- Voltage accuracy: 0.1%±2d
- Current accuracy: 0.1%±2d
- Internal resistance is less than: 32mOhm
- Open screen power consumption: 19mA
- Off screen power consumption: 3mA
YZXStudio makes a series of usb meters, some of them very advanced.
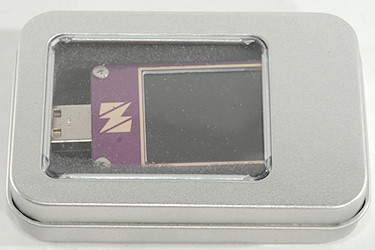
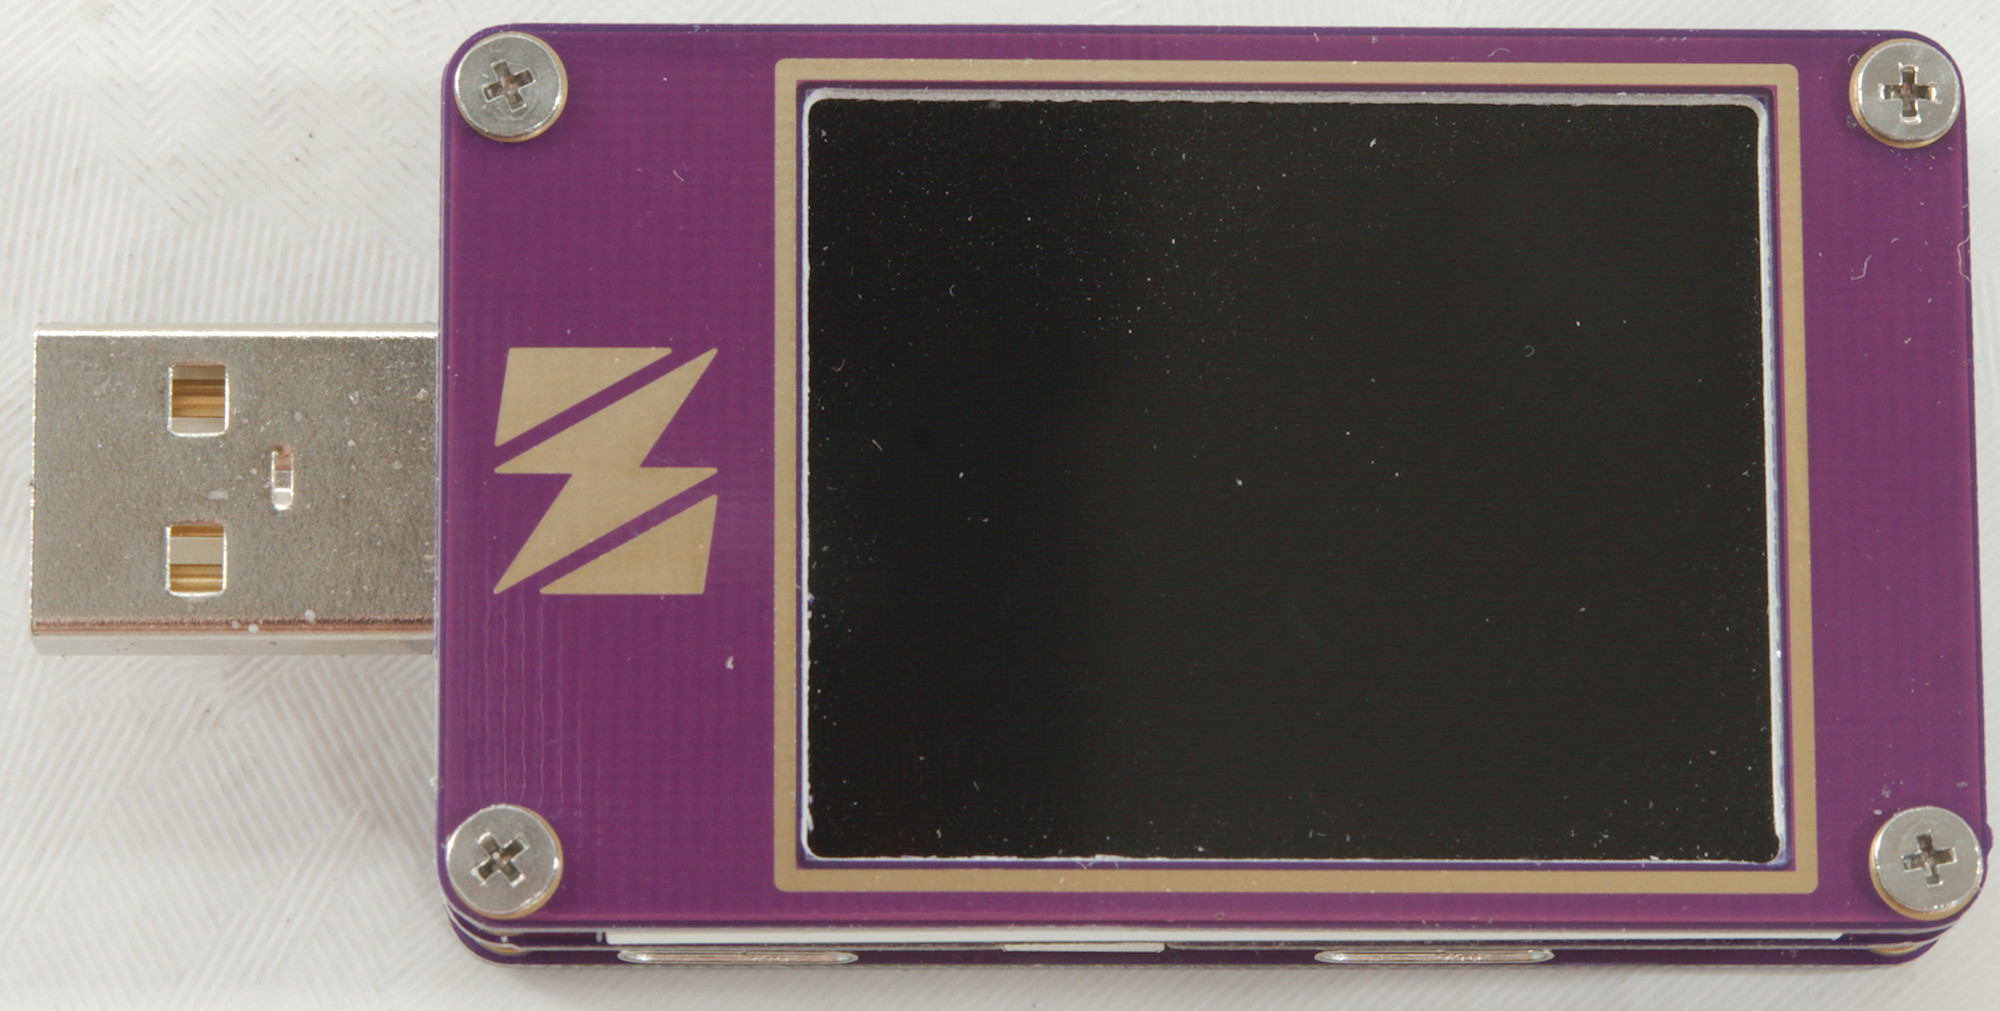
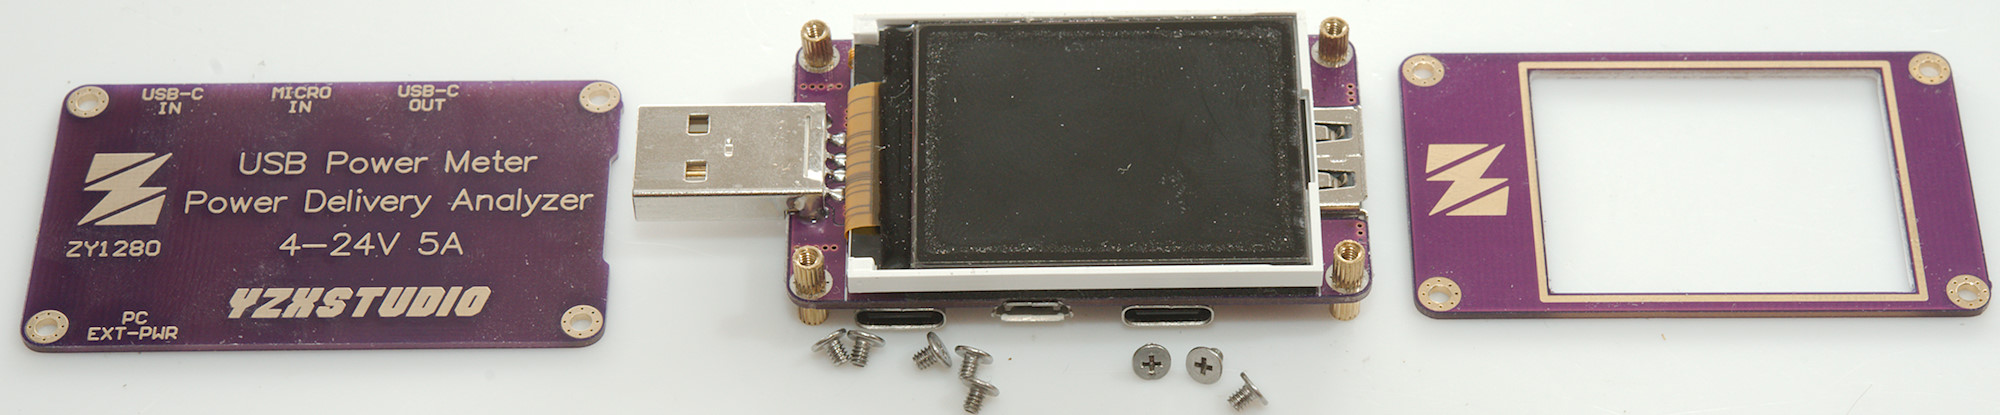
I got the meter in a small metal can
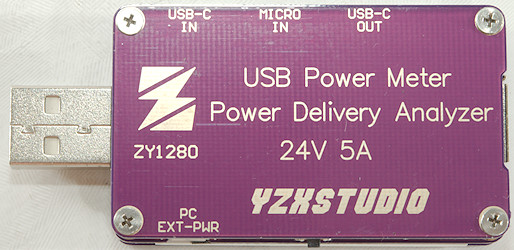
Maximum specifications and connector information is listed on the back.
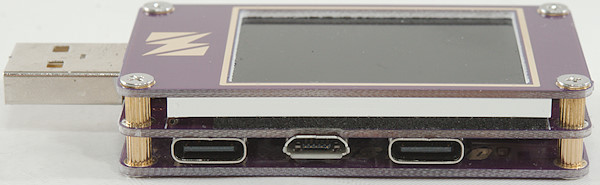
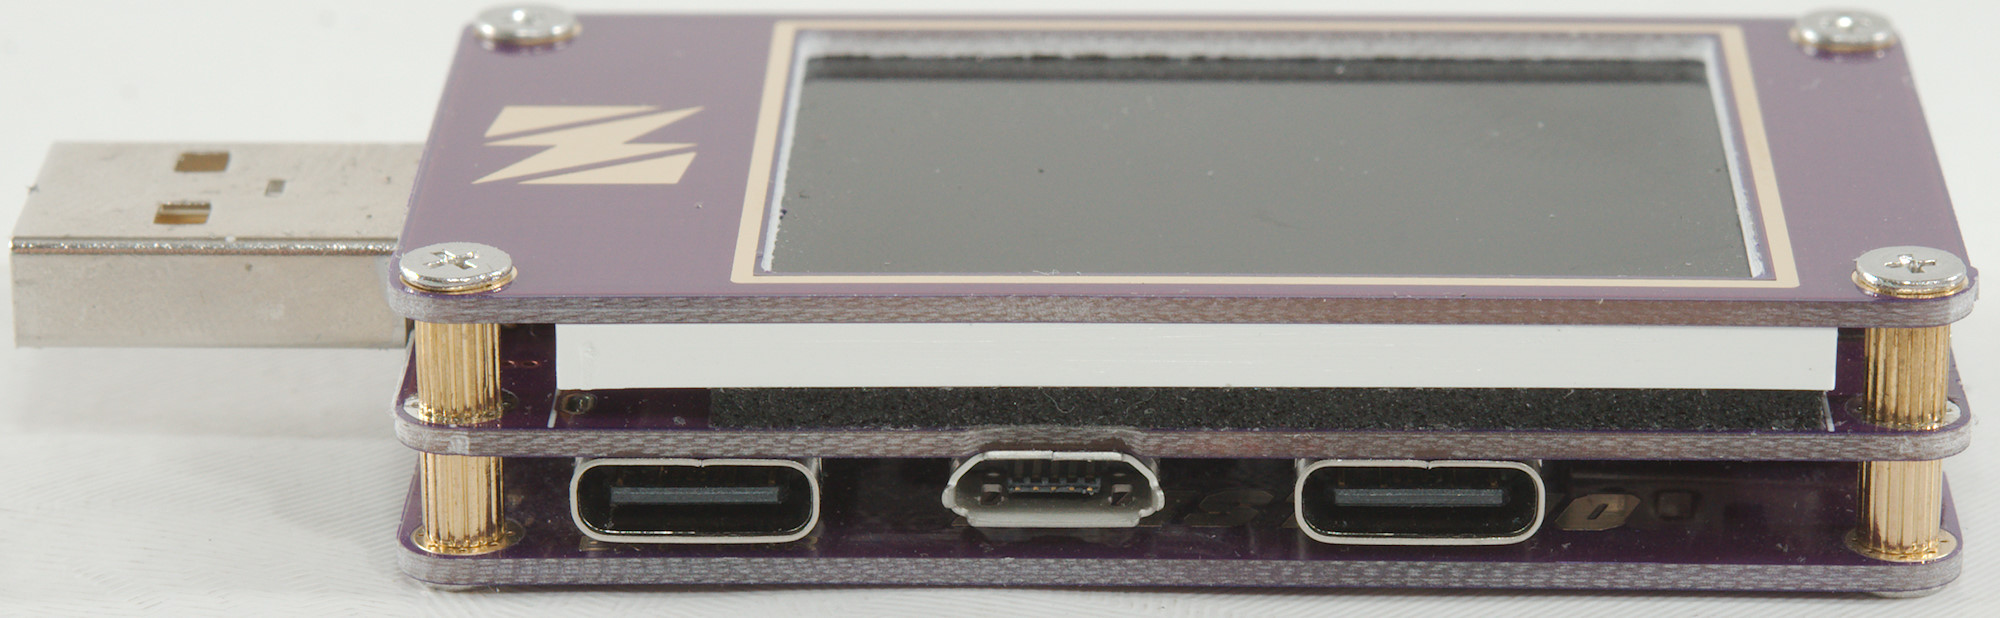
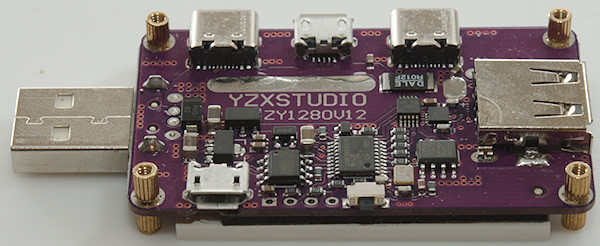
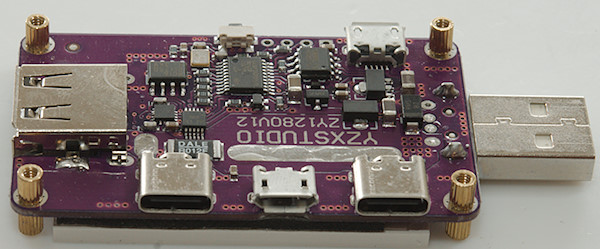
The two USB-C connectors and a micro usb connector are on this side.
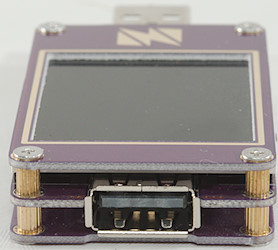
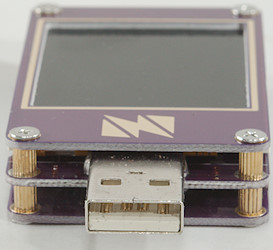
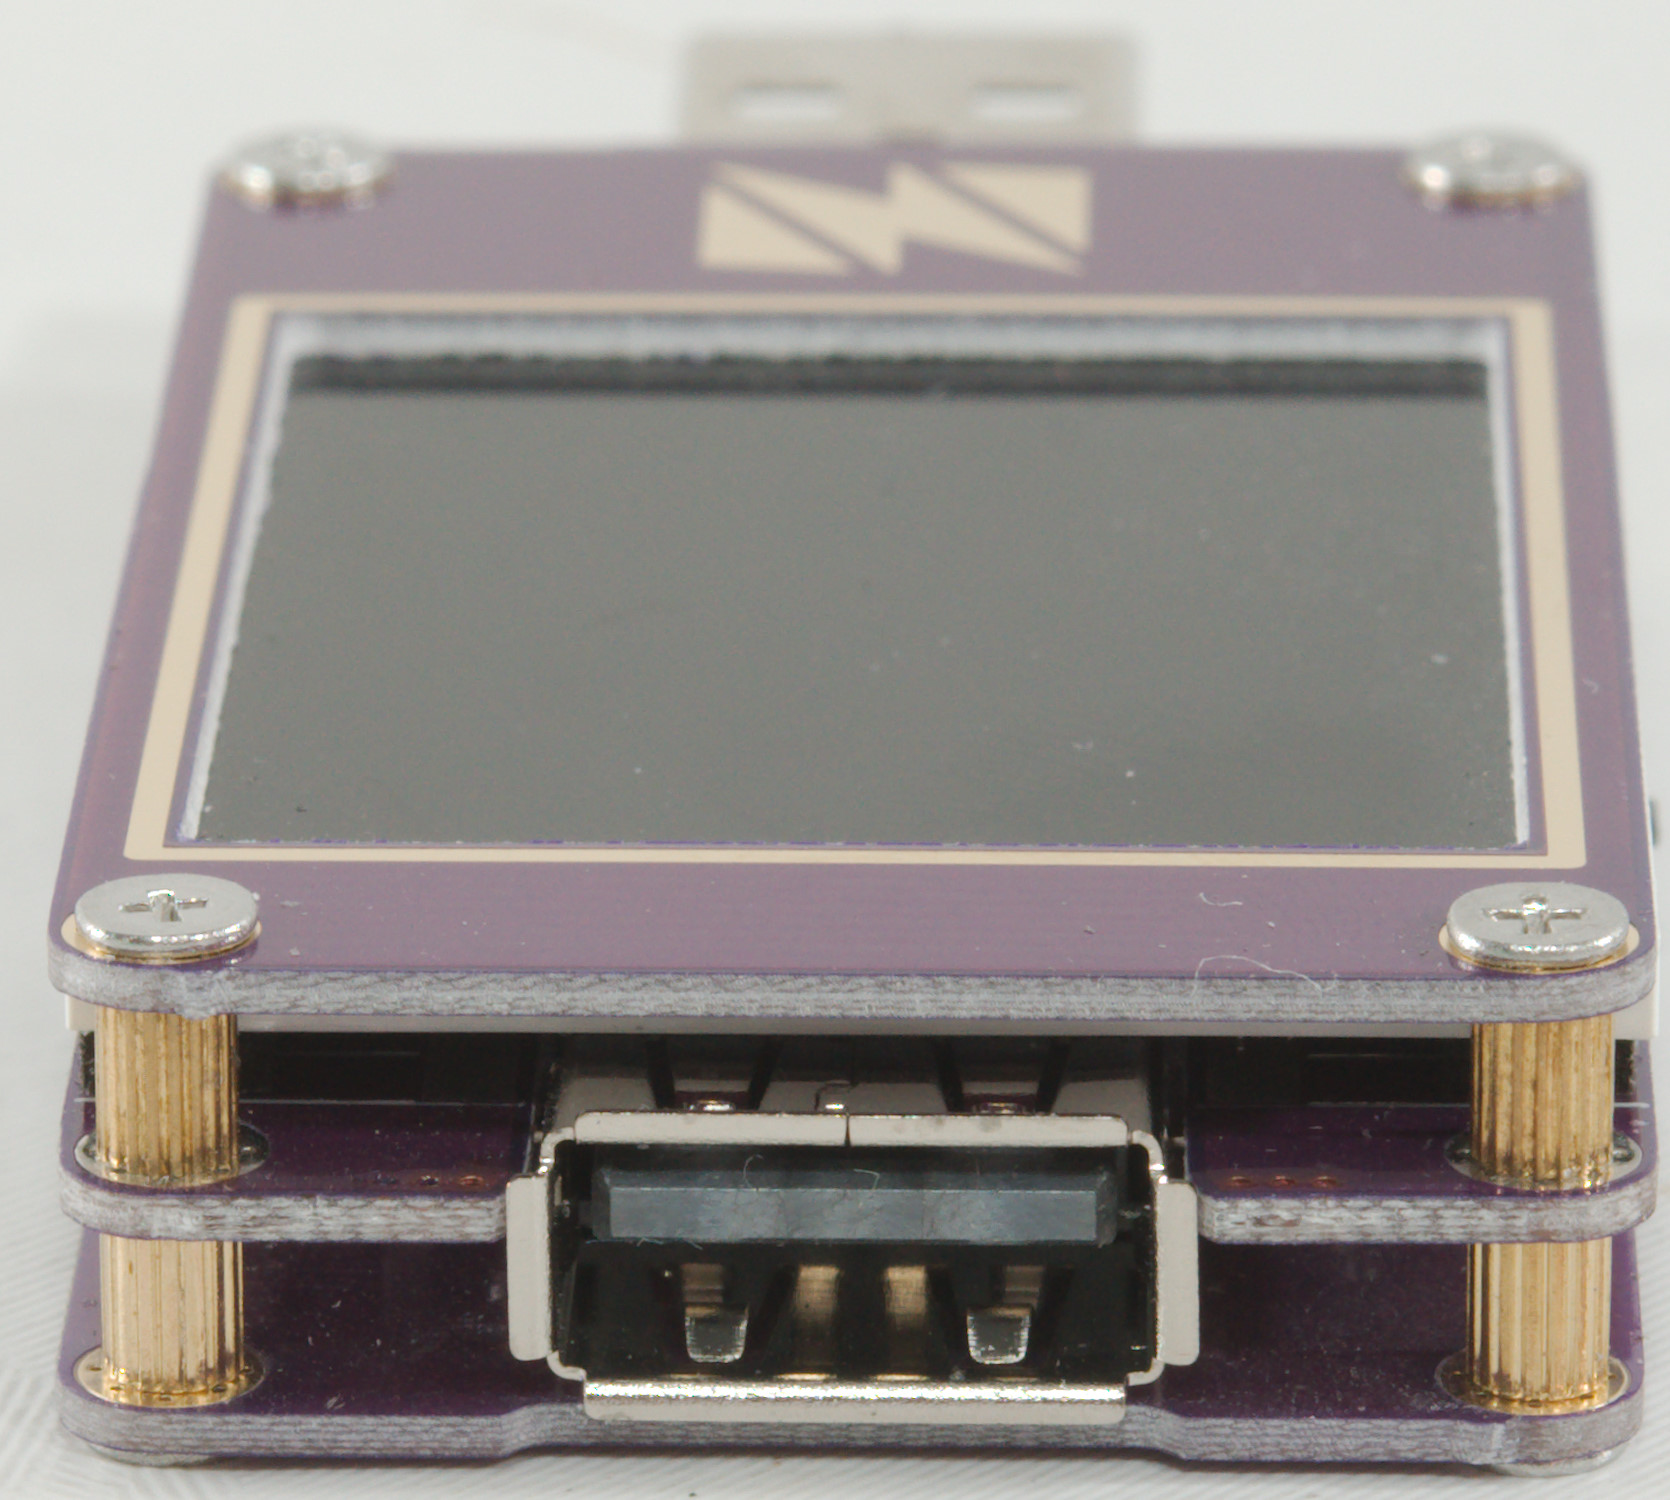
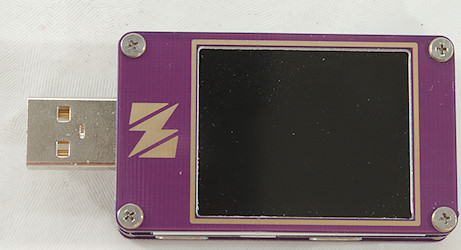
The USB A connectors are at the ends.

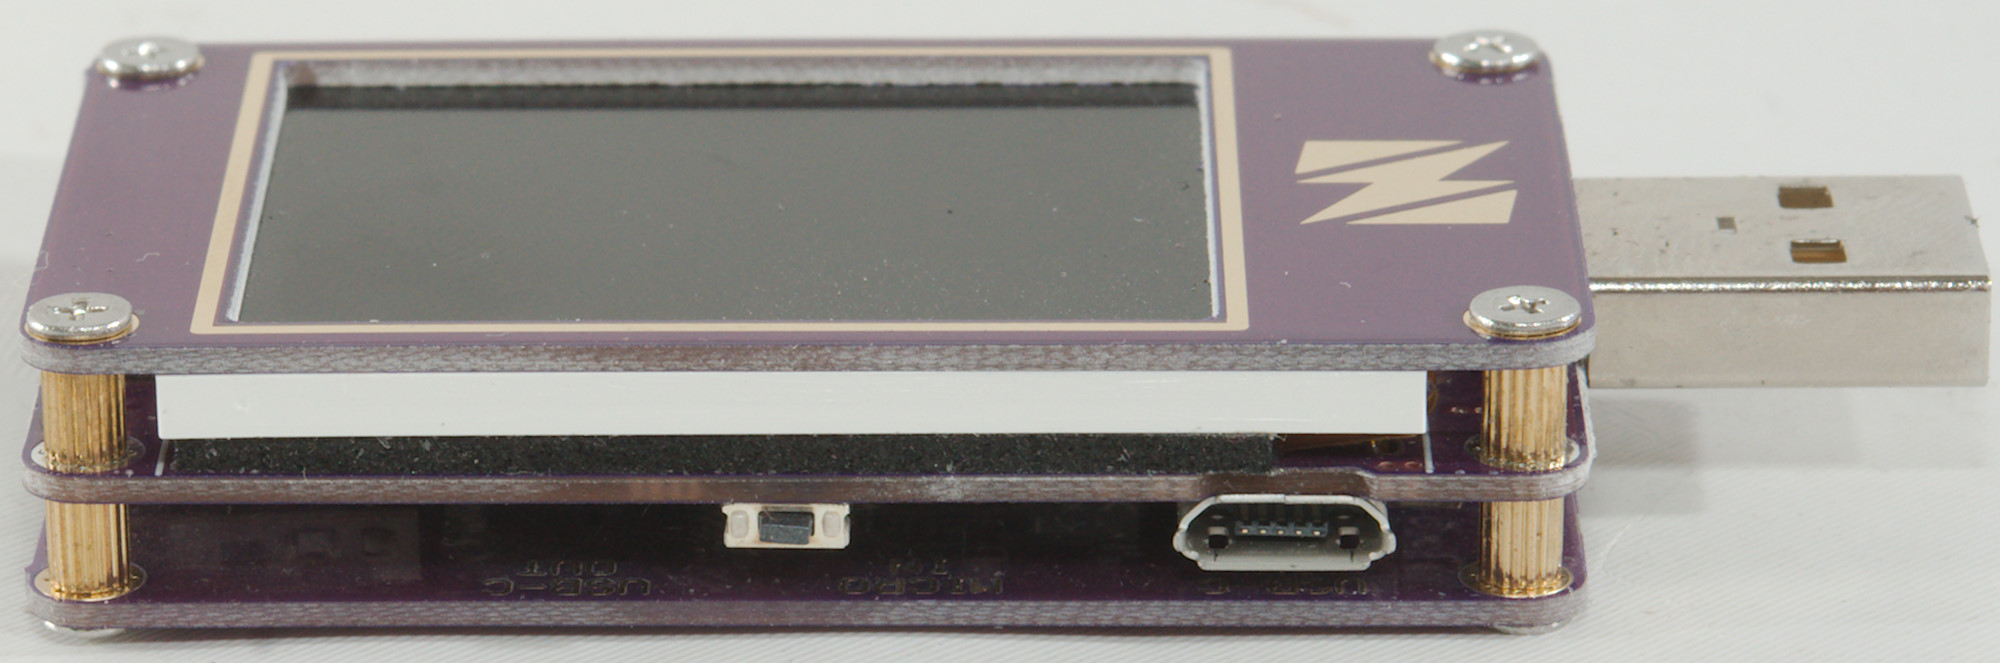
A usb connector for PC link and the button for all user interface is here.
Display and functions
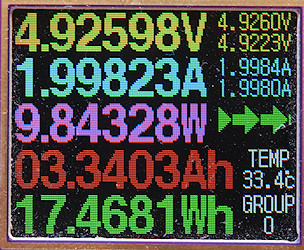
The screen with most information about current and voltage. The small voltage and current are maximum and minimum values for this session. The arrow shows current direction.
Hold down the button to select group from 0 to 5, they are used to save the recorded values.
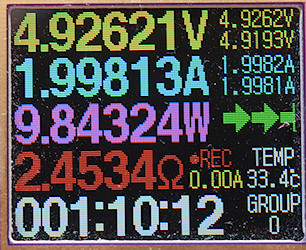
Next screen is nearly the same, but Wh and Ah is replace with load resistance and time.
Hold down the button to select configuration.
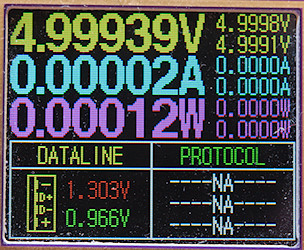
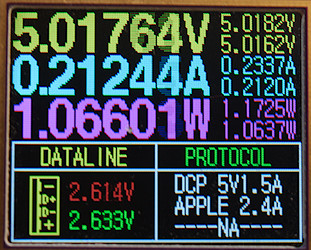
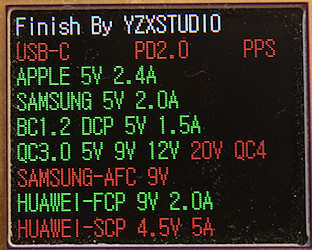
Next screen is the fast charge screen, it shows the voltage on the data wires and tries to guess the protocol. If multiple protocols match the voltage, it will show multiple protocol names.
Hold down the button to select a fast charge trigger or scan for fast charge protocols.
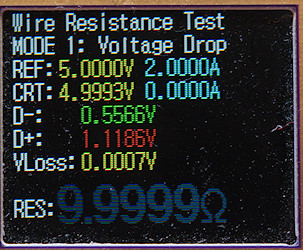
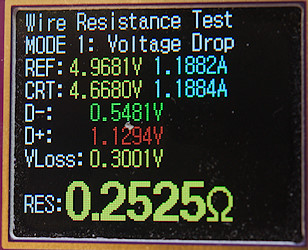
Next screen is cable resistance measurement, it requires a constant current load and a fairly stable usb supply. First connect the usb meter directly to the power supply and hold down the button, then connect using the cable and the display will show cable and connection resistance.
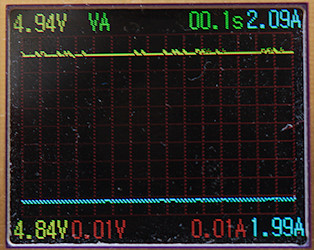
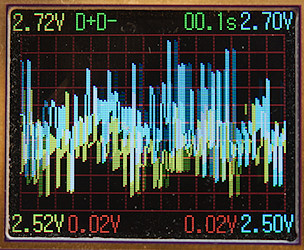
Next screen is curves. It can either show voltage and current or the data lines, hold down the button to switch between them.
The curves will auto scale, this means they are fairly sensitive for even small variations.
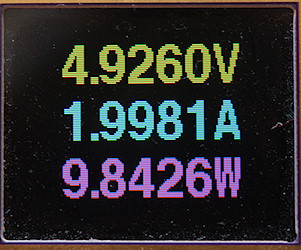
Next screen is a simple screen with voltage, current and power.
Hold down the button to flip the screen, the orientation will be used for all screens.
The last screen is "screen off", then the sequence starts from the first screen again.
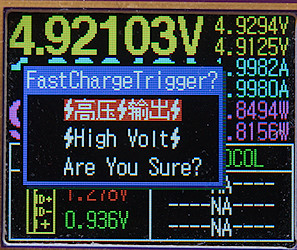
When holding down the button to activate fast charge menus a warning is shown, press the button two times and hold it down to enter. It is not possible to enter while current is being drawn.
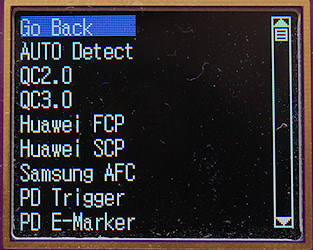
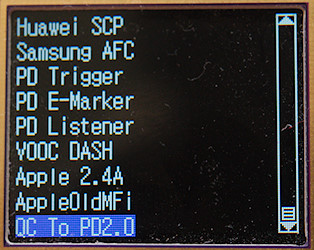
There is a long list of supported fast charge schemes and other functions.
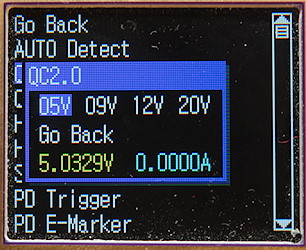
Selecting a scheme may present more options.
The Auto detect option will try most options and report on result.
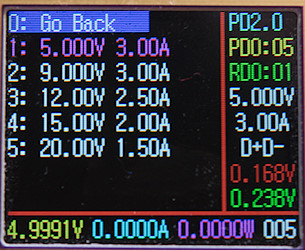
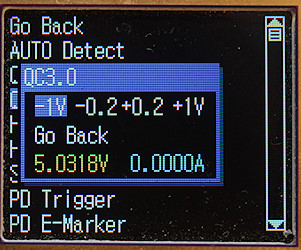
Selecting PD will query the charger for supported PD voltage and list them. It is possible to select one and activate it.
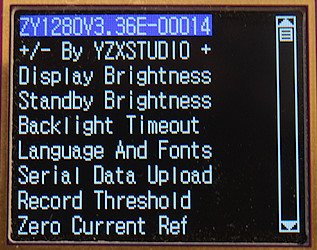
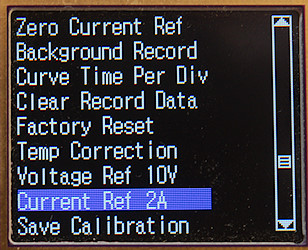
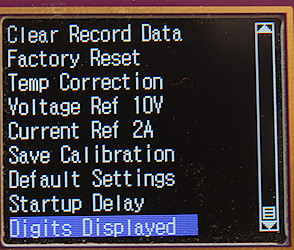
There is many configuration settings, including the possibility for user calibration.
Measurements
- USB-C output will be triggered when this device is connected, as standalone, but not when used between a PD device and supply.
- The usb meter uses about 19mA current with normal brightness (10), 6 with display off.
- The internal resistance is about 0.060ohm (This includes both connectors).
- Usb meter will remember measured values when power is removed.
- USB meter uses software V3.36E
- Fast charge protocols supported: QC2, QC3, Huwai-FCP, Huwai-SCP, Samsung-AFC, Apple, Samsung, DCP
- Backlight timeout can be adjusted in 1 minute steps up to 10 minutes, then in 5 minutes steps up above 4 hours or turned off.
- Curve update can be 0.1s/div, 0.2s/div, 0.5s/div, 1s/div, 3.6s/div, 5s/div, 10s/div, 20s/div (The settings did not work in my software version).
- It is possible to select between 5 and 6 digits, the 5 digits will update faster.
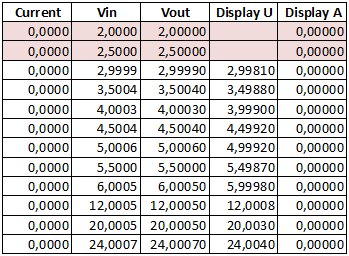
The voltage display is very precise with no current flowing, but there is too many digits.
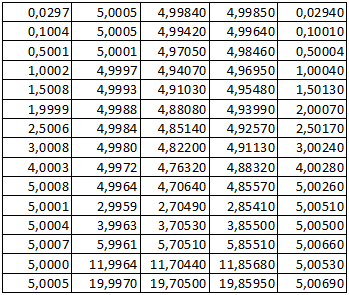
The current display is also very precise and will not change with voltage and again there is too many digits.

M1: 40.0°C, HS1: 43.8°C
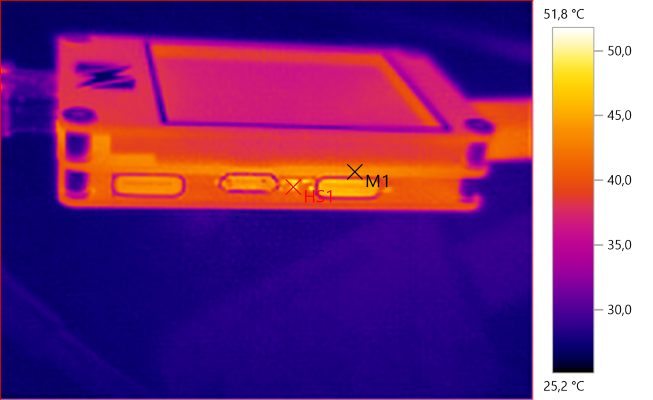
M1: 43.7°C, HS1: 51.8°C
The above IR photo was taken after 30minutes with 5A, during that time the readouts changed very little.
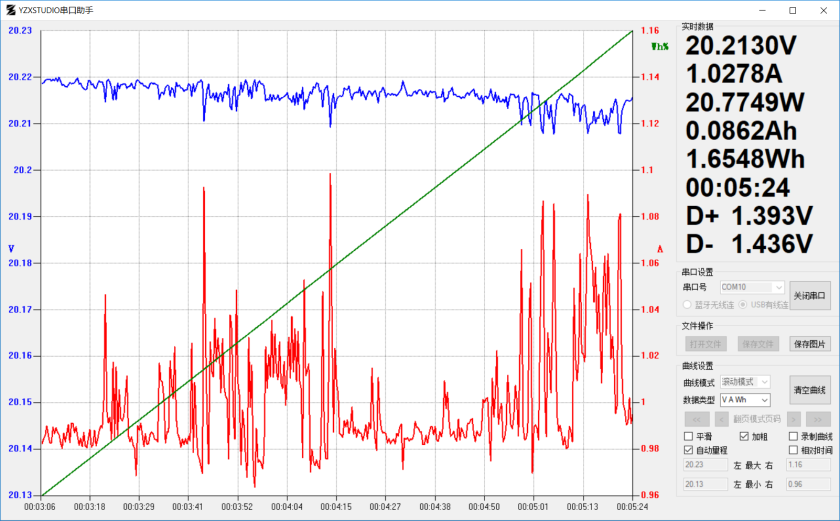
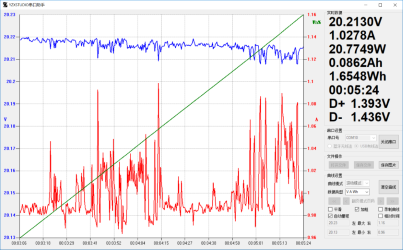
PC application
One of the usb connectors is a PC connection that allows external power supply, software updates, logo updates and transferring the data to the PC.
I could not find the application and it looks like it is in Chinese anyway.
This is a random image from the internet showing the PC application.
When using the PC application it is important that the PC do not have any connection to the devices that is measured on, i.e. do not use the same PC for usb output and measure input.
Tear down

It is very easy to open, there is four screws on each side.
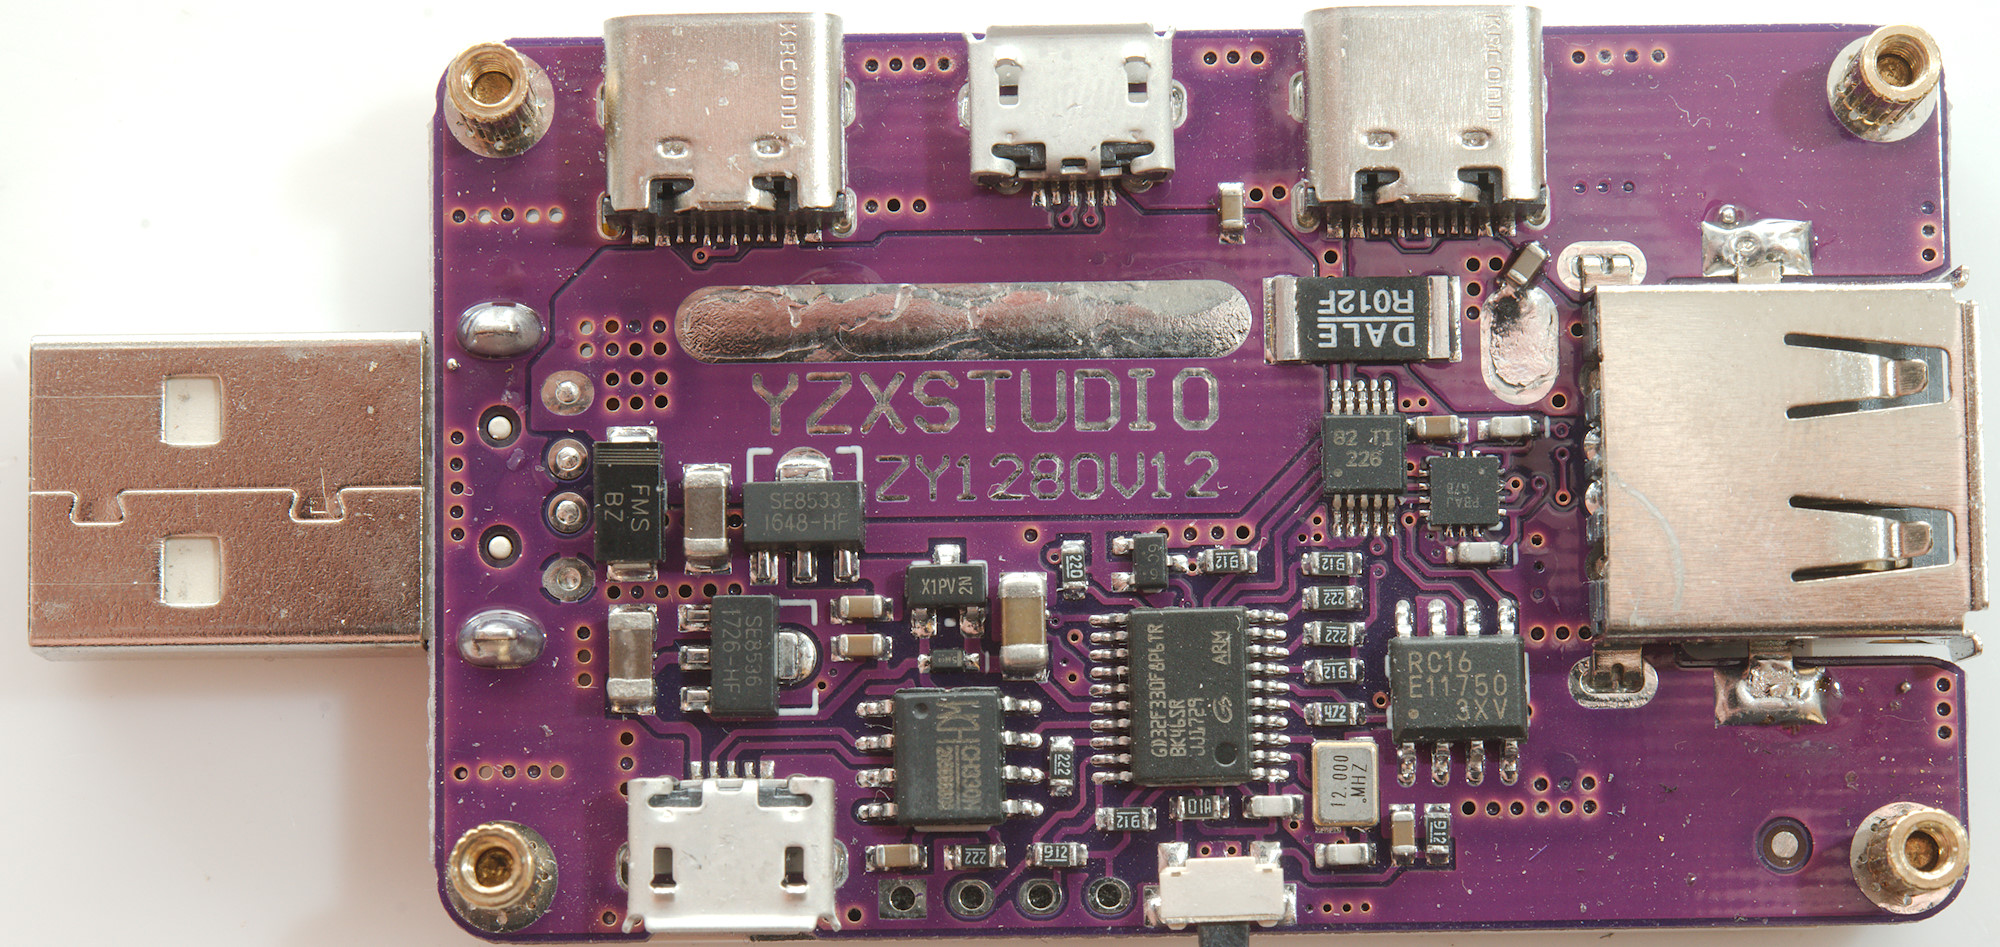
The top and bottom are the same on both sides.
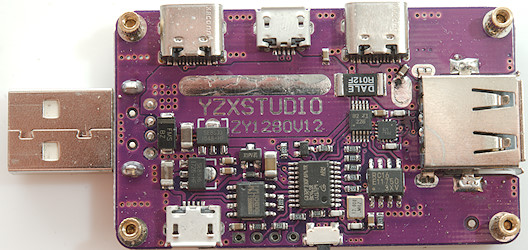
The processor is a GD32F330F8P6 (ARM Cortex-M4 64kB flash, 8kB ram) . The chip (CH330) near the PC usb connector is a standard serial to usb converter. The other 8 pin chip is most likely a parameter memory and the two smaller chips are most likely usb interface for PD and a ADC converter. The sense resistor is a 0.012ohm resistor.
The power supply can either come from testing USB connectors through a regulator (SE8533) and transistor or from PC usb through another regulator (SE8536) through a diode, any voltage here will block the transistor that delivers power from the testing connectors.

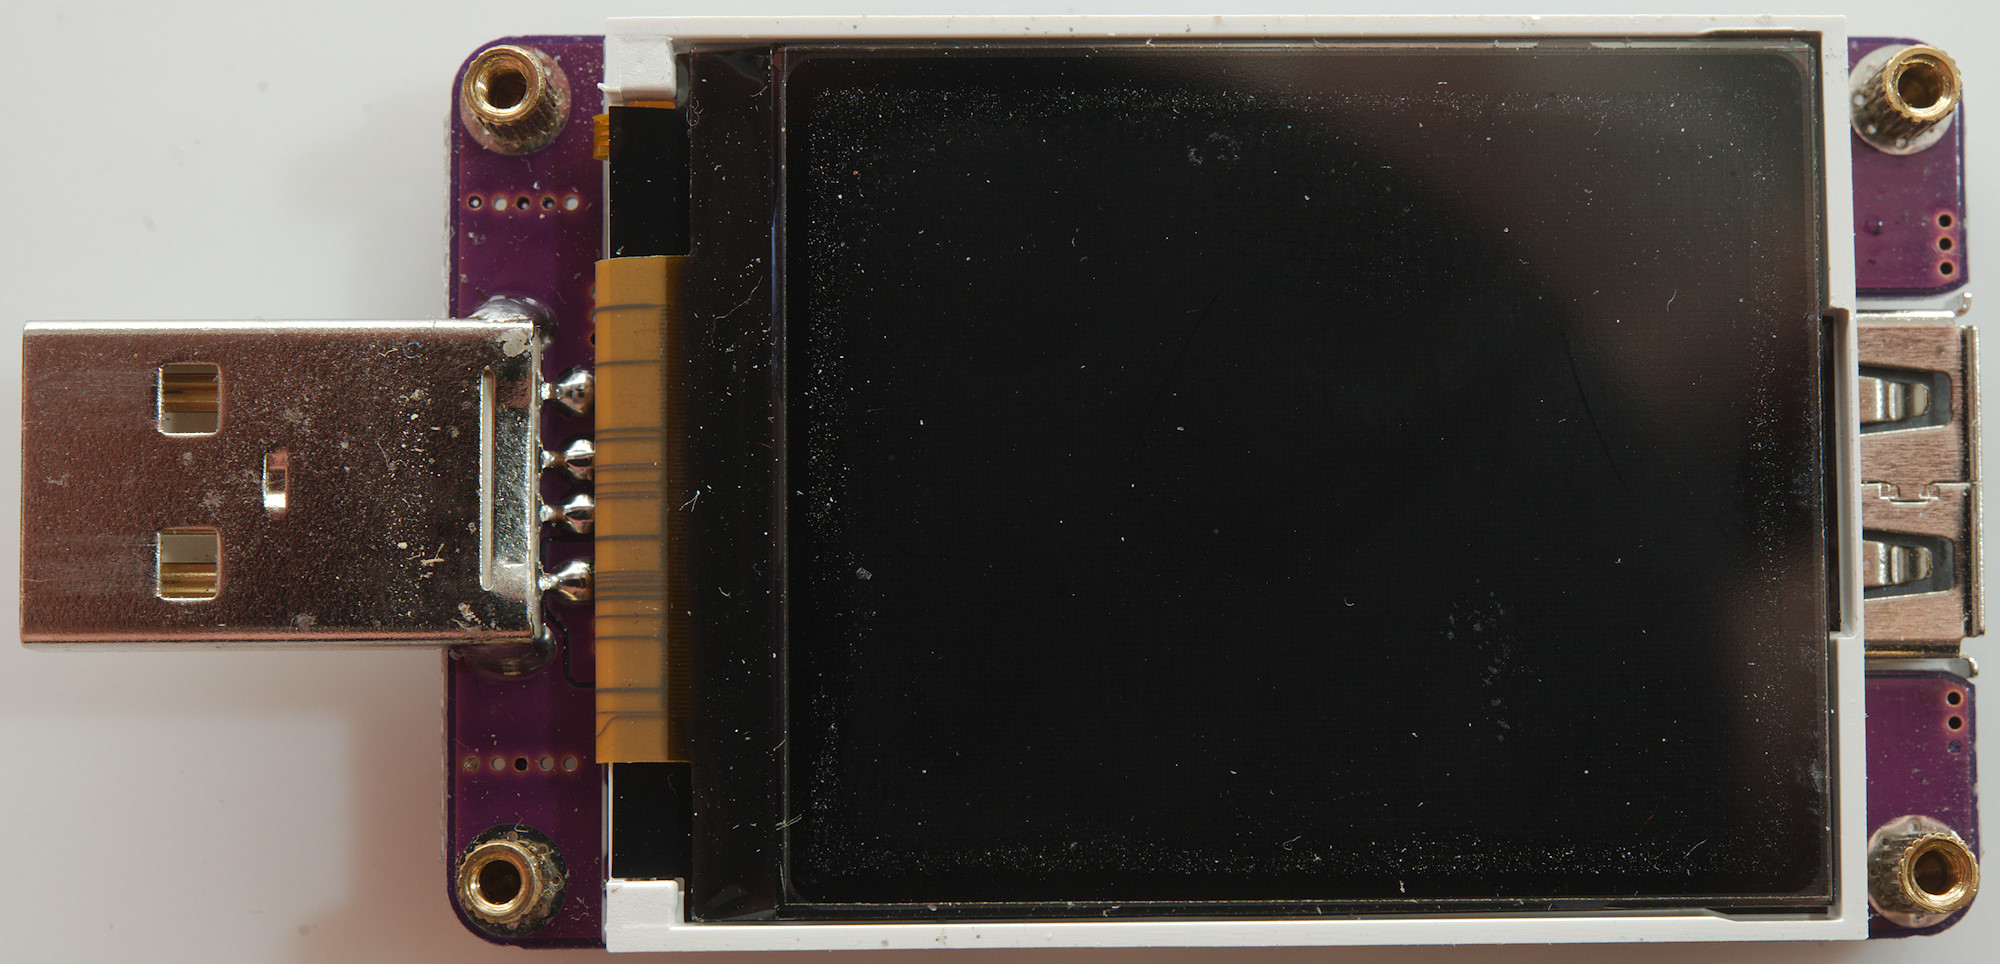
On this side is only the display and a usb connector, there is nothing below the display.
Conclusion
This is a very advanced usb meter, with good precision and lots of functions. The fast charge test and trigger functions for both old usb and PD type supplies can be very useful when testing usb supplies or finding out what chargers will charge a device the fastest.
The bug with the curves reduces the usefulness of the curves and due to the difficult with finding software for this meter it might not be easy to get an update to fix it.
I will rate it as a very good usb meter and it is my favorite usb meter.
Notes
For these USB meters I used precise equipment (Keithley: DMM7510, 2280S, Keysight: 34470A).
How do I make the test