Beamshot 13 lights, September 2011
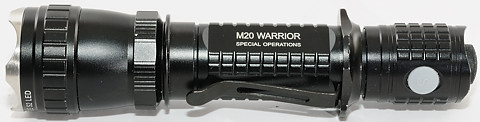
This collection of beamshots includes lights from below 400 lumes to about 800 lumens, with the exception of the M20 S2 all the lights uses the XM-L led.
For more beamshots or large lights see: Beamshot of 14 big lights, August 2011, Beamshot of 12 big lights, Marts 2011
For more beamshots of midsized to large lights see: Beamshot of 8 light with 18650 battery, Juli 2011, Beamshot of 8 lights, June 2011, Beamshot of 7 Fenix and 6 other lights, May 2011
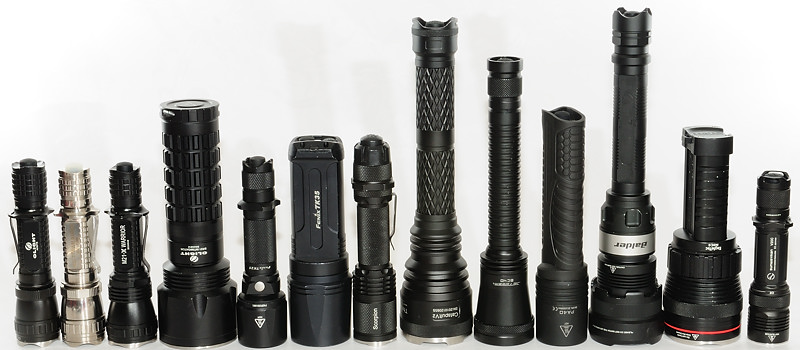

The following lights are included (Same sequence as pictures): Olight M20S S2, M20 XML-U module in M20 Titanium body, Olight M21-X, Olight SR51, Fenix TK21, Fenix TK35, ThruNite Scorpion, ThruNite Catapult V2 XM-L, JetBeam BC40, JetBeam PA40, Balder BD-4, Eagletac M3C4 XM-L, Sunwayman V20C.
A few notes:
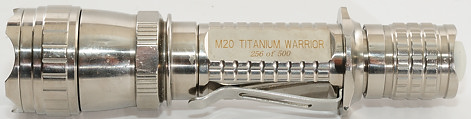
The M20 Titanium was used as a host for testing the XML-U module.
SR51 was tested with CR123 batteries
PA40 was tested with 2000 mAh Eneloop batteries
All other lights was tested with 18650 batteries
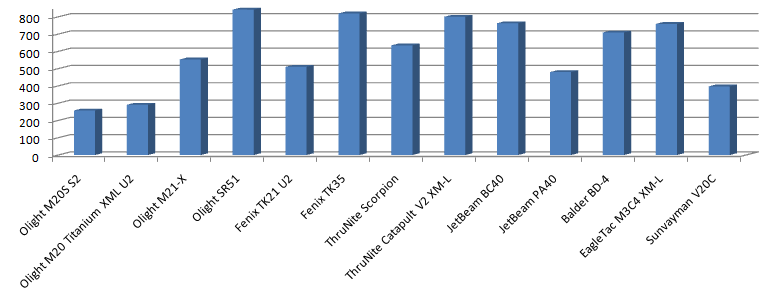
This is the total light output measured with a ceiling bounce. The lights with two 18650 batteries has the highest output. The lowest output is from the M20 with XP-G led, but the XM-L upgrade module for that lights is not much better.

A few of these lights has a very low mode. Lights with 3+ modes does have a large range in brigthness, the two level light are more limited.
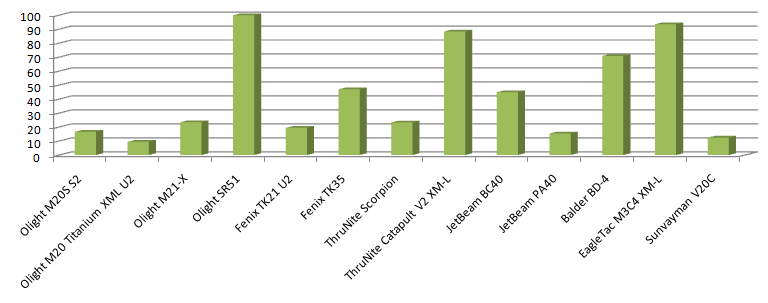
Here I have measured lux at 4 meters to get a estimate of throw. A large reflector does improve throw, a high lumen output will also help, but it not enough.
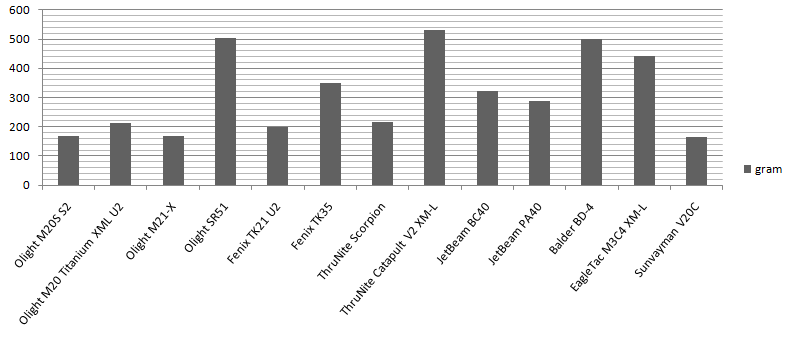
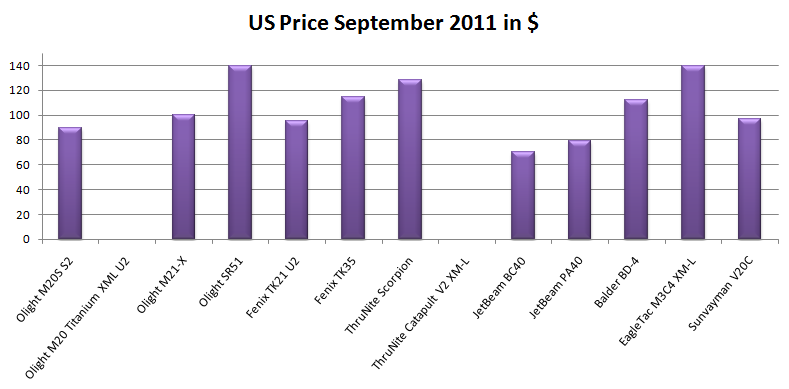
The batteries has a large influence on weight, but with these light there is also some significant difference in construction that influence the weight.
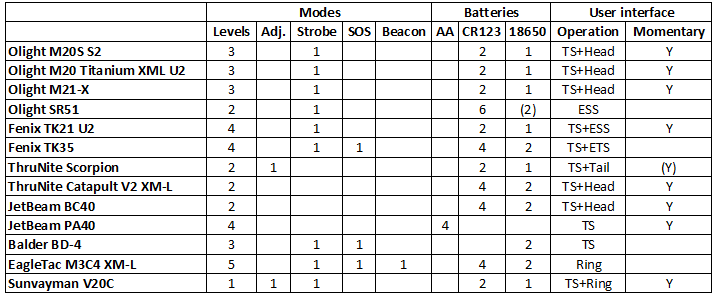
In this table I have tried to collect the key features of each light. For the user interface I use the following abbreviations: TS: Tail switch, ETS: Electronic tail switch, ESS: Electronic side switch, Head: Loosing/tighten the head is used in the ui, Ring: a ring is used to select mode, Tail: The tail is used to select modes.
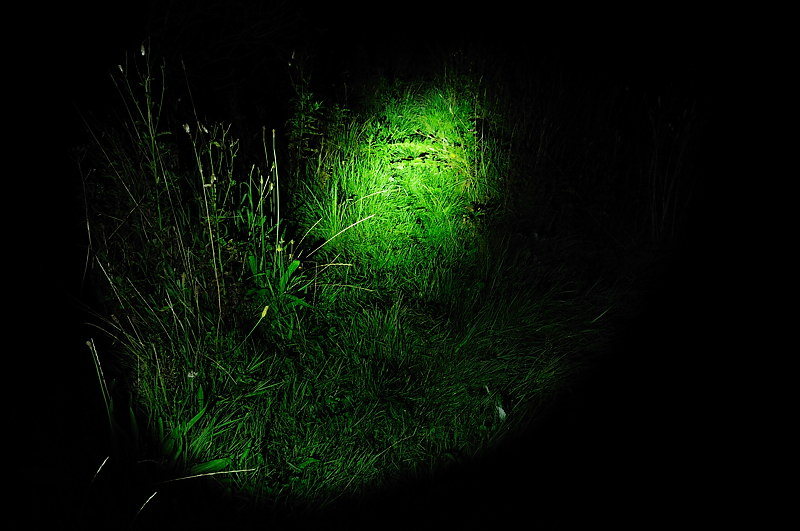
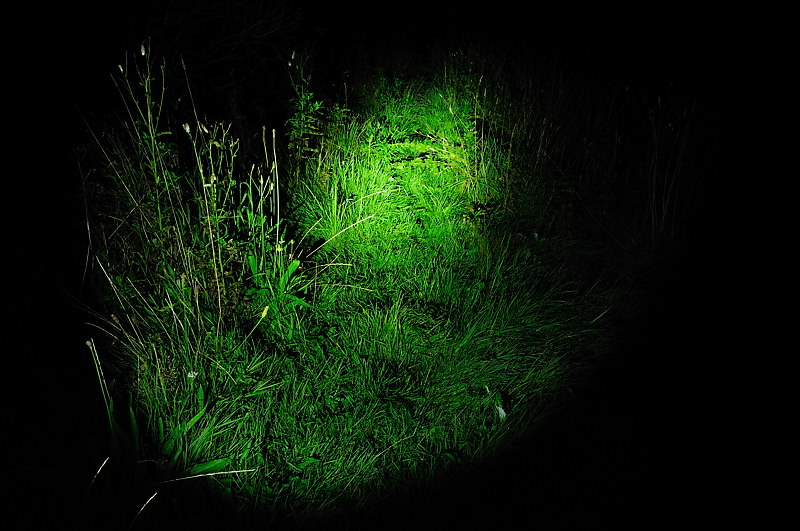
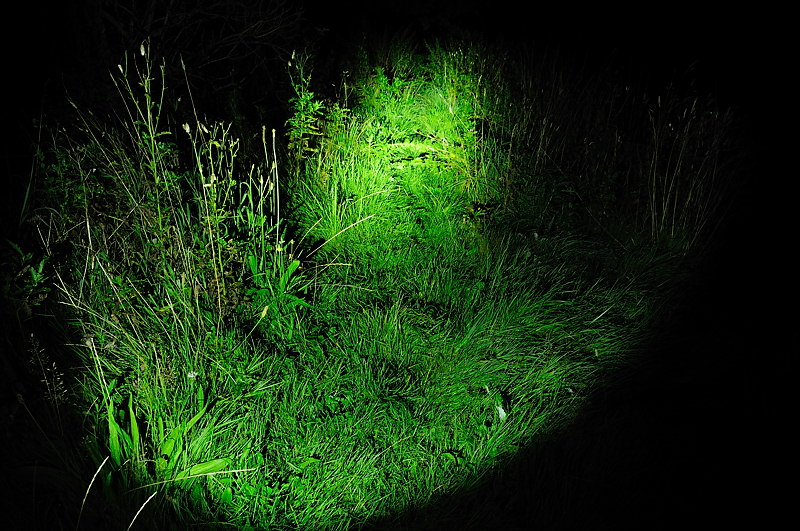
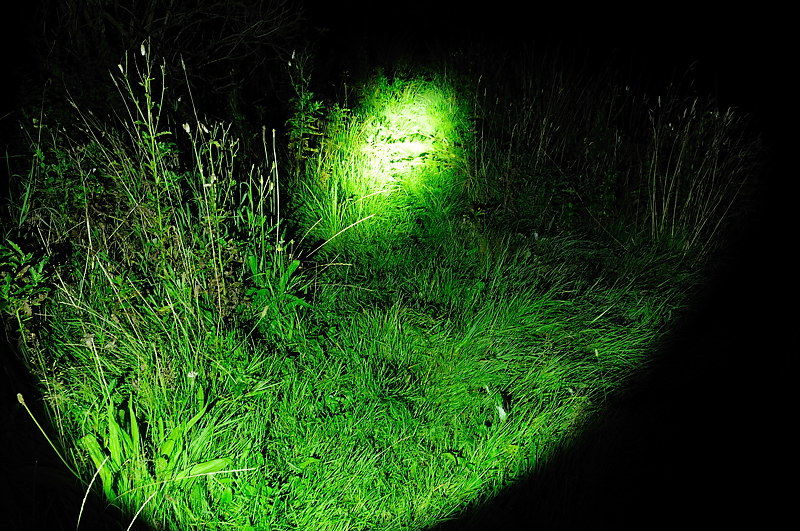
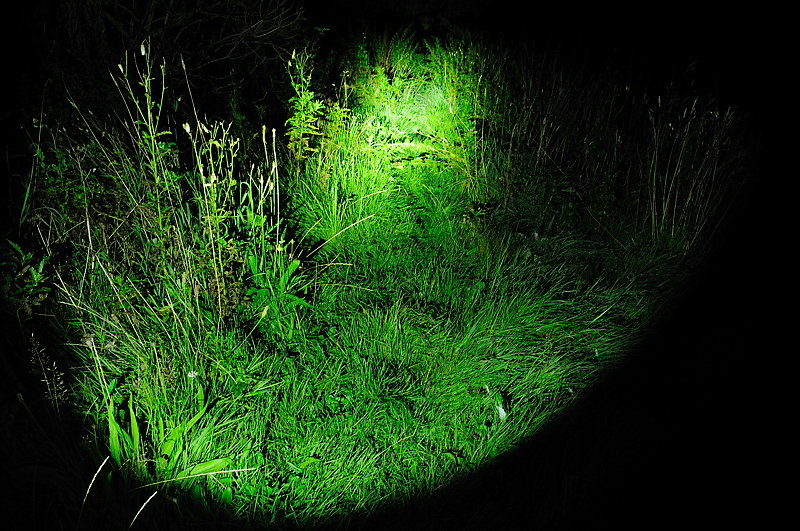
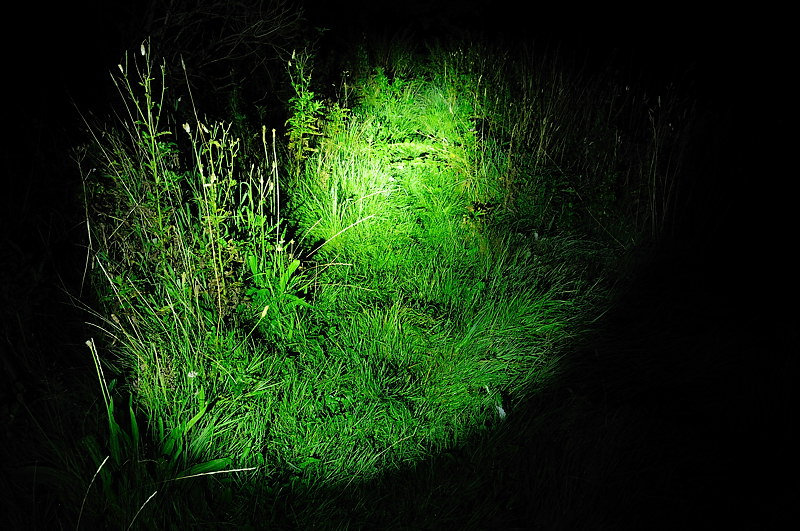
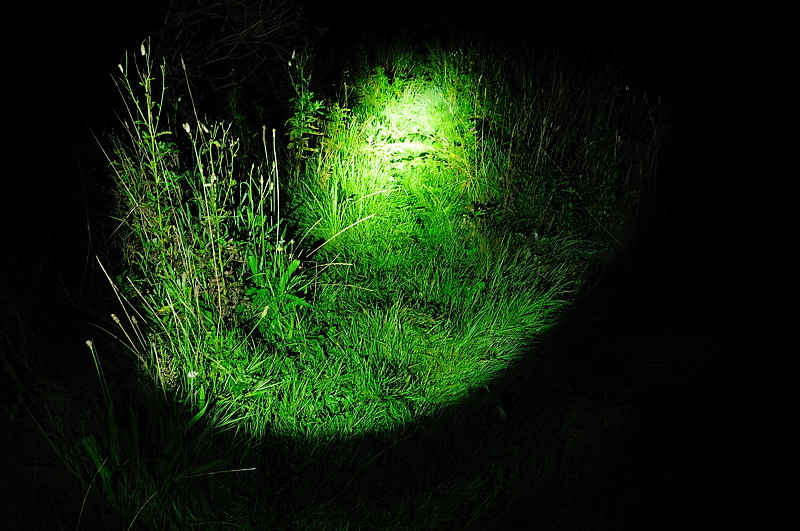
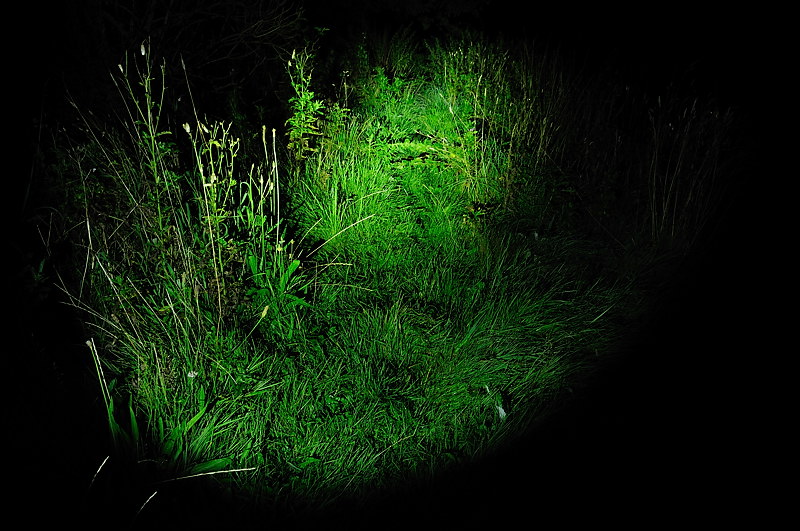
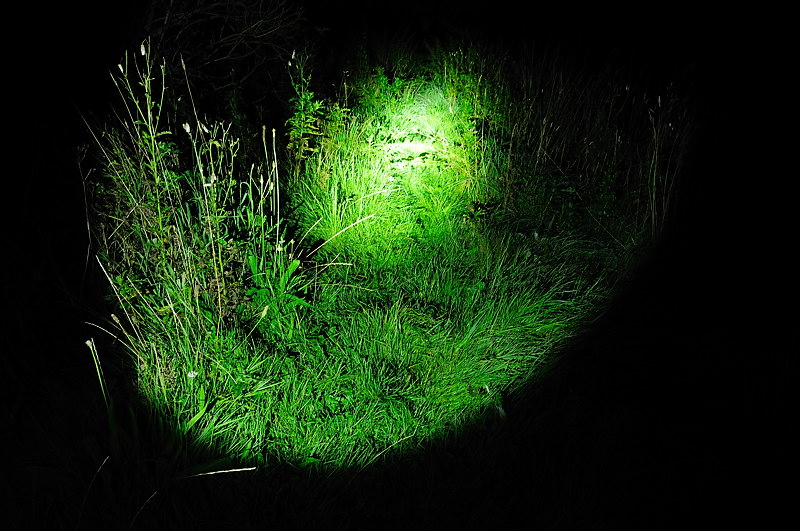
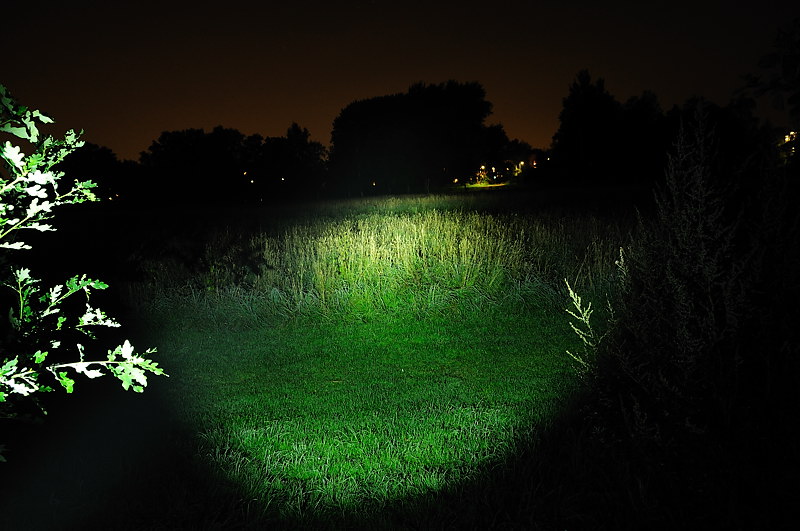
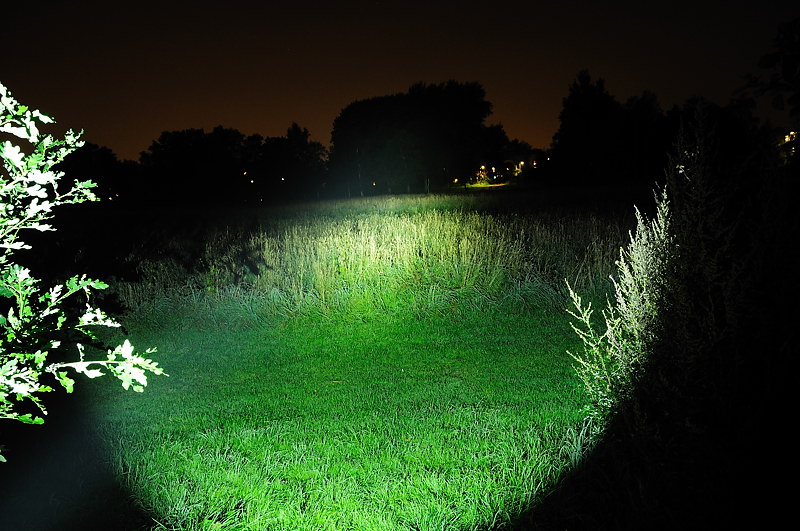
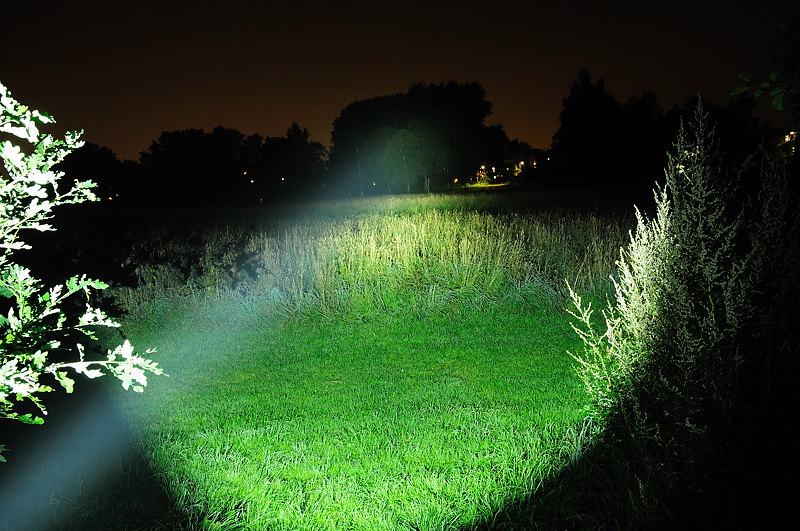
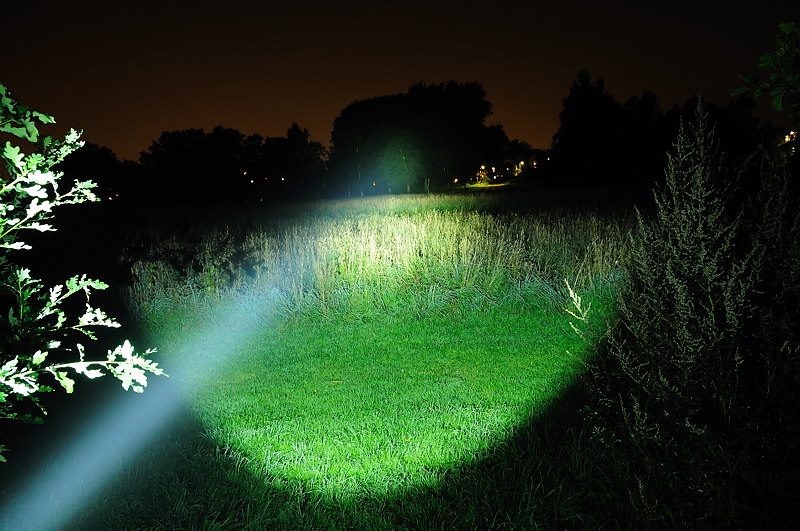
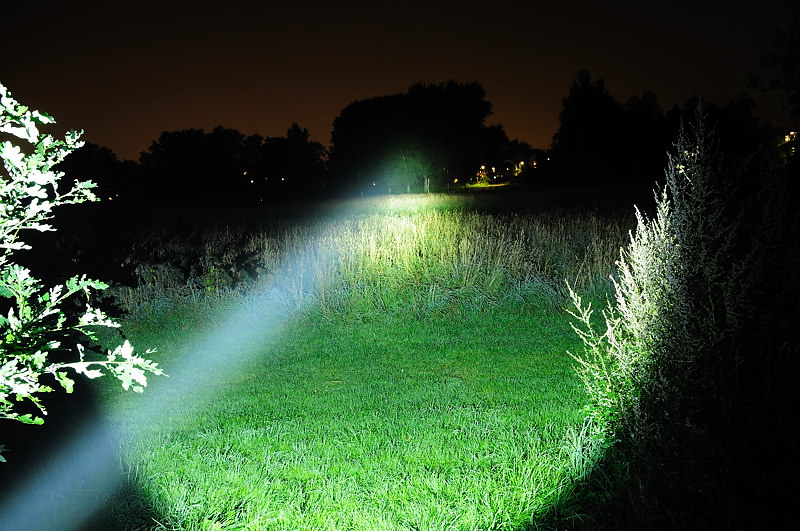
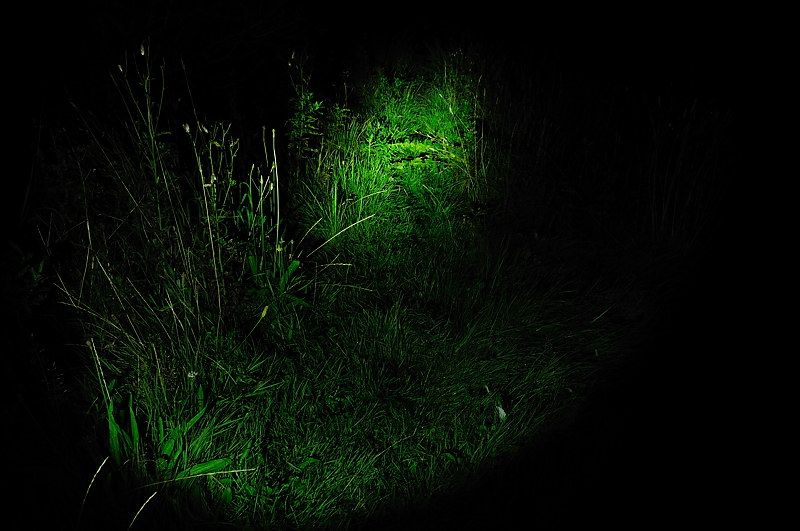
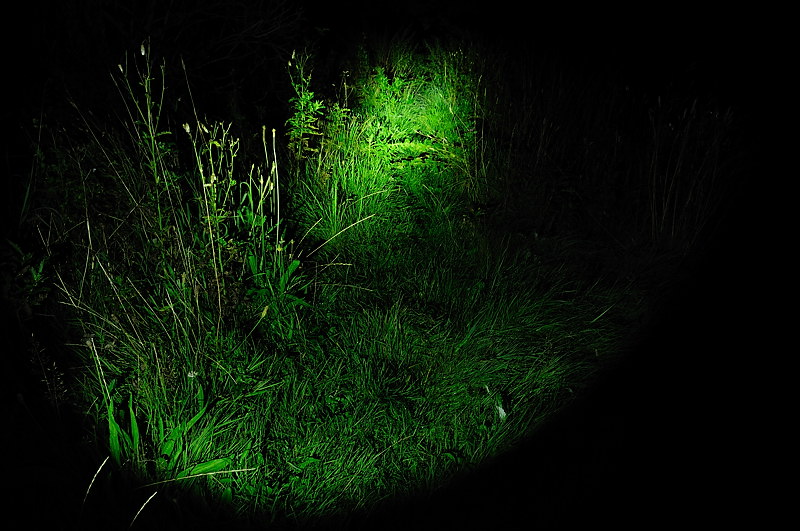
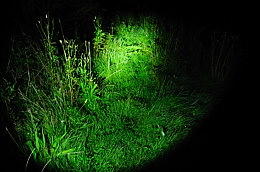
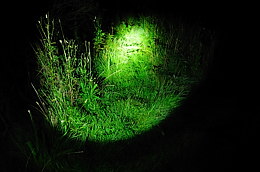
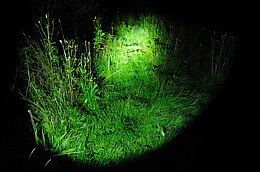
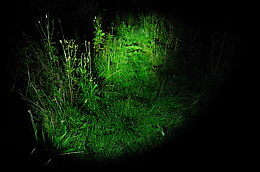
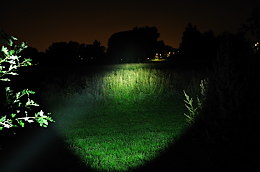
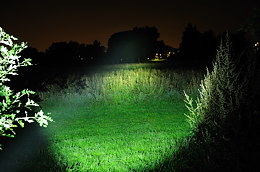
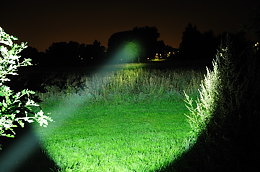
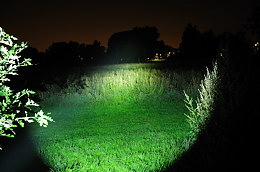
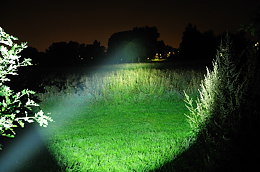
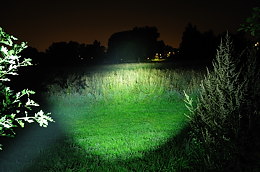
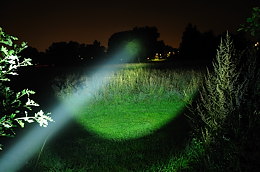
Beamprofile with high output
Olight M20S S2, M20 XML-U module in M20 Titanium body, Olight M21-X:

Olight SR51, Fenix TK21, Fenix TK35:


ThruNite Scorpion, ThruNite Catapult V2 XM-L, JetBeam BC40:

JetBeam PA40, Balder BD-4, Eagletac M3C4 XM-L:


Sunwayman V20C:
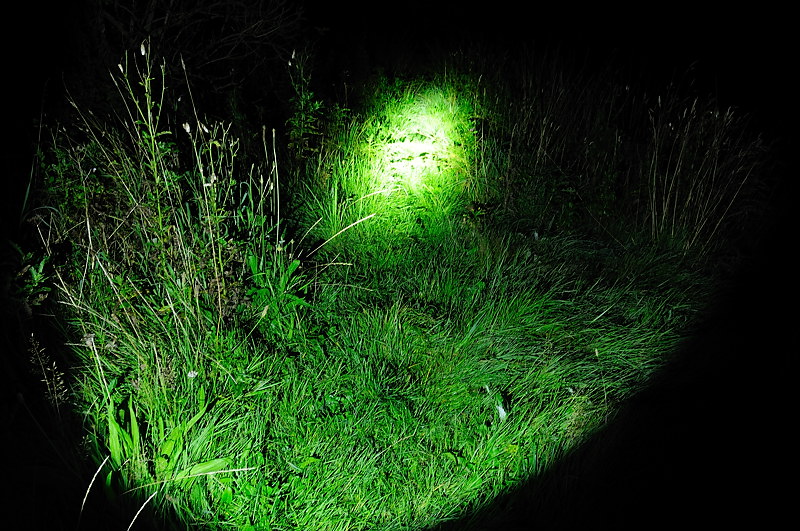
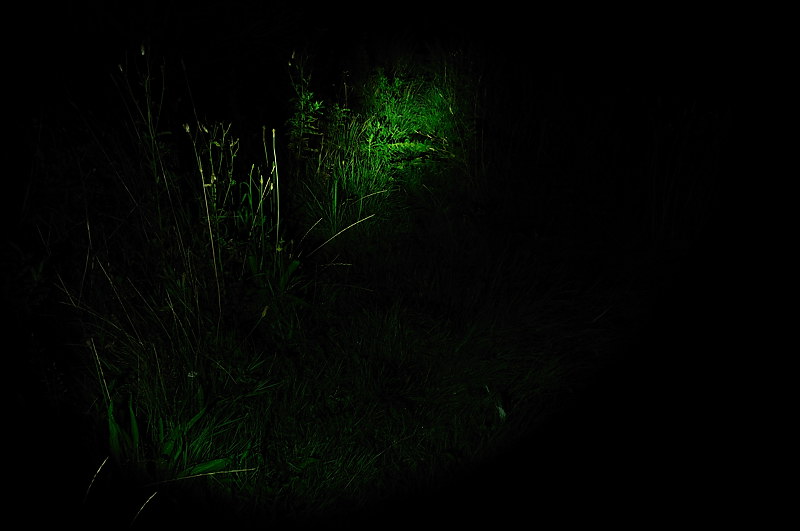
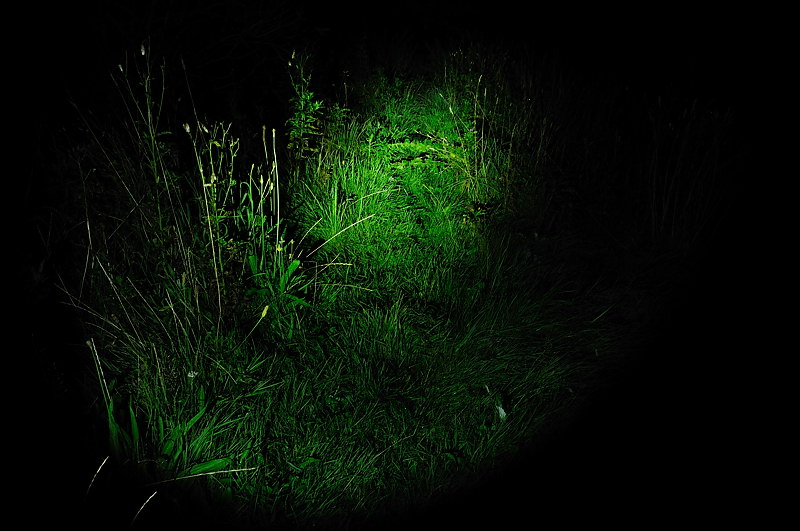
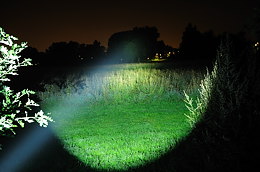
Beamprofile with high output, reduced exposure
Olight M20S S2, M20 XML-U module in M20 Titanium body, Olight M21-X:

Olight SR51, Fenix TK21, Fenix TK35:
ThruNite Scorpion, ThruNite Catapult V2 XM-L, JetBeam BC40:
JetBeam PA40, Balder BD-4, Eagletac M3C4 XM-L:
Sunwayman V20C:
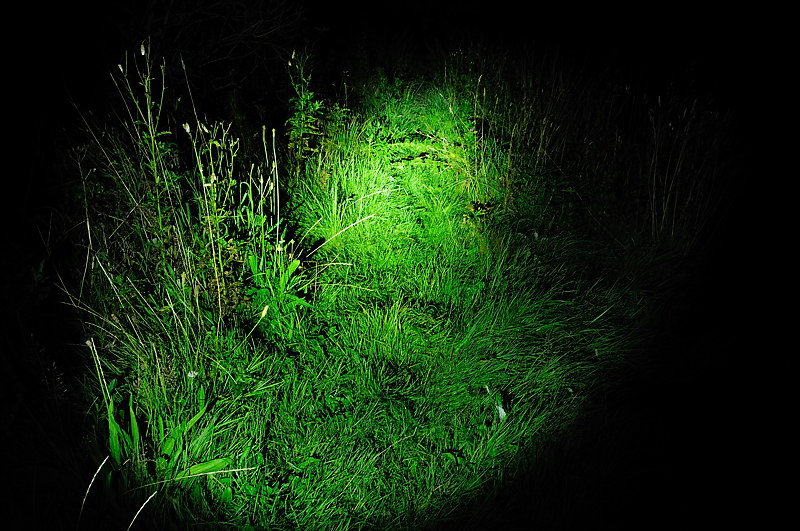
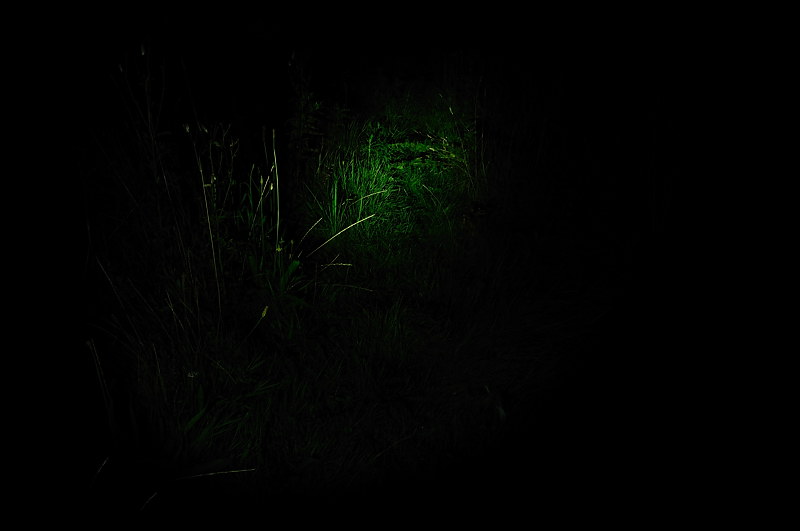
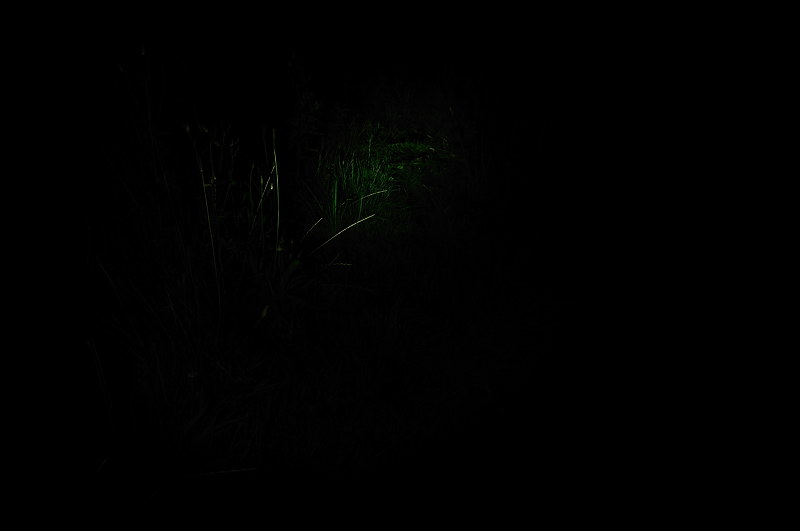
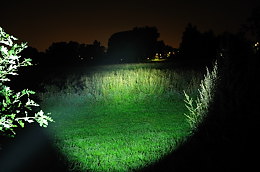
Lowest setting
Olight M20S S2, M20 XML-U module in M20 Titanium body, Olight M21-X:


Olight SR51, Fenix TK21, Fenix TK35:


ThruNite Scorpion, ThruNite Catapult V2 XM-L, JetBeam BC40:


JetBeam PA40, Balder BD-4, Eagletac M3C4 XM-L:

Sunwayman V20C:

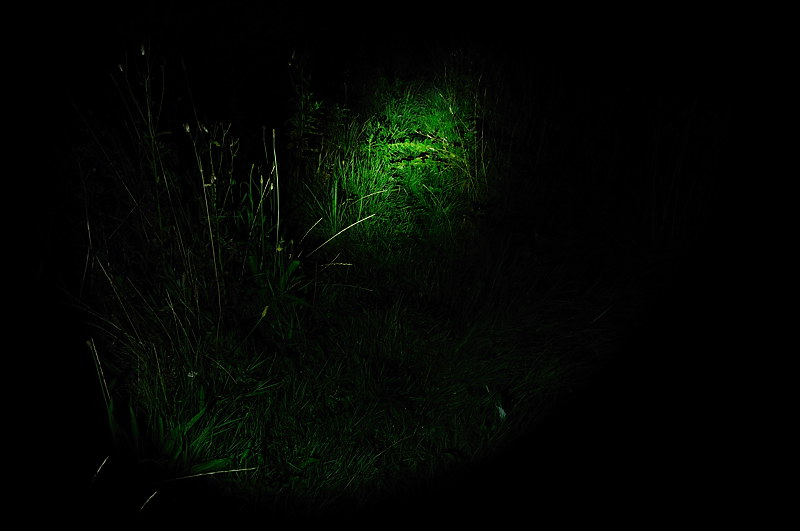
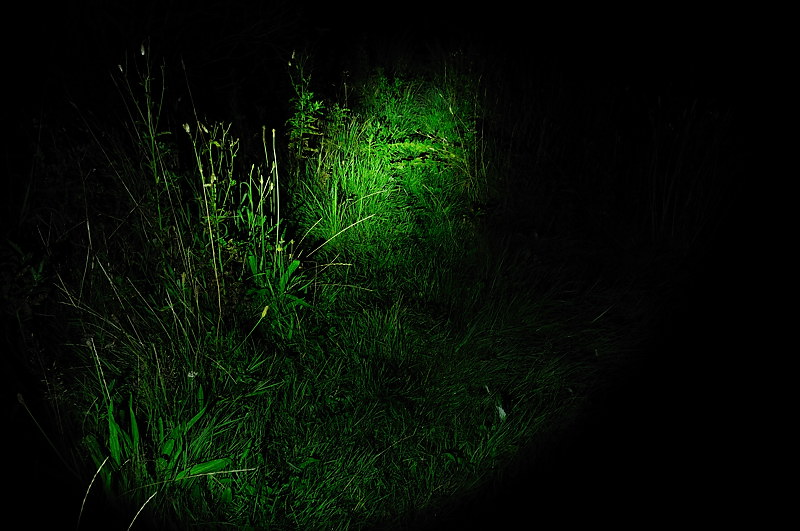
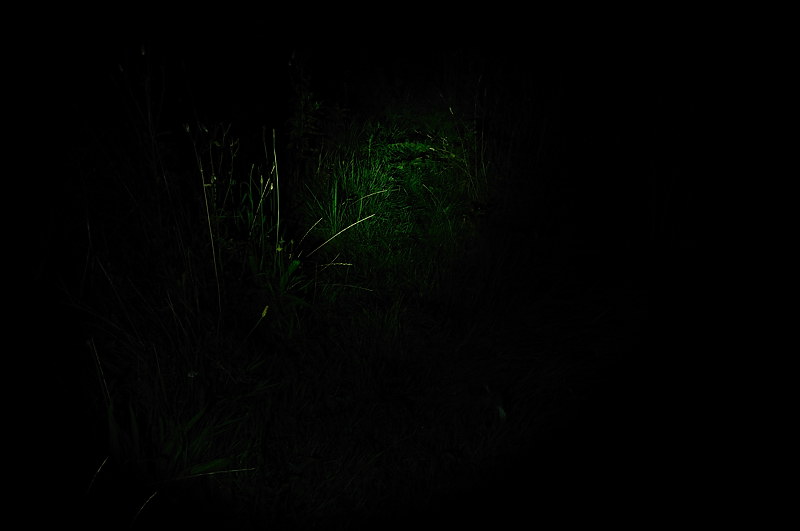
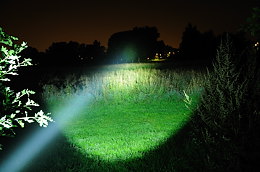
Lowest setting, increased exposure
Olight M20S S2, M20 XML-U module in M20 Titanium body, Olight M21-X:


Olight SR51, Fenix TK21, Fenix TK35:

ThruNite Scorpion, ThruNite Catapult V2 XM-L, JetBeam BC40:

JetBeam PA40, Balder BD-4, Eagletac M3C4 XM-L:

Sunwayman V20C:

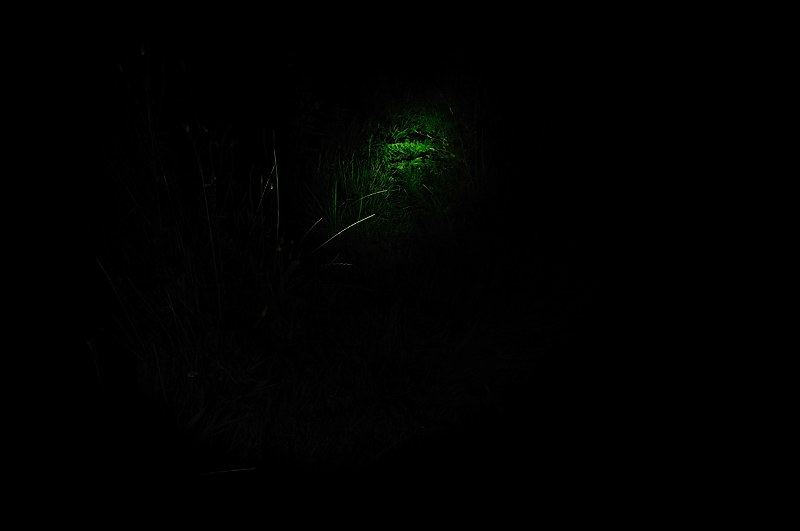
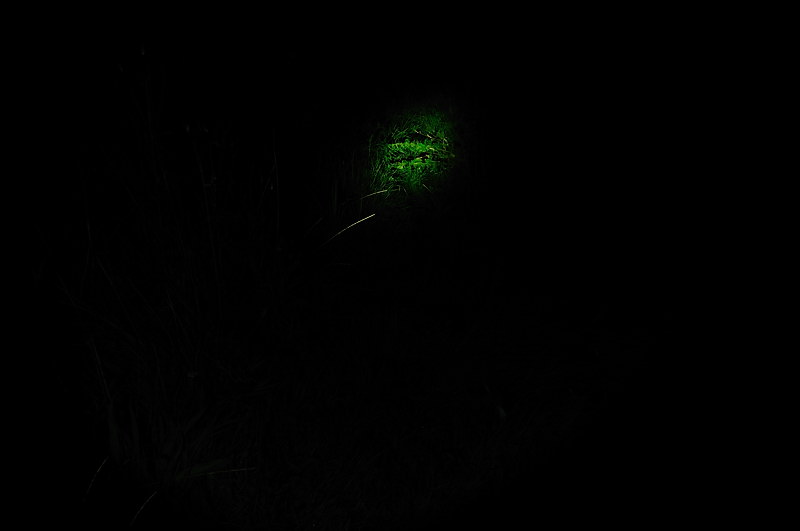
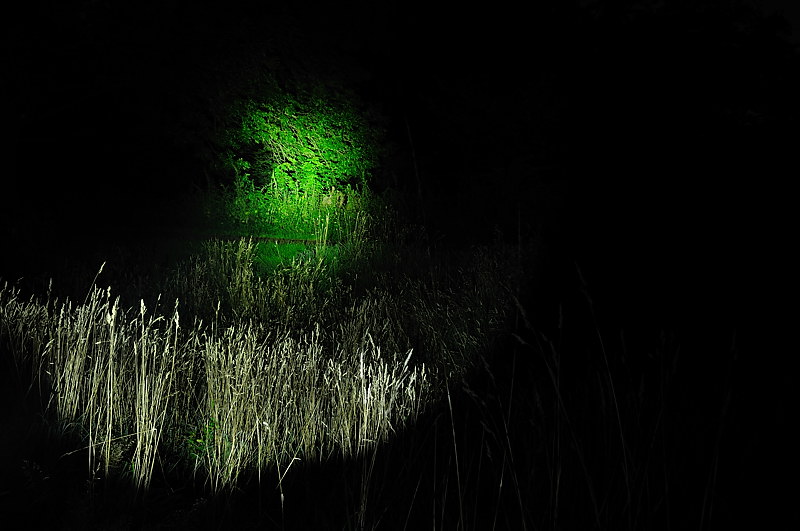
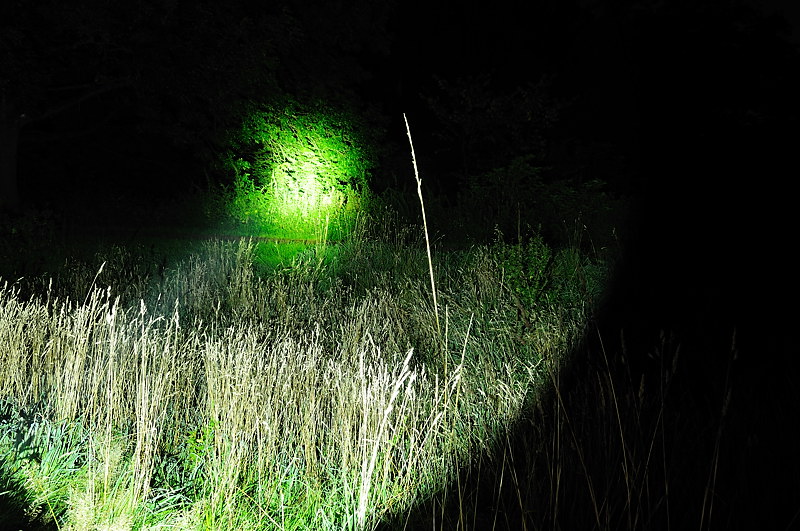
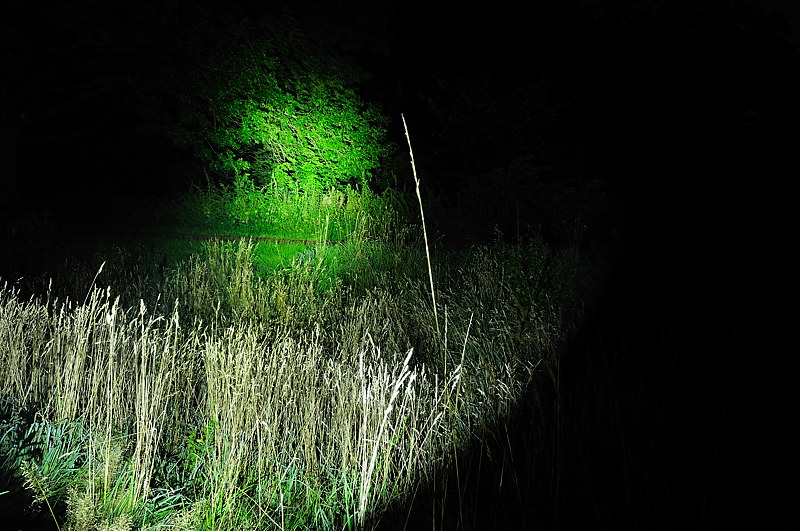
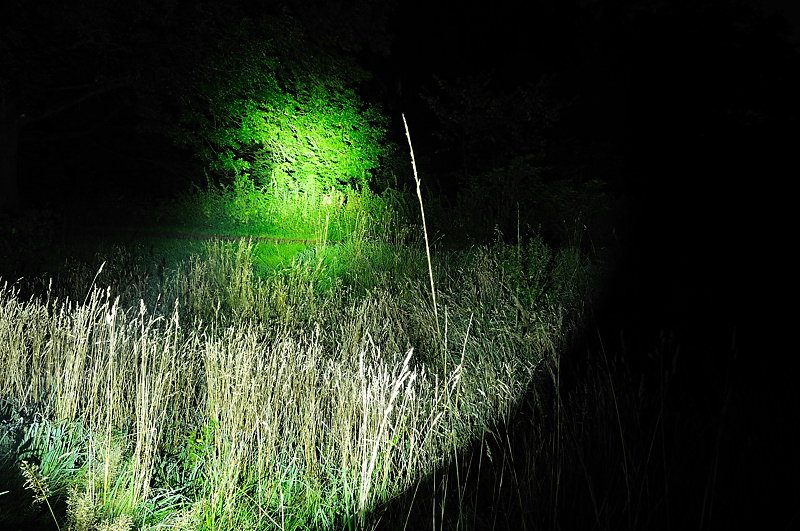
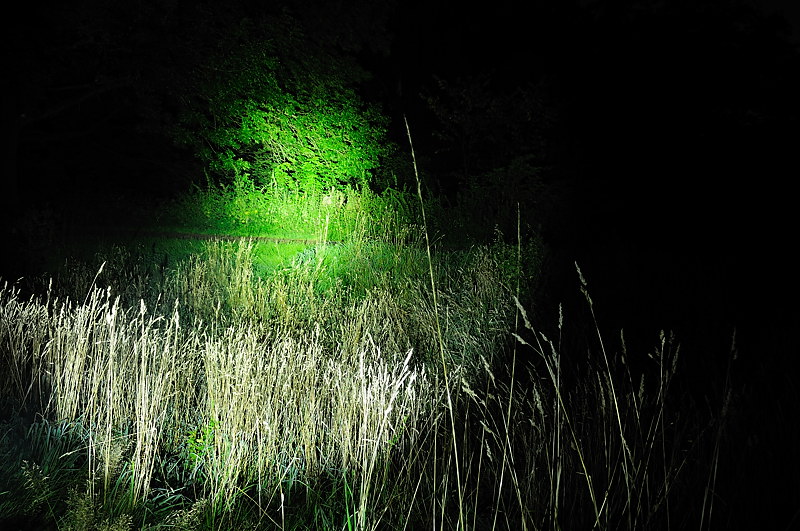
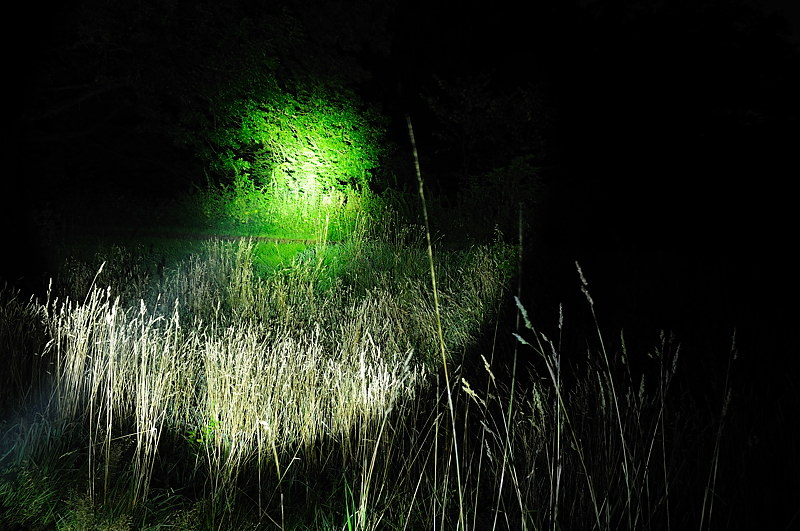
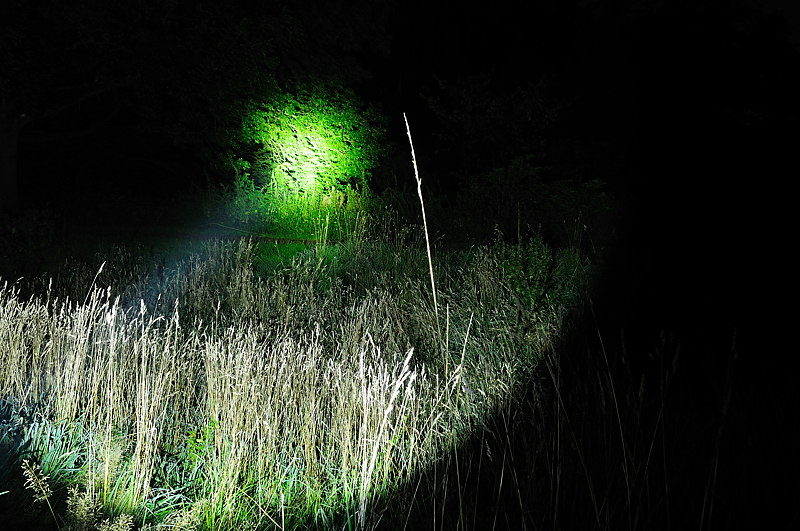
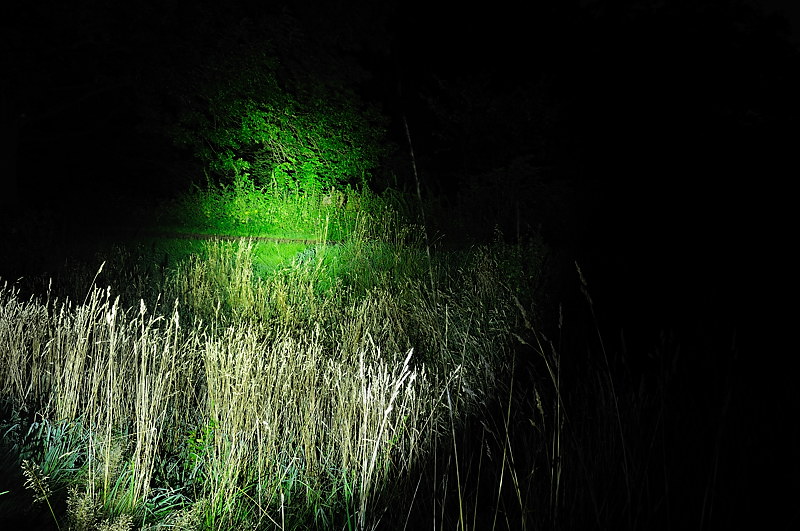
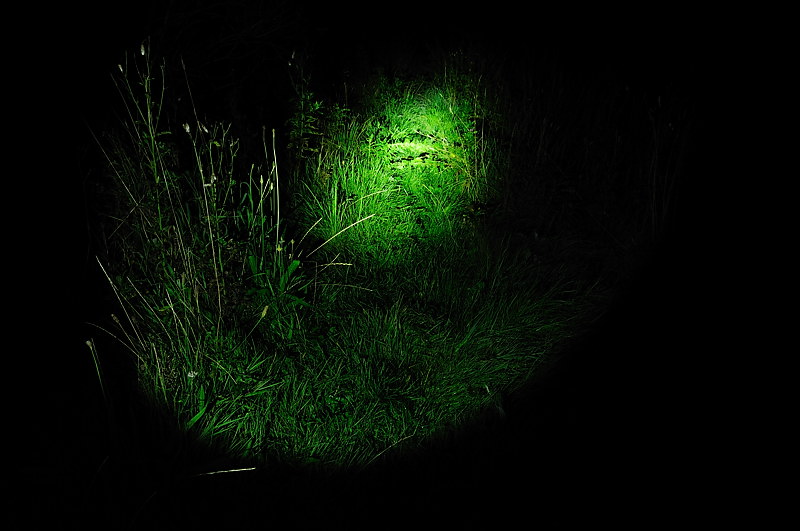
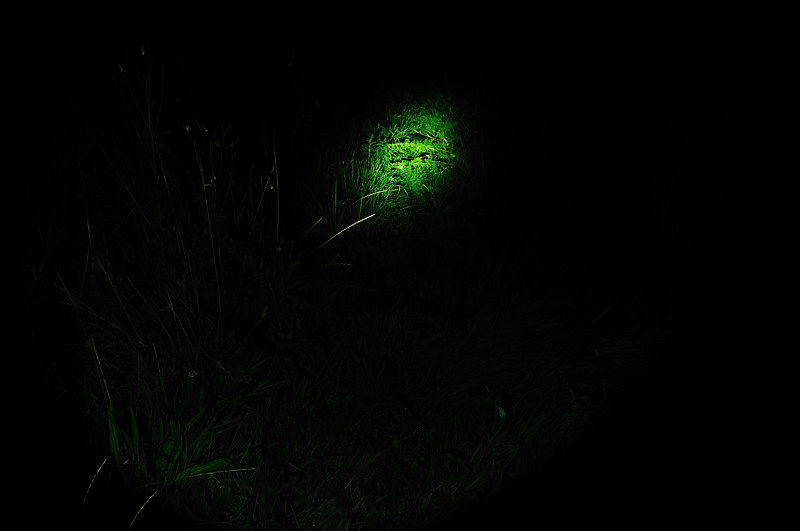
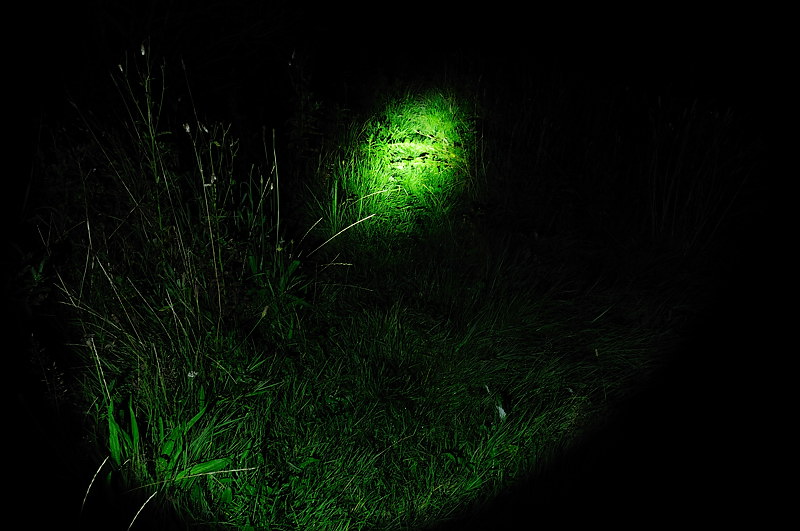
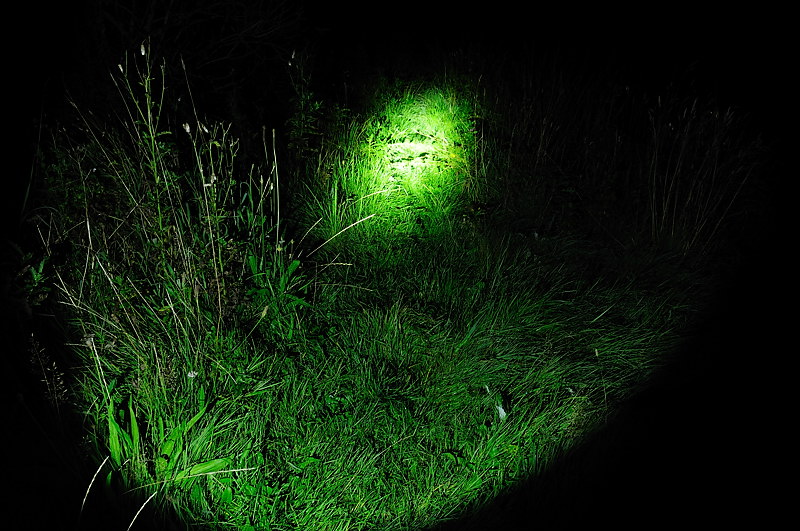
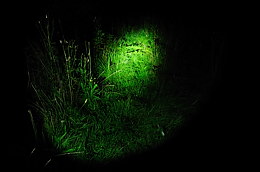
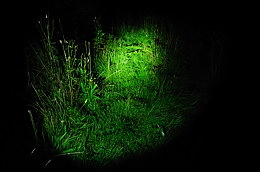
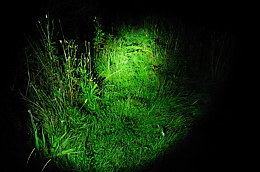
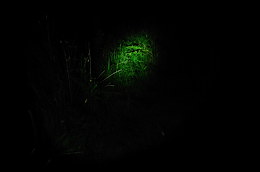
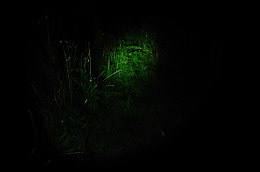
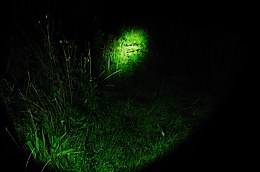
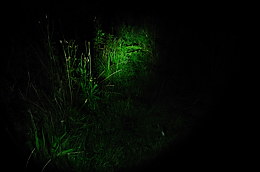
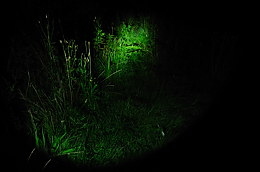
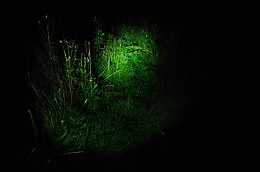
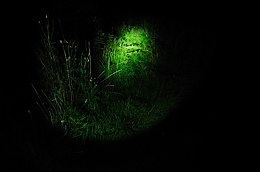
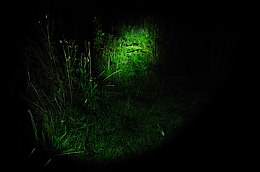
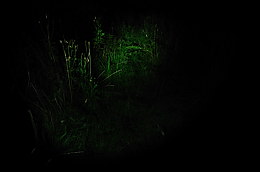
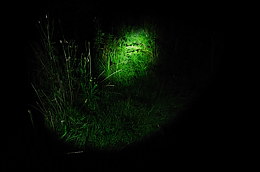
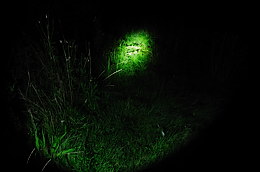
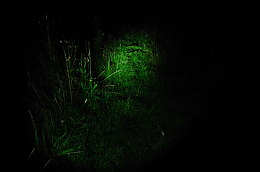
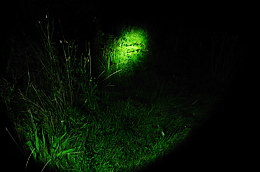
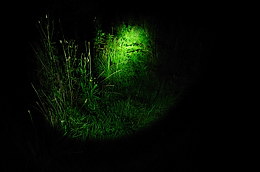
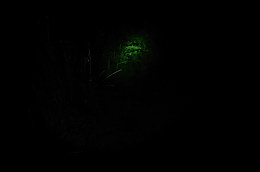
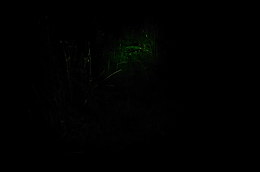
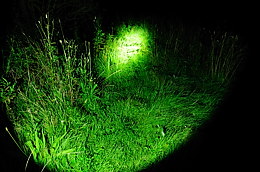
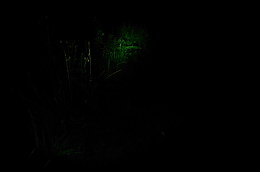
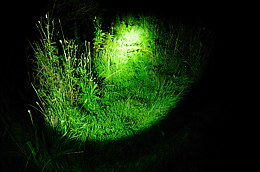
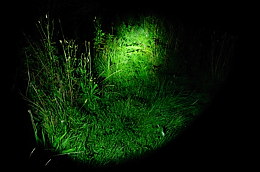
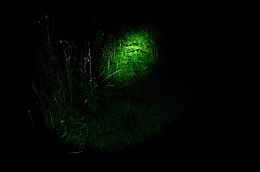
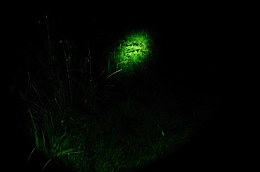
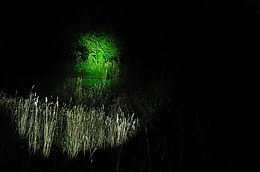
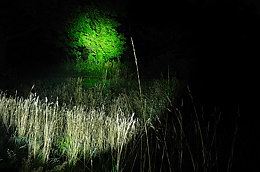
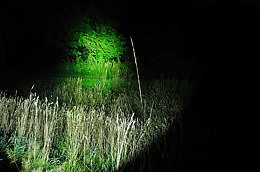
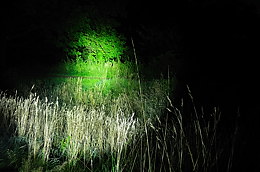
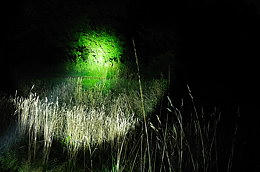
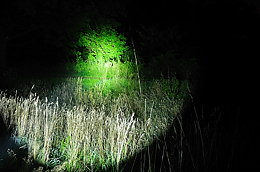
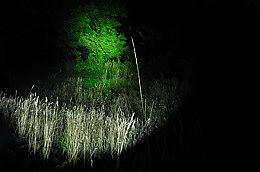
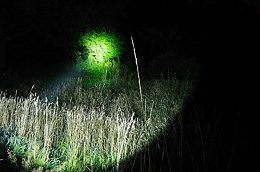
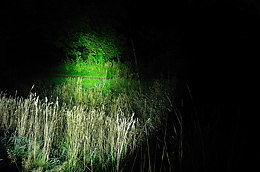
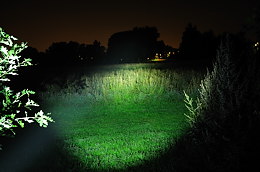
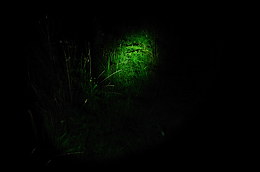
Tree at 15 meter
Olight M20S S2, M20 XML-U module in M20 Titanium body, Olight M21-X:
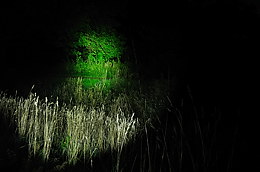
Olight SR51, Fenix TK21, Fenix TK35:


ThruNite Scorpion, ThruNite Catapult V2 XM-L, JetBeam BC40:
JetBeam PA40, Balder BD-4, Eagletac M3C4 XM-L:

Sunwayman V20C:
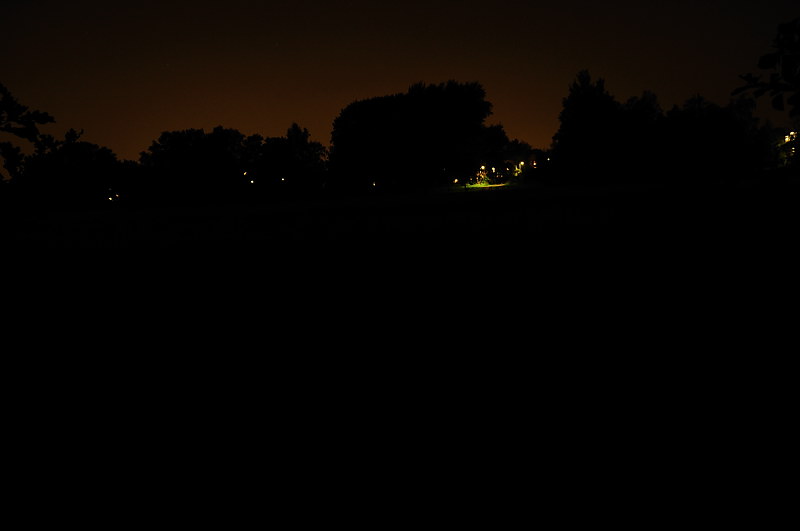
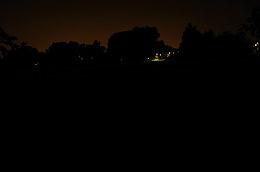
Dark reference:

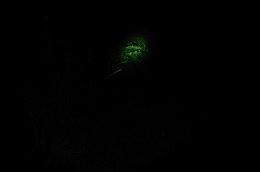
Trees at 140 meter
Olight M20S S2, M20 XML-U module in M20 Titanium body, Olight M21-X:

Olight SR51, Fenix TK21, Fenix TK35:
ThruNite Scorpion, ThruNite Catapult V2 XM-L, JetBeam BC40:
JetBeam PA40, Balder BD-4, Eagletac M3C4 XM-L:

Sunwayman V20C:
Dark reference:
Olight M20S S2
Low, medium, high:
Tree at 15 meter, trees at 150 meters:
M20 XML-U module in M20 Titanium body
Low, medium, high:

Tree at 15 meter, trees at 150 meters:
Olight M21-X
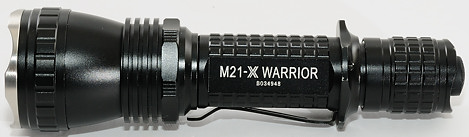
Read more about the light and see pictures and curves in my review
Low, medium, high:

Tree at 15 meter, trees at 150 meters:
Olight SR51
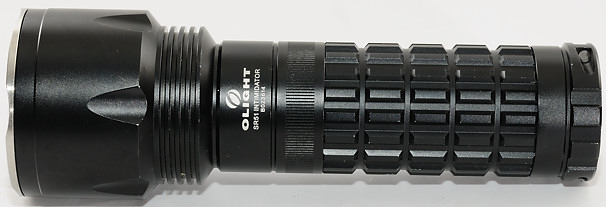
Read more about the light and see pictures and curves in my review
Low, high:
Tree at 15 meter, trees at 150 meters:
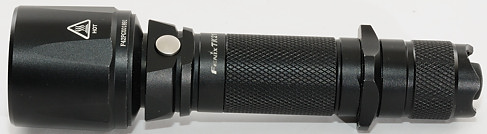
Fenix TK21
Low, #2, #3:

High:
Tree at 15 meter, trees at 150 meters:
Fenix TK35

Low, #2, #3:

High:
Tree at 15 meter, trees at 150 meters:
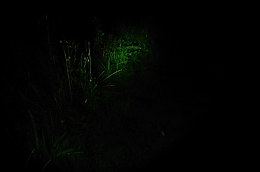
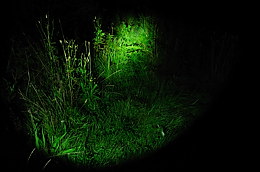
ThruNite Scorpion
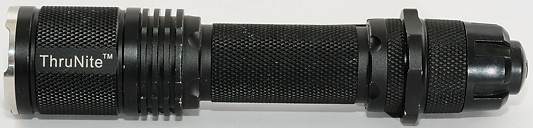
Read more about the light and see pictures and curves in my review
Low, medium, high:
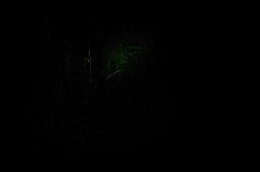
Tree at 15 meter, trees at 150 meters:
ThruNite Catapult V2 XM-L
Read more about the light and see pictures and curves in my review
Low, high:
Tree at 15 meter, trees at 150 meters:
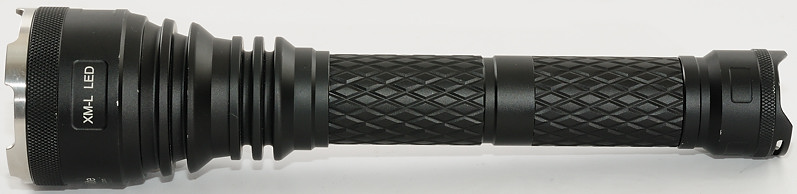
JetBeam BC40
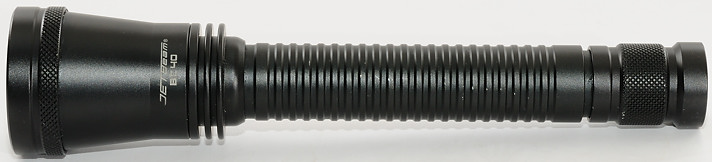
Low, high:
Tree at 15 meter, trees at 150 meters:
JetBeam PA40
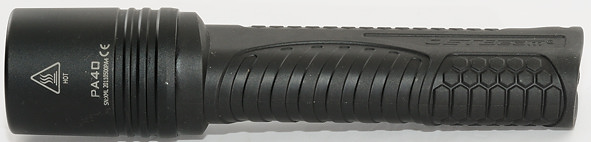
Low, #2, #3:
High:
Tree at 15 meter, trees at 150 meters:
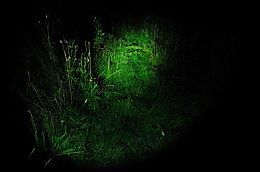
Balder BD-4
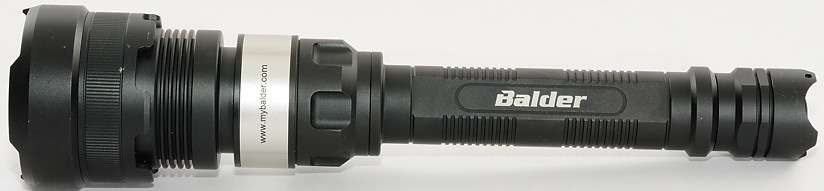
Read more about the light and see pictures and curves in my review
Low, medium, high:
Tree at 15 meter, trees at 150 meters:
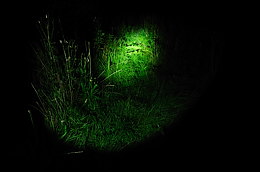
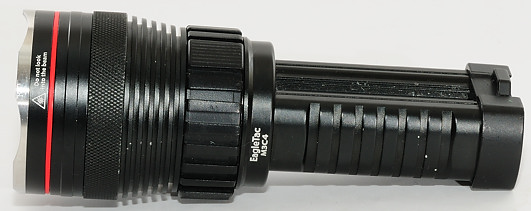
Eagletac M3C4 XM-L
Low, #2, #3:

#4, High:

Tree at 15 meter, trees at 150 meters:
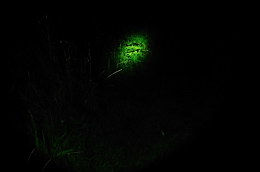
Sunwayman V20C
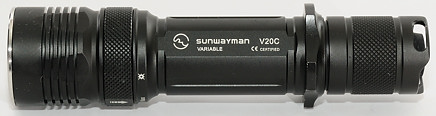
This light uses a ring to adjust the brightness, the beamshots shows the minimum and maximum positions of the ring, any brightness level inbetween can be selected.
Low, high:
Tree at 15 meter, trees at 150 meters:
Notes
Most of the small beamshot pictures can be clicked for a larger version. To compare beamshots, open the larger picture in different tabs, then switch between tabs to see the difference.