Beamshot of 14 big lights, August 2011
This collection of beamshots contains some new lights compared to my other beamshot comparisons: Olight SR51, Olight SR92, Fenix Tk60, Fenix TK70, 4Sevens S18.
Some other comparisons are: Beamshot of 8 light with 18650 battery, Juli 2011, Beamshot of 7 Fenix and 6 other lights, May 2011, Beamshot of 12 big lights, Marts 2011, Beamshot of 14 big lights, September 2010, Beamshot of 17 big lights, April 2010, Beamshot 9 big lights, June 2010 and Beamshot 8 big lights, June 2010

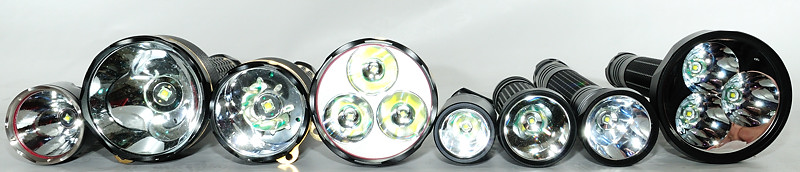
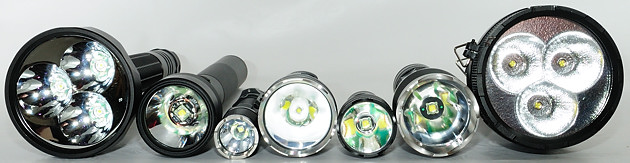
The following lights are included (Same sequence as pictures): Olight SR51, Olight SR90, Olight SR91, Olight SR92, Fenix TK35, Fenix TK41, Fenix TK60, Fenix TK70, ElektroLumens Blaster-NG, Thrunite Scorpion 2, EagleTac M3C4 XM-L, 4Sevens S12, 4Sevens S18, Xtar D30 Howitzer.
A few notes:
S12 and Blaster-NG are not stabilized lights, especially S12 has a very variable maximum output, all beamshots are done with freshly charged batteries, i.e. they are at about maximum output.
TK35, Scorpion 2, M3C4 are tested with 18650 batteries.
TK41, TK60, TK70 are tested with NiMH batteries.
SR51 and S18 are tested with CR123 batteries
D30 is tested with 32650 batteries (This is an older light that uses 3xMC-E leds).
Scorpion 2 is only tested at high, not momentary.
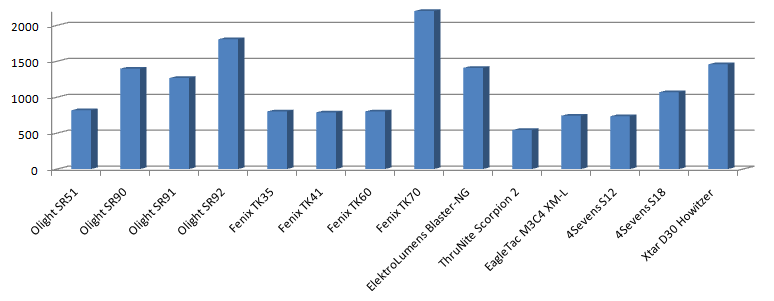
This is the total light output measured with a ceiling bounce. The TK70 with its 3 emitters has the highest output, next is SR92 also with 3 emitters. Next comes the single emitter lights with the SR90 led (SR90, SR91, Blaster-NG, S12, S18).
All the lights have been running for a few minutes, before I did this test, this means that the Scorpion and the S12 is not a maximum output. The other lights have also reduced output a bit, but not as much.
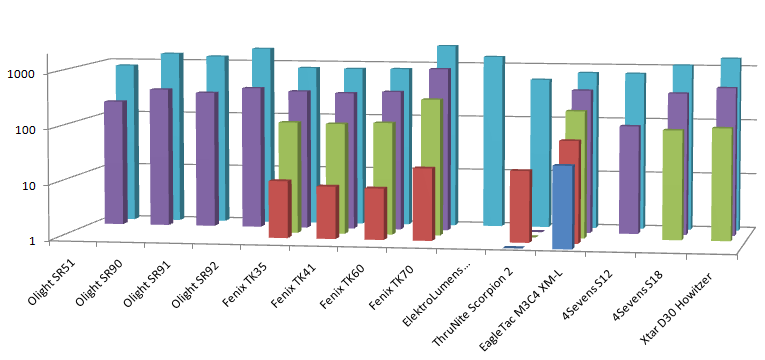
With all the brightness settings in one graph, it can be seen that there is a huge difference in number of levels and what brightness the different lights support. The TK70 is the brightest, but does also have a low level.
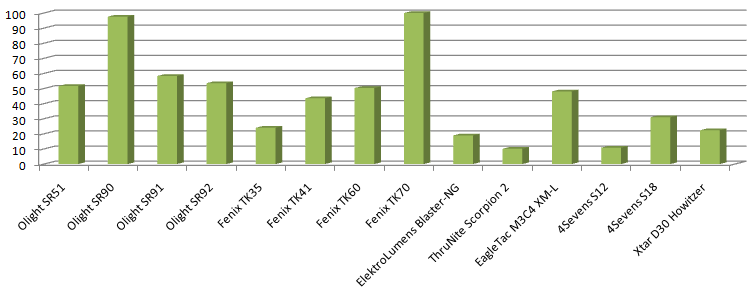
Here I have measured lux at 4 meters to get a estimate of throw. The TK70 and SR90 are very close, because the SR90 has less lumens, it uses a more focused beam to get the same lux output.
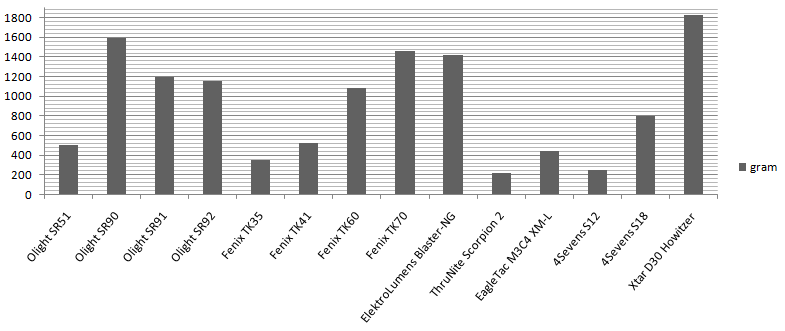
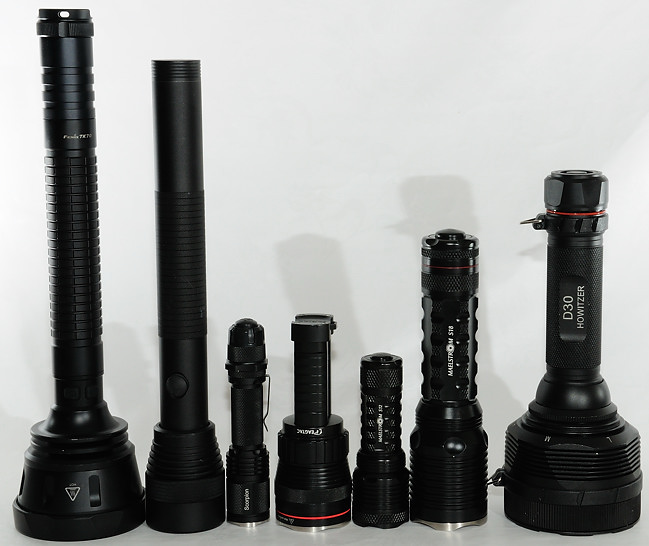
Many of these lights are heavy, high lumen output does need a lot of power and a lot of cooling. Both large heatsinks and batteries adds a lot of weight.
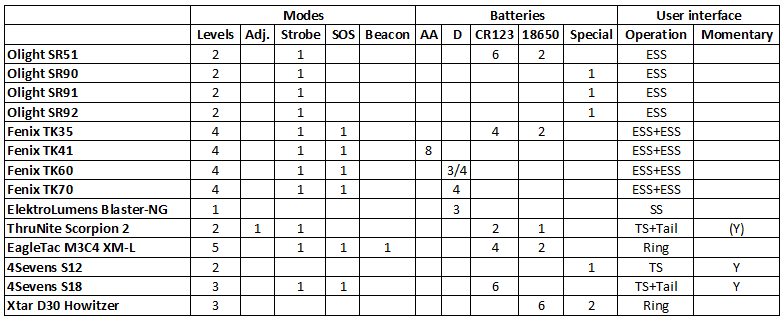
In this table I have tried to collect the key features of each light. For the user interface I use the following abbreviations: TS: Tail switch, ETS: Electronic tail switch, SS: Side switch, ESS: Electronic side switch, Ring: A ring is used in the ui, Tail: Loosing/tighten the tail is used in the ui.
The S12 uses a 32650 battery, this is not a common LiIon size, but it is possible to get spares and the spares are considerable cheaper than spares for SR90 and SR91.
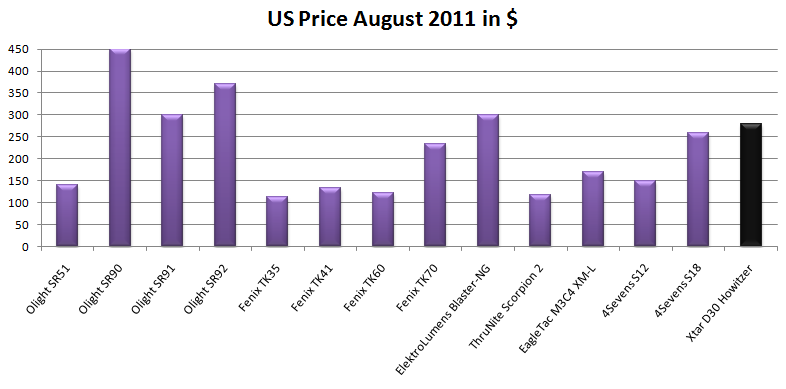
I have checked some US websites for a price estimate of the different lights. The TK70 is cheap compared to other high output lights, some of the reasons for this is because it is without batteries, charger and aluminium case and the strap is a low quality compared to the SR90, SR91 and SR92.
Note: The D30 was replaced with the D31 and both are out of production now.
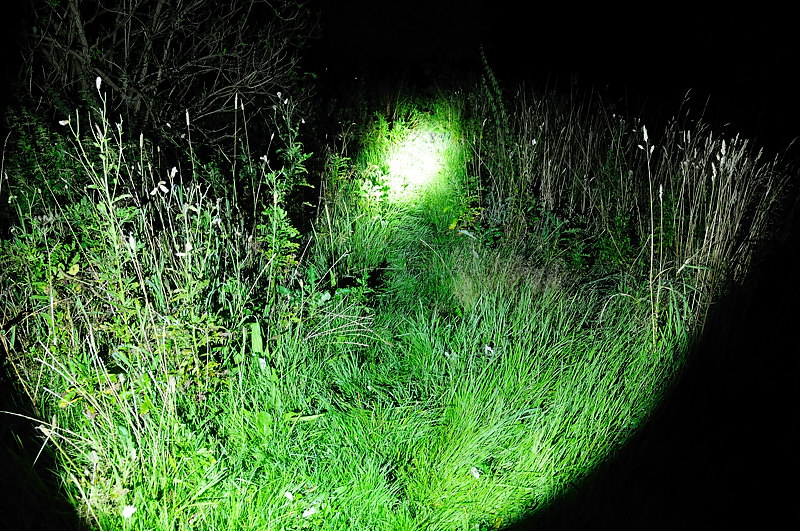
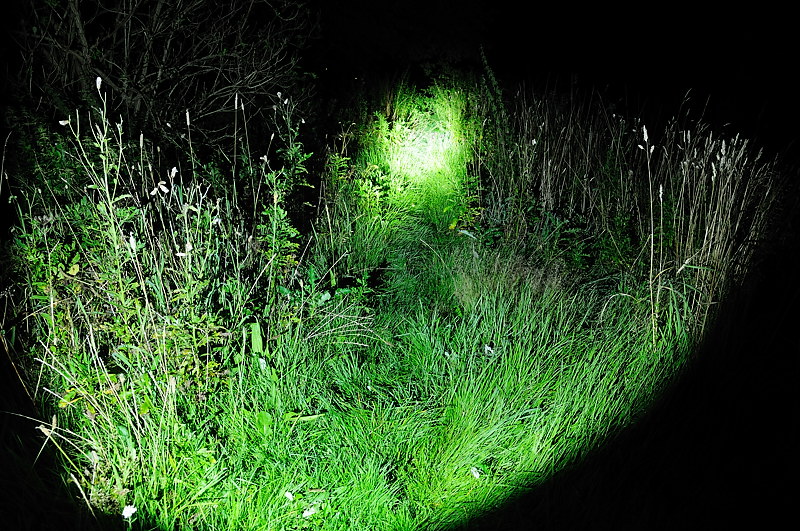
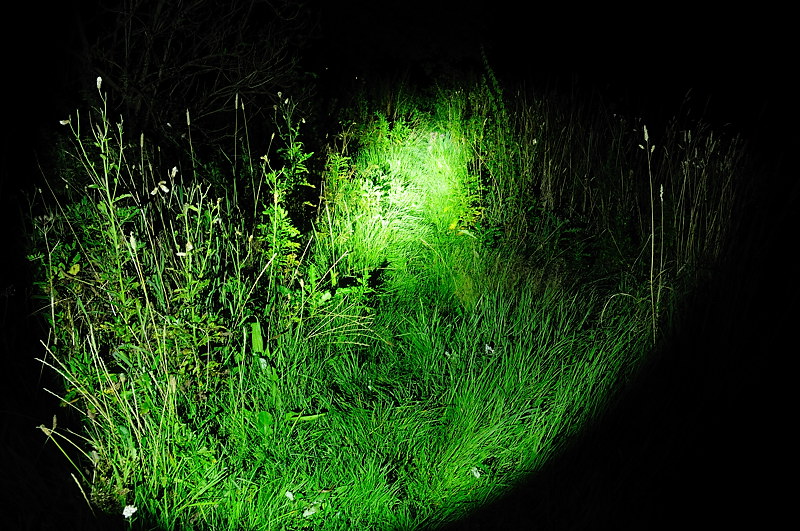
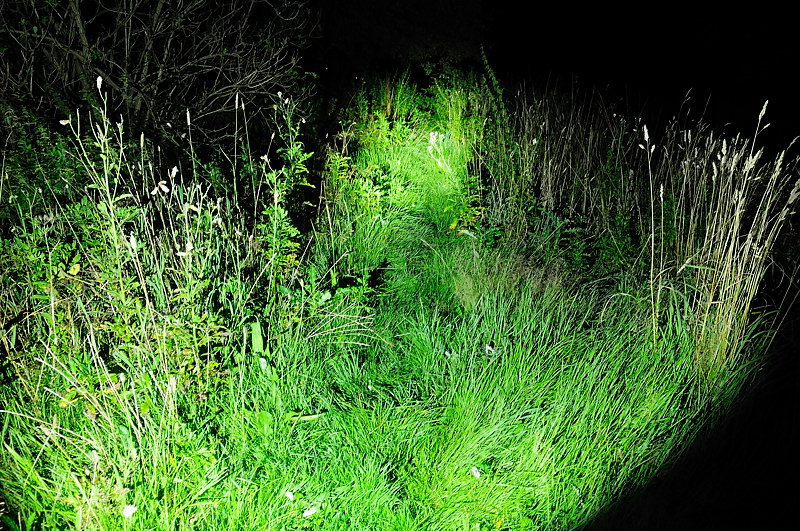
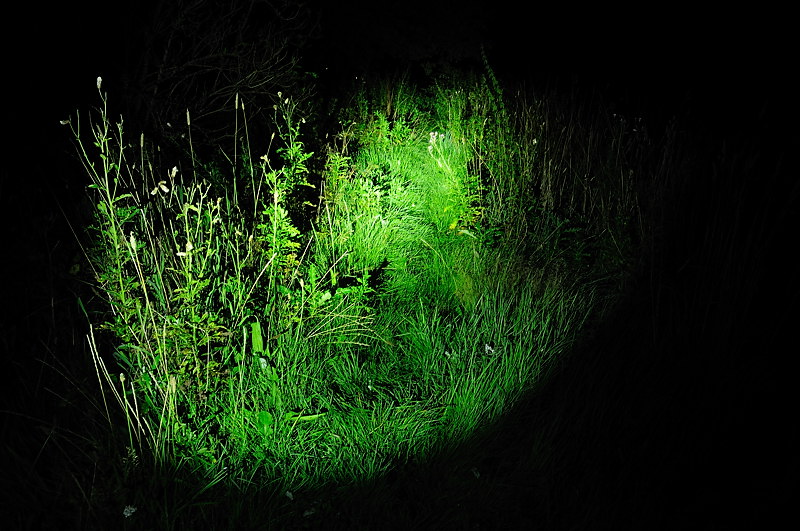
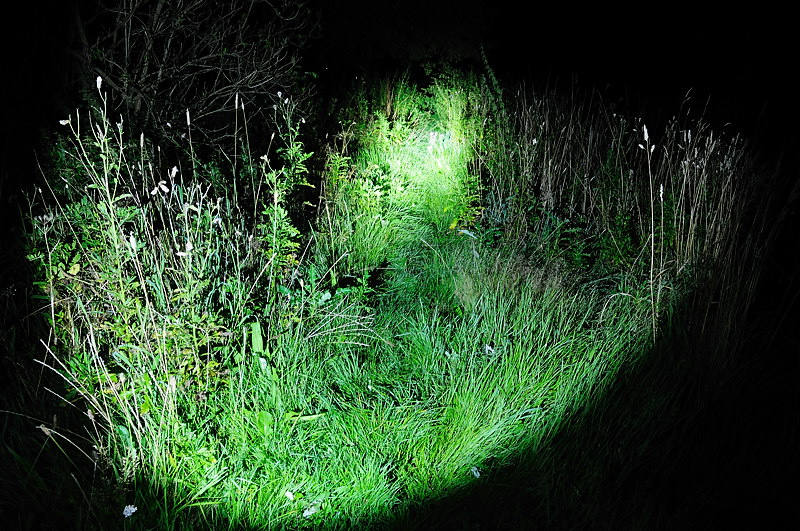
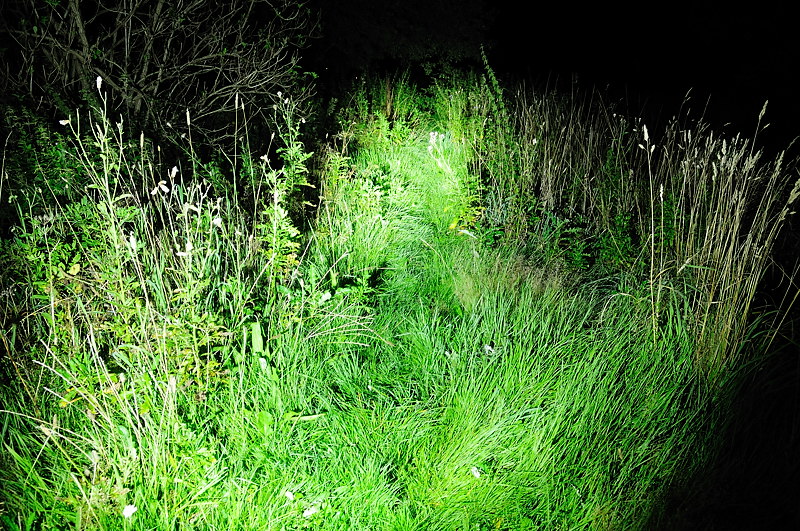
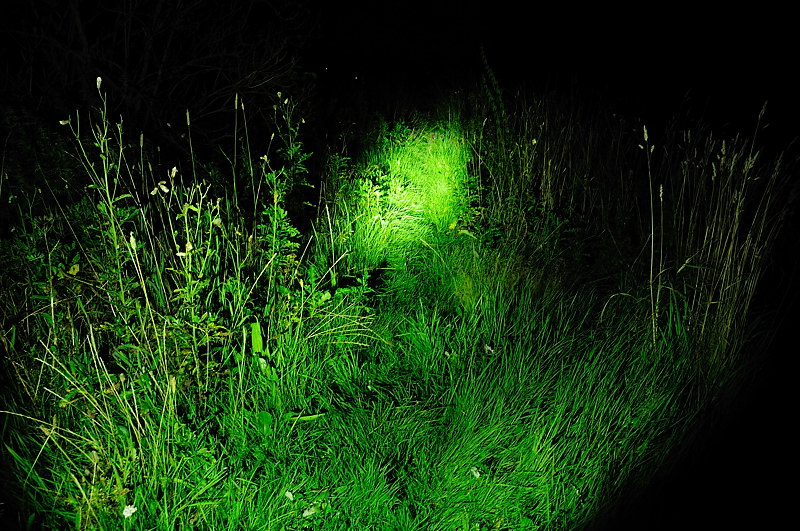
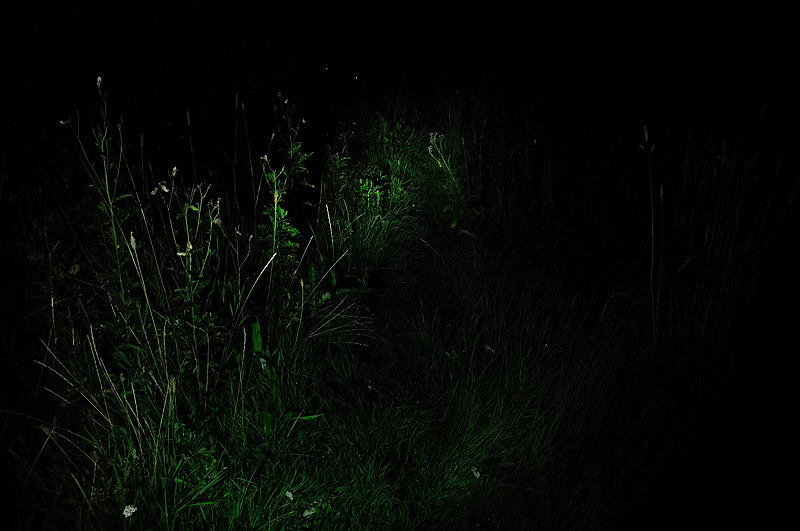
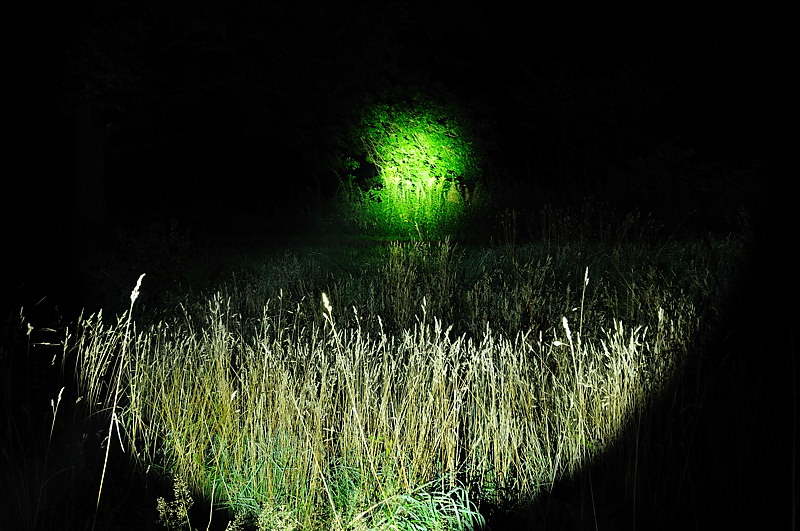
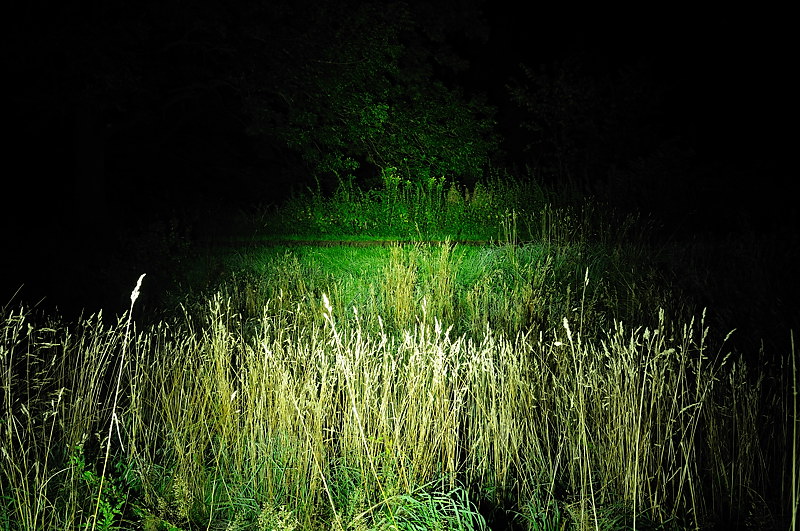
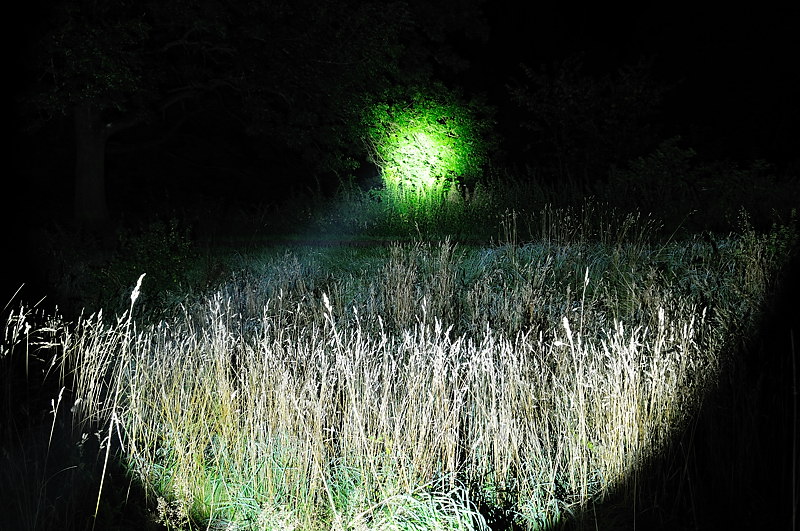
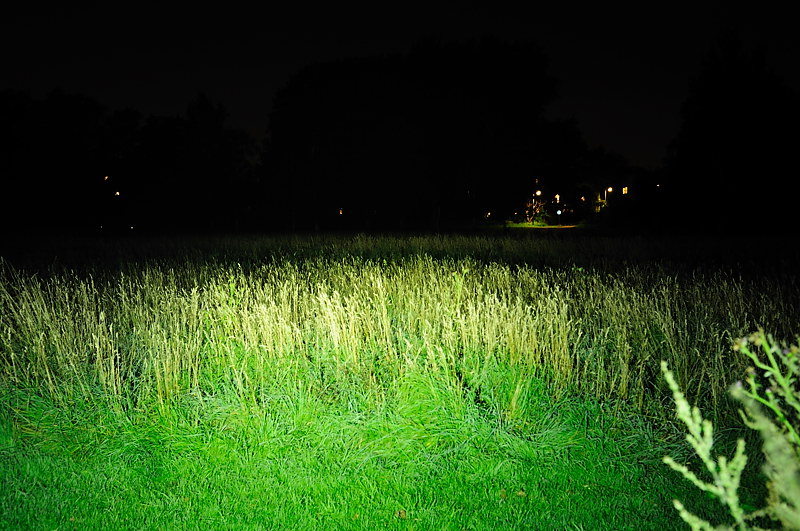
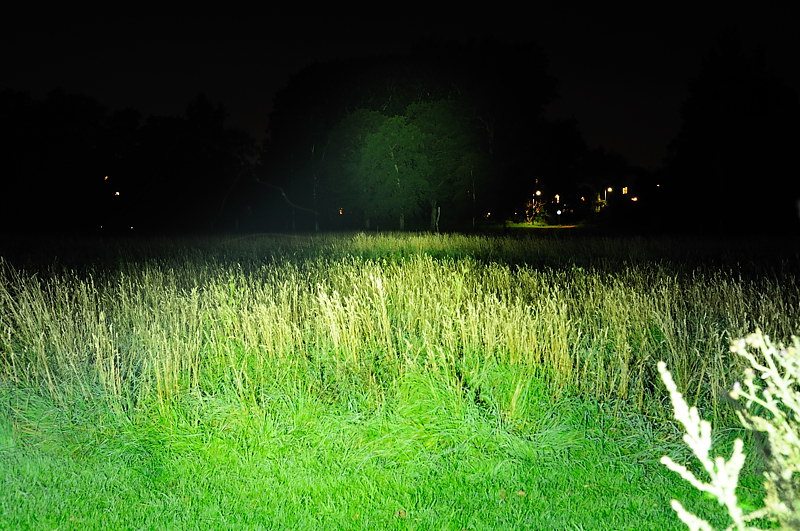
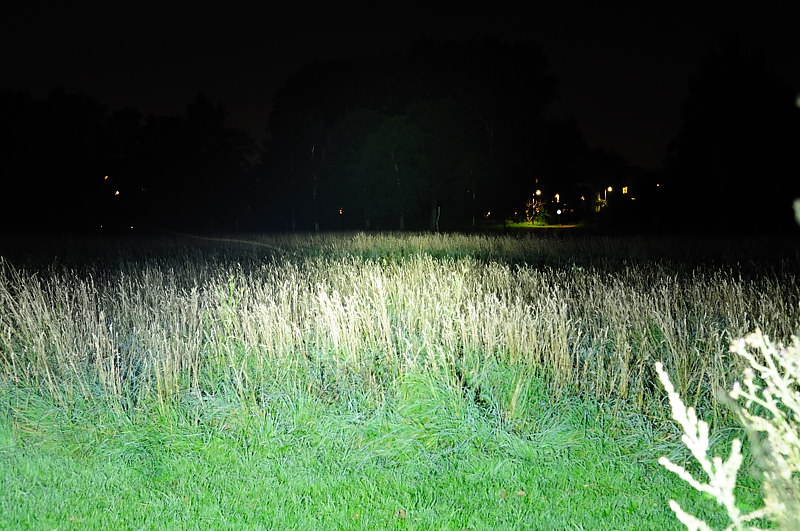
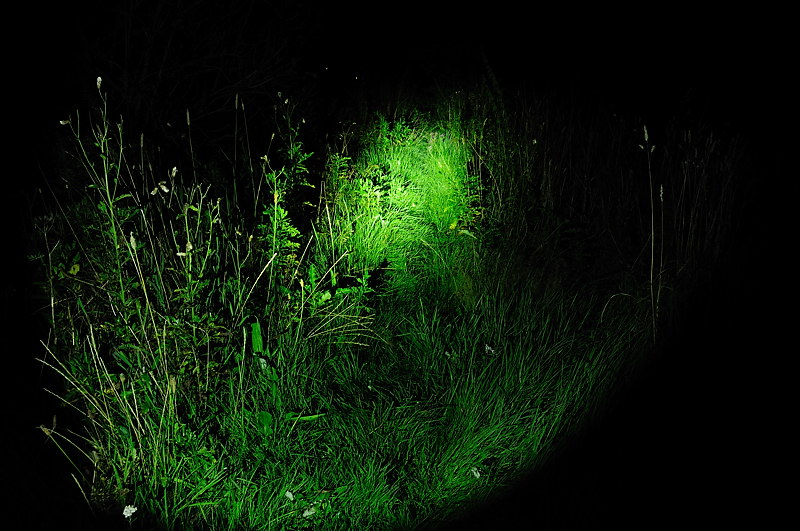
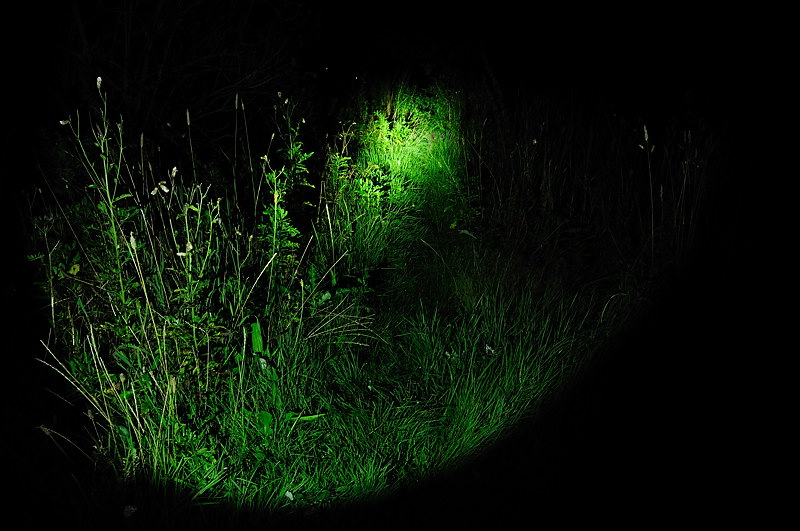
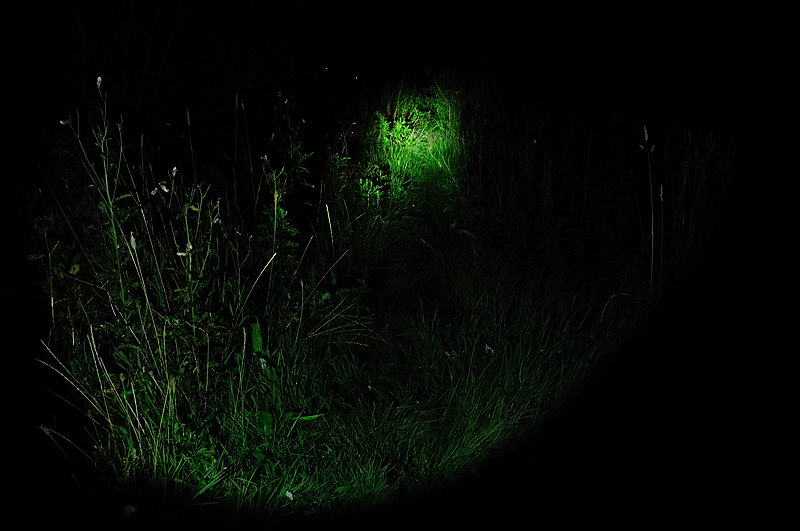
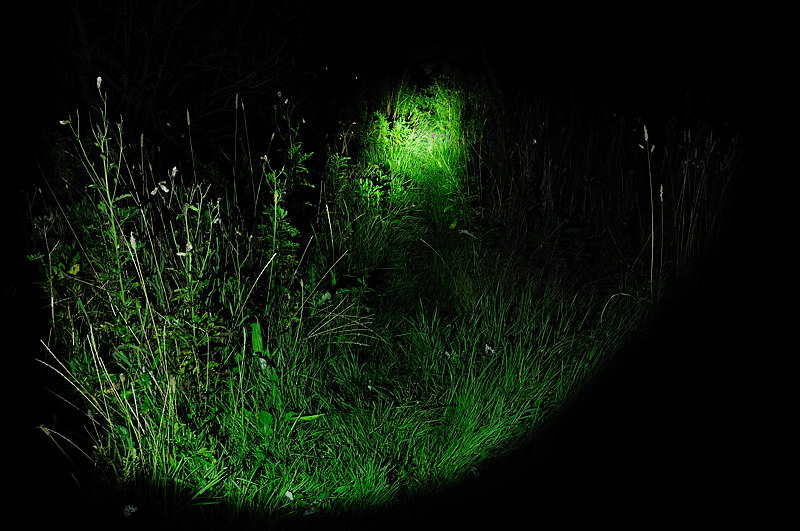
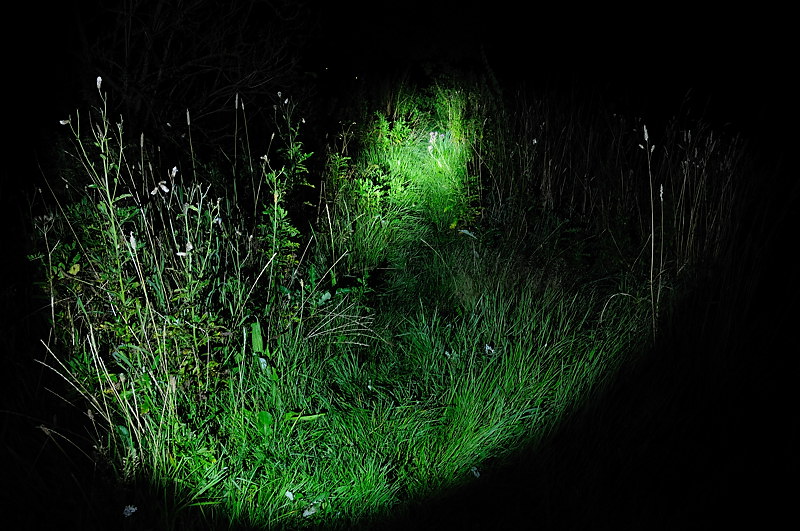
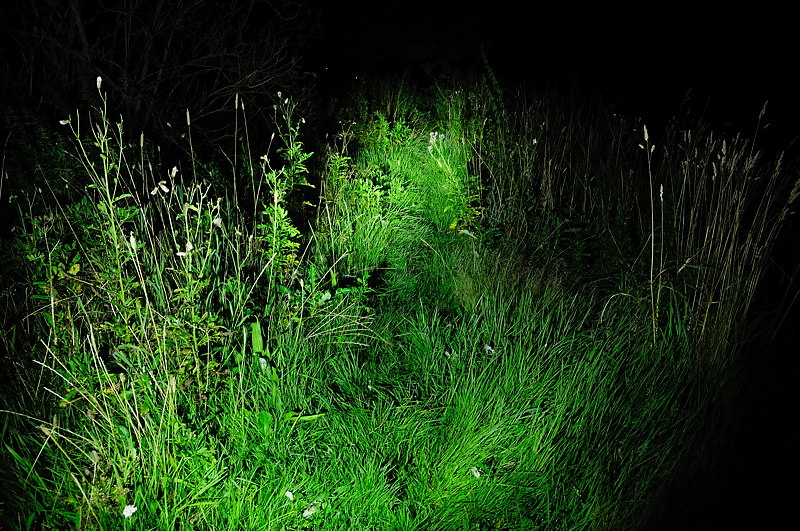
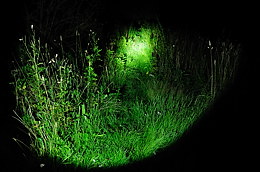
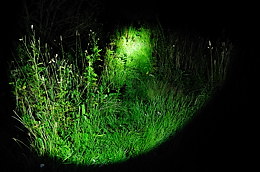
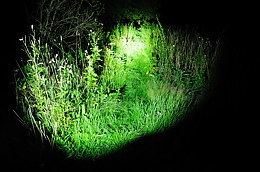
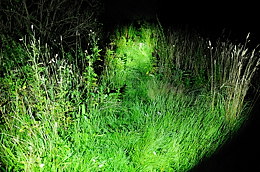
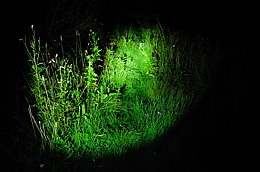
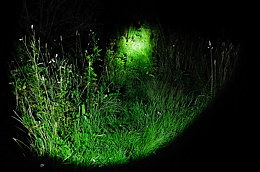
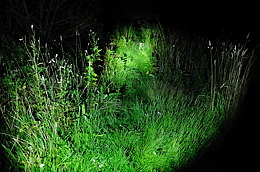
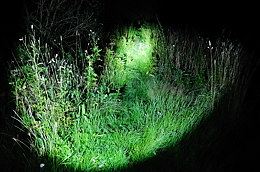
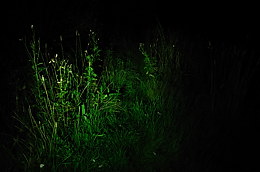
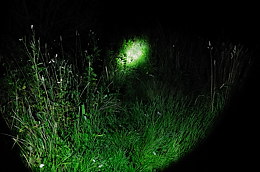
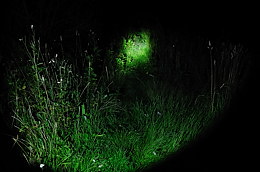
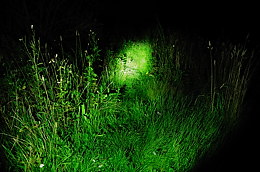
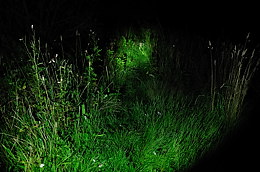
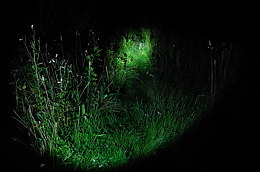
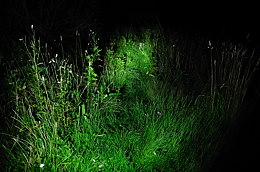
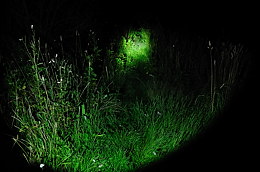
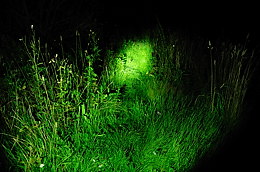
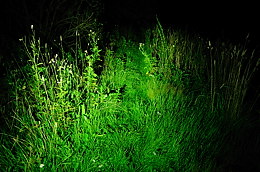
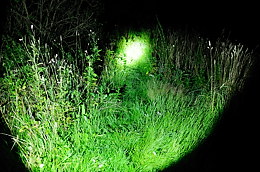
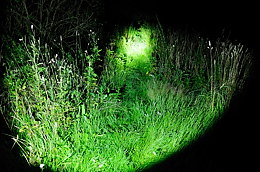
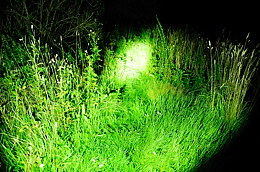
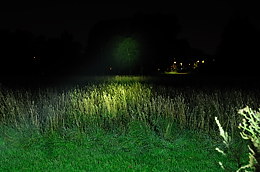
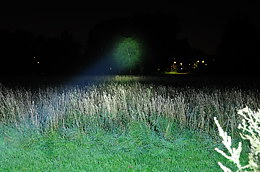
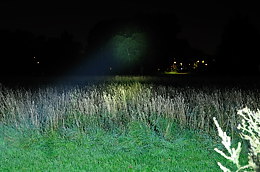
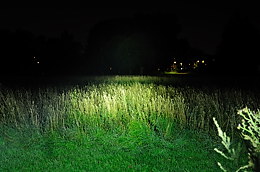
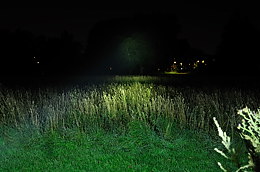
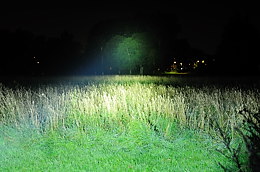
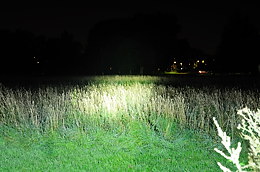
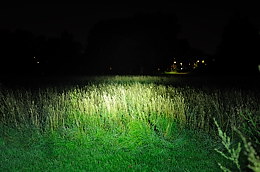
Beamprofile with high output
Olight SR51, Olight SR51 with diffuser, Olight SR90:


Olight SR91, Olight SR92, Fenix TK35:

Fenix TK41, Fenix TK60, Fenix TK70:
ElektroLumens Blaster-NG, Thrunite Scorpion 2, EagleTac M3C4 XM-L:
4Sevens S12, 4Sevens S18, Xtar D30 Howitzer:

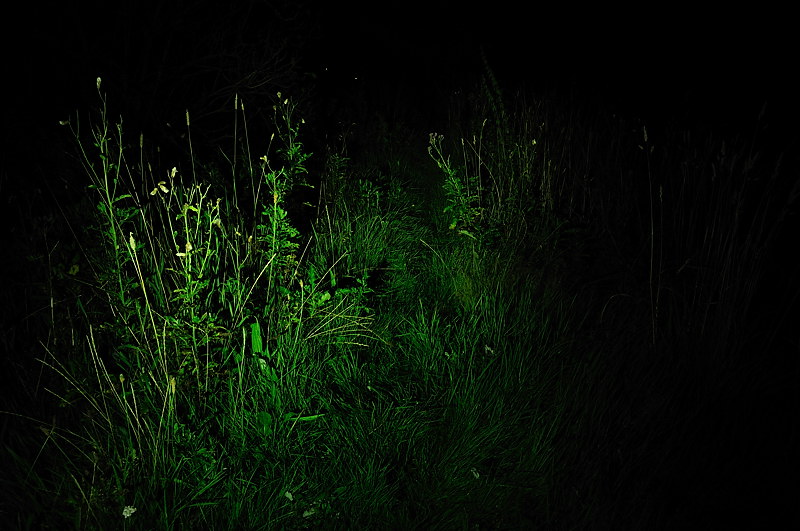
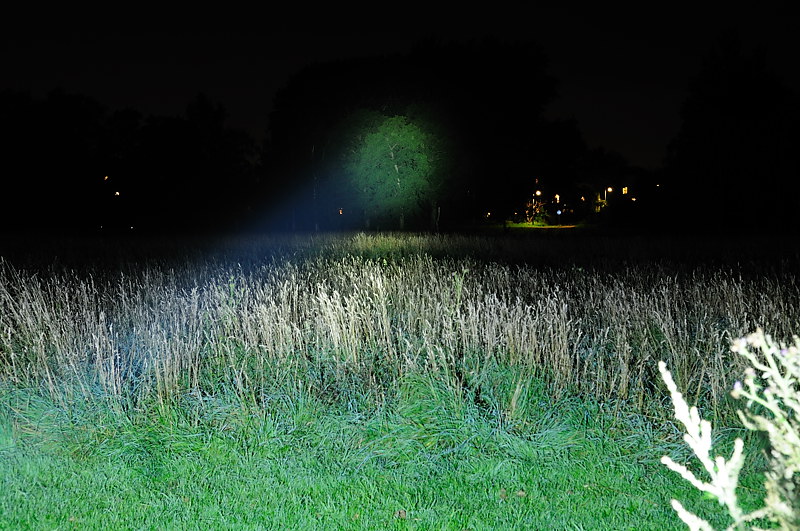
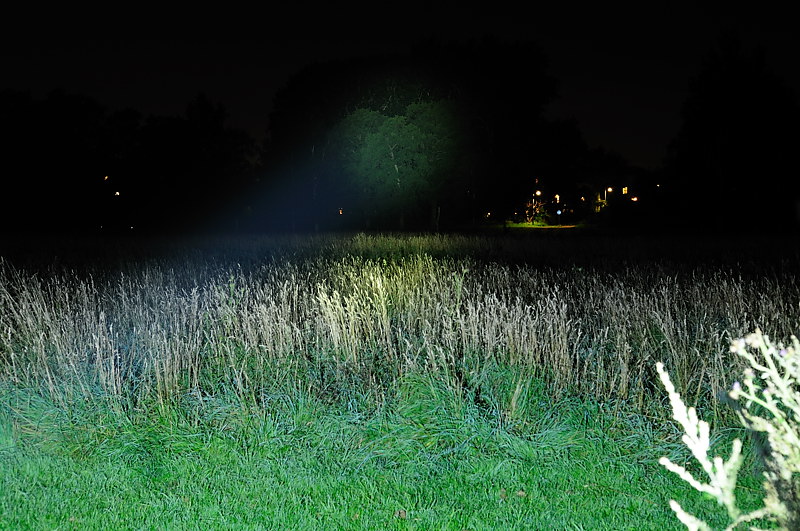
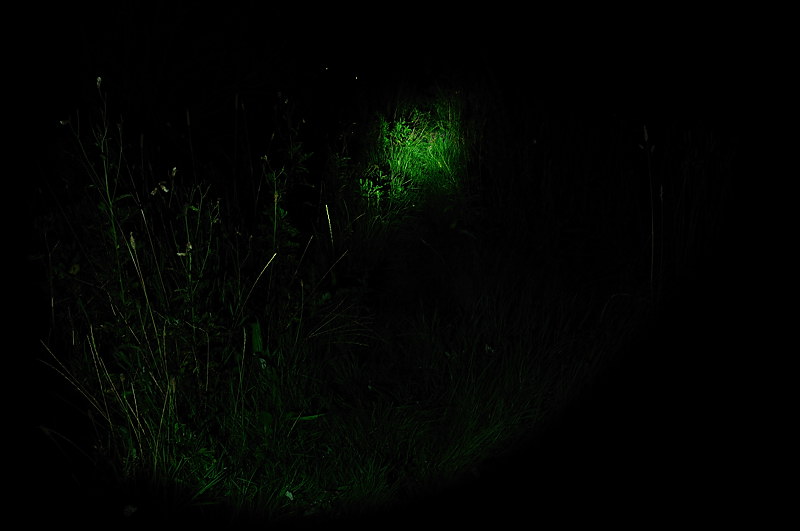
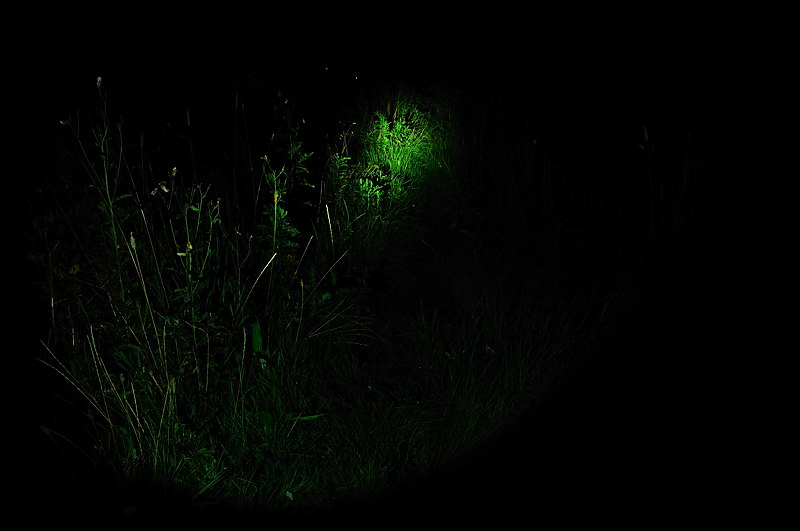
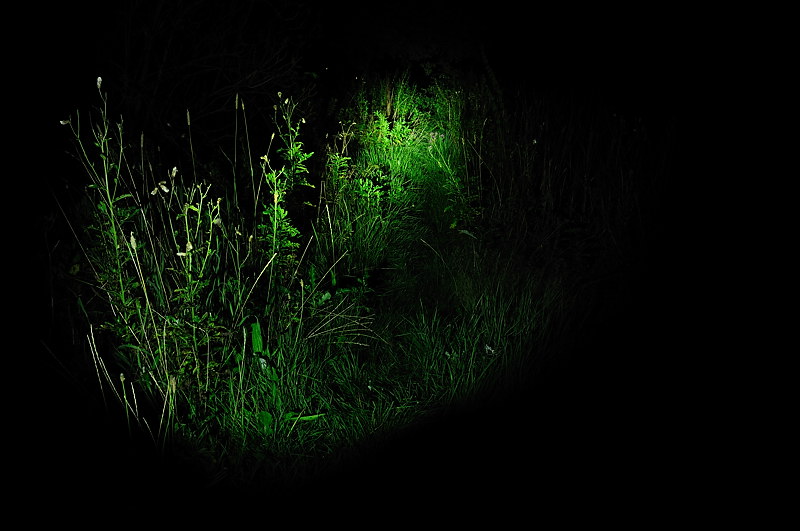
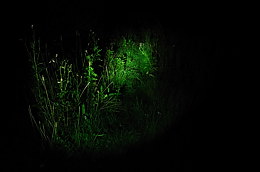
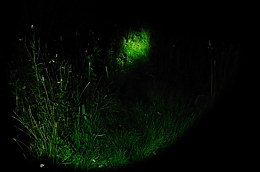
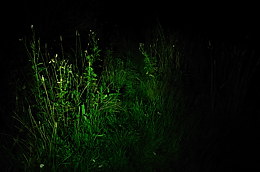
Beamprofile with high output, reduced exposure
Olight SR51, Olight SR51 with diffuser, Olight SR90:

Olight SR91, Olight SR92, Fenix TK35:
Fenix TK41, Fenix TK60, Fenix TK70:
ElektroLumens Blaster-NG, Thrunite Scorpion 2, EagleTac M3C4 XM-L:
4Sevens S12, 4Sevens S18, Xtar D30 Howitzer:
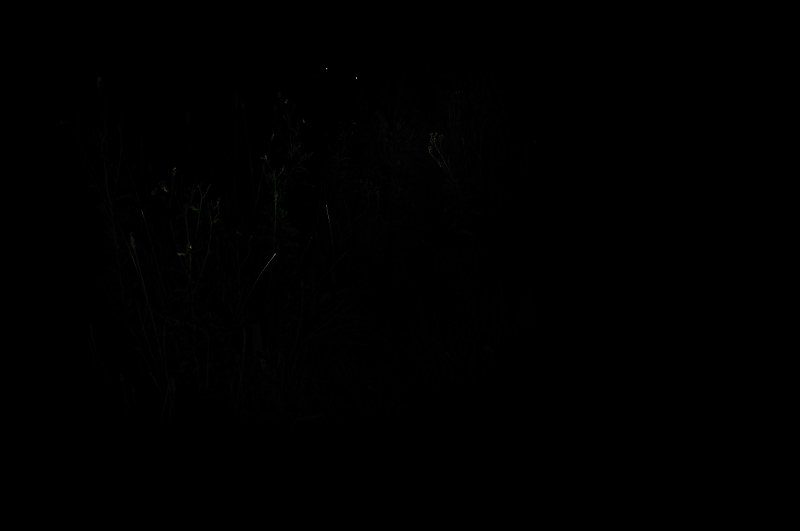
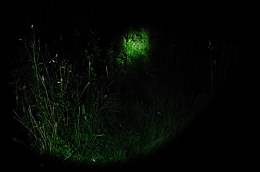
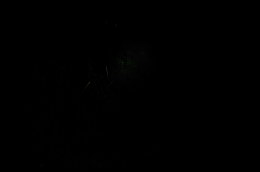
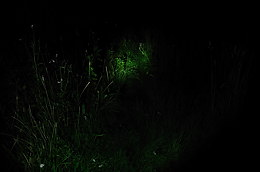
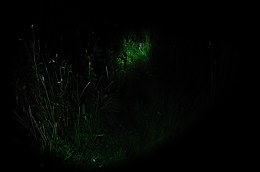
Lowest setting
Single level lights will use same pictures as above.
Olight SR51, Olight SR51 with diffuser, Olight SR90:

Olight SR91, Olight SR92, Fenix TK35:
Fenix TK41, Fenix TK60, Fenix TK70:


ElektroLumens Blaster-NG, Thrunite Scorpion 2, EagleTac M3C4 XM-L:

4Sevens S12, 4Sevens S18, Xtar D30 Howitzer:
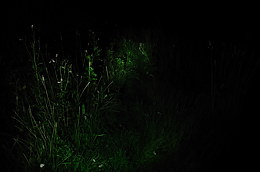
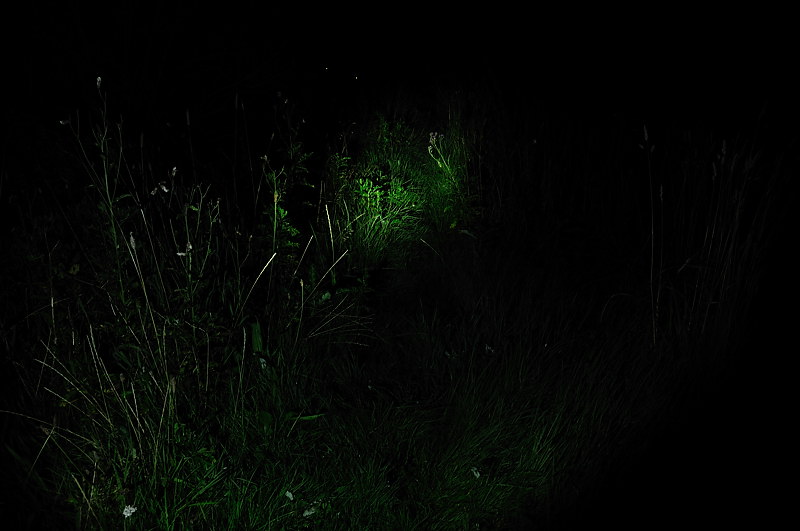
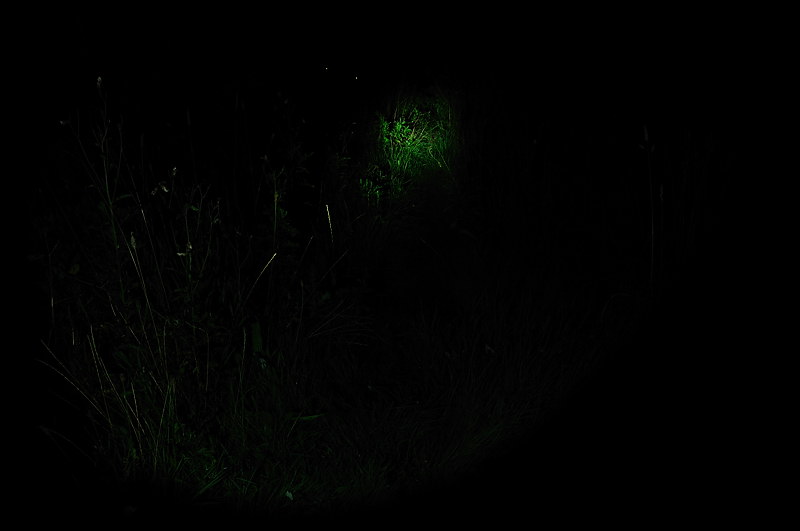
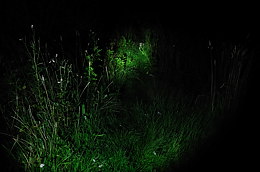
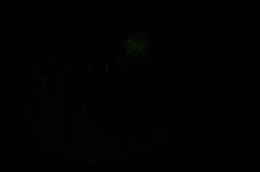
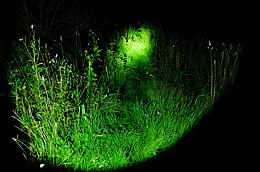
Lowest setting, increased exposure
Olight SR51, Olight SR51 with diffuser, Olight SR90:
Olight SR91, Olight SR92, Fenix TK35:

Fenix TK41, Fenix TK60, Fenix TK70:
ElektroLumens Blaster-NG, Thrunite Scorpion 2, EagleTac M3C4 XM-L:

4Sevens S12, 4Sevens S18, Xtar D30 Howitzer:
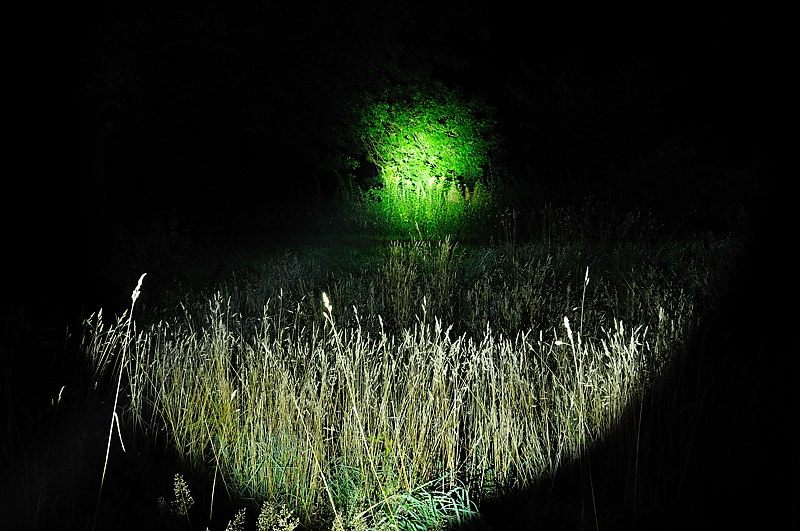
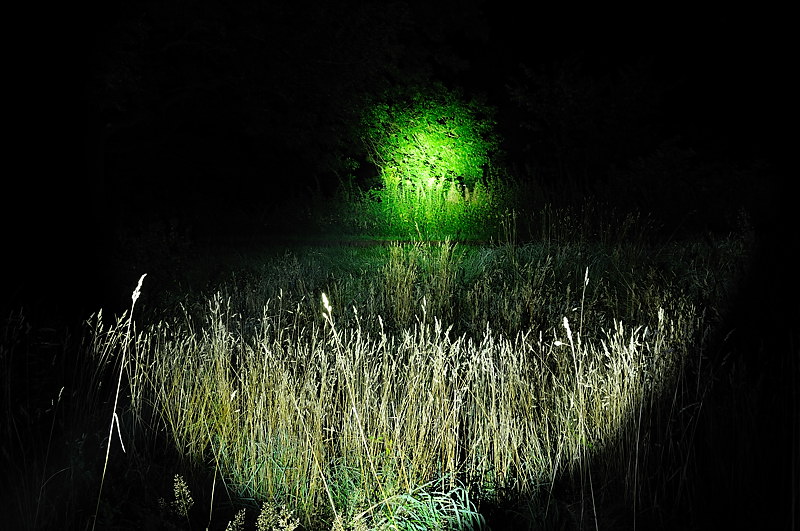
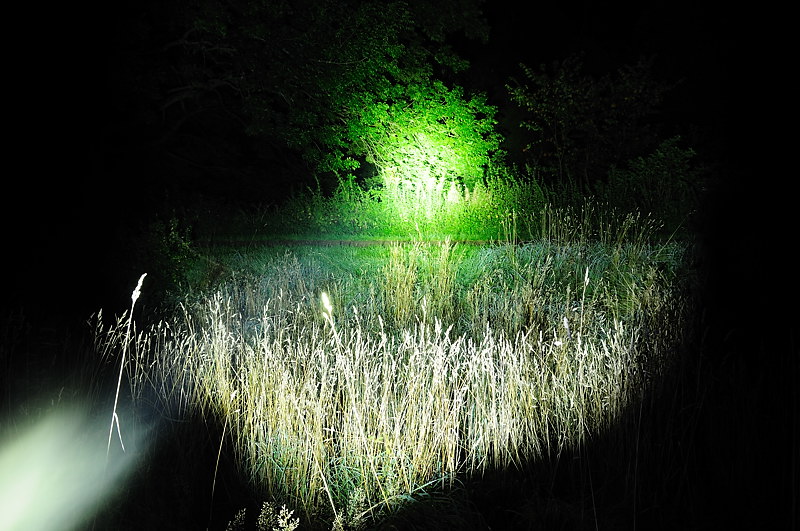
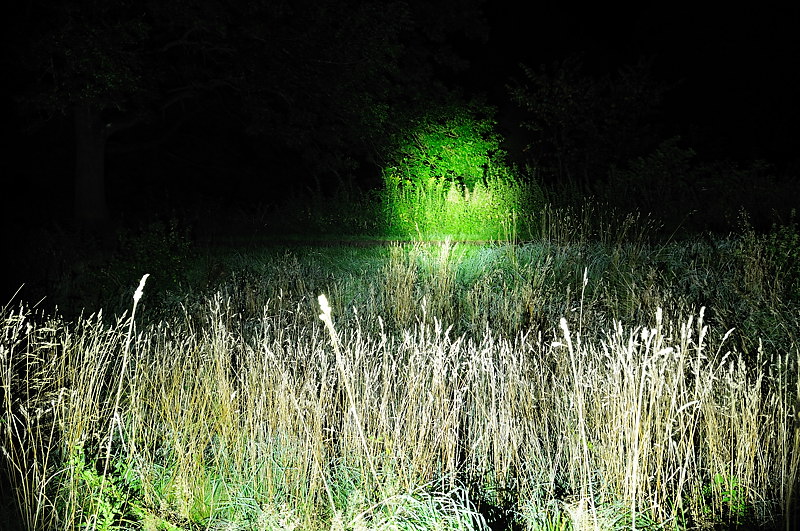
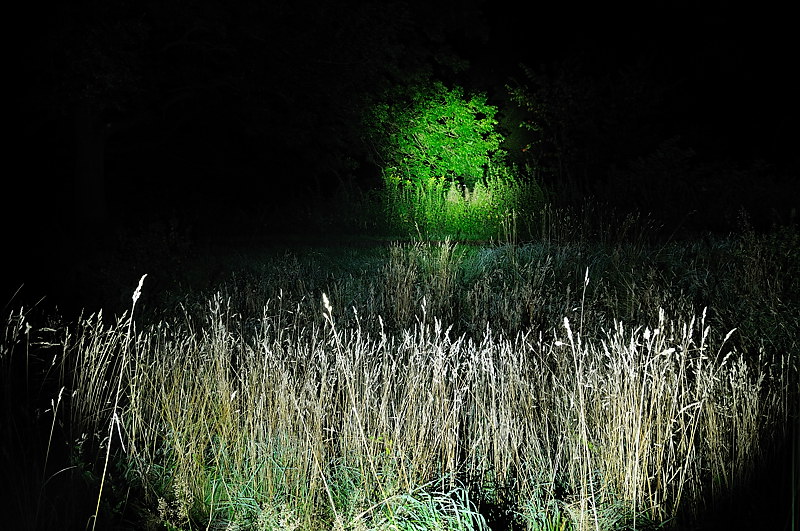
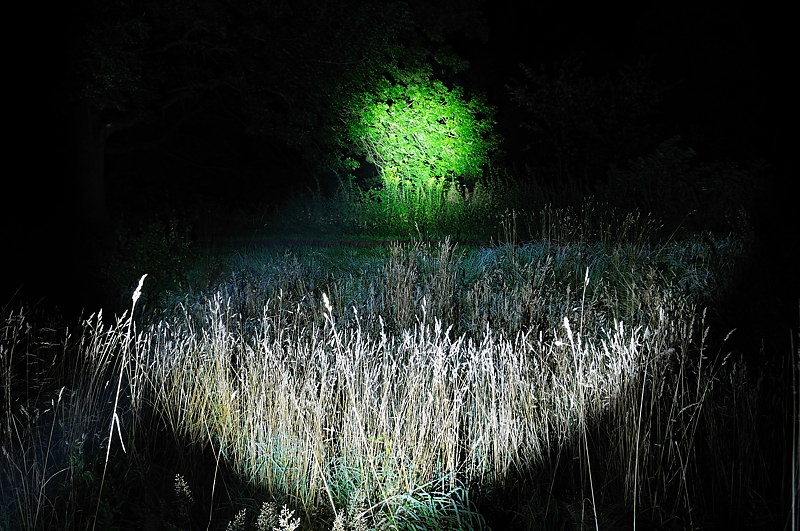
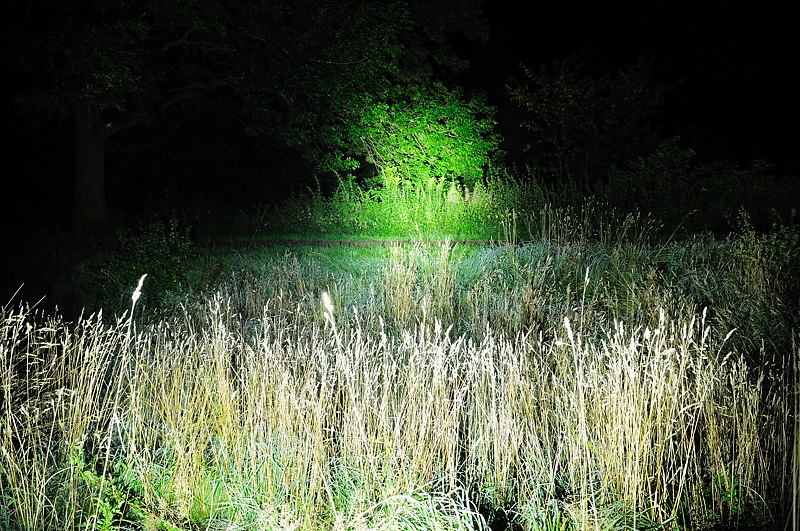
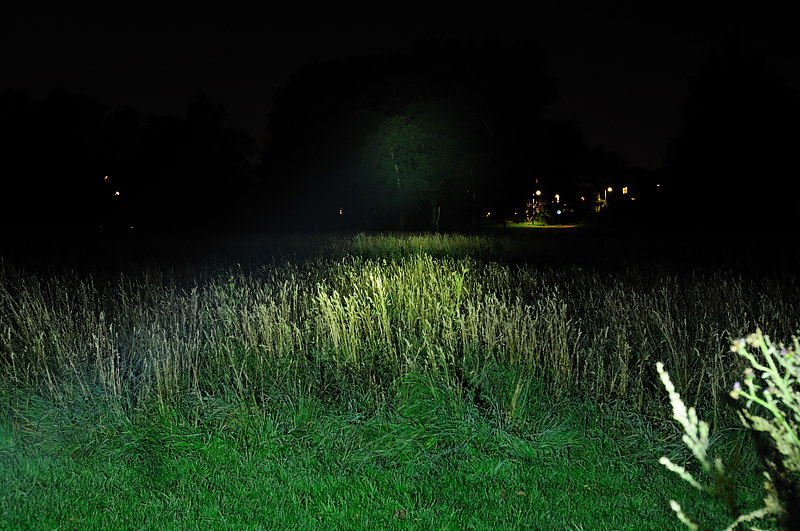
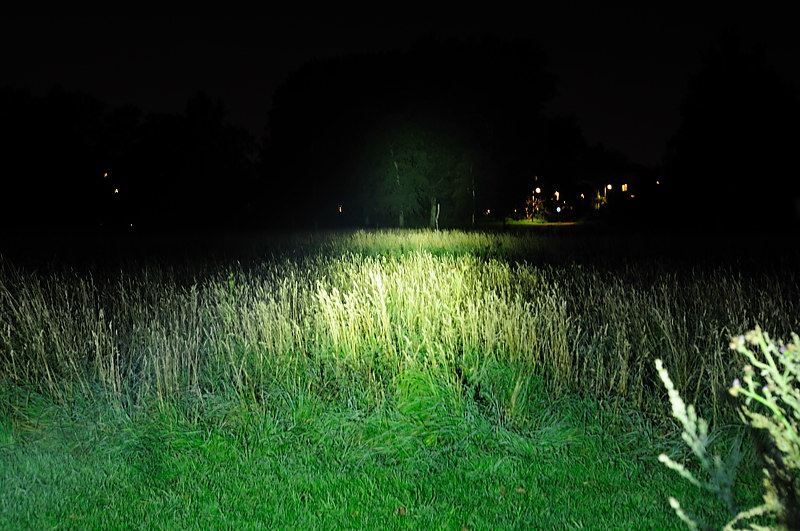
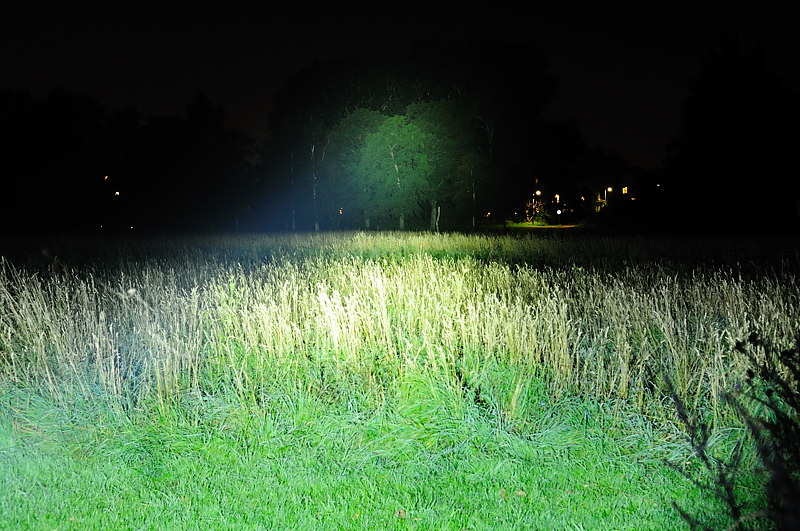
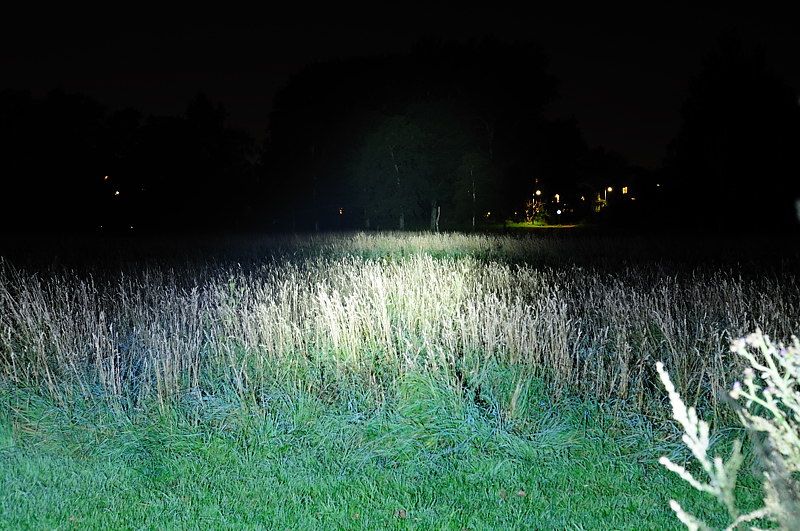
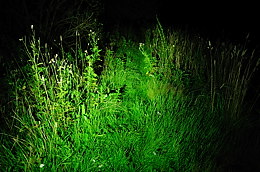
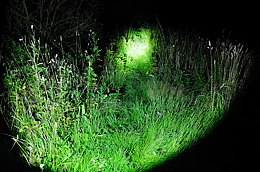
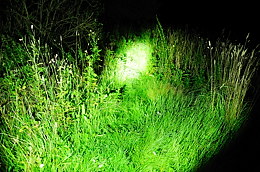
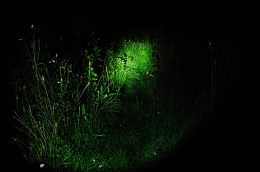
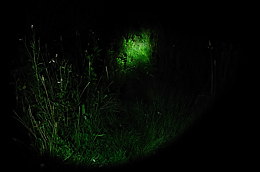
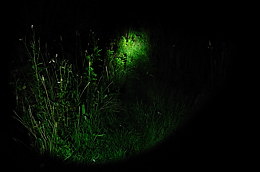
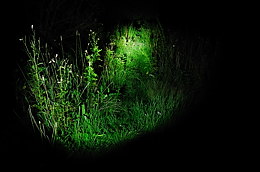
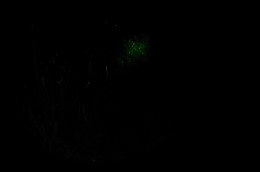
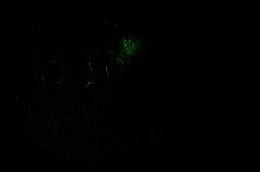
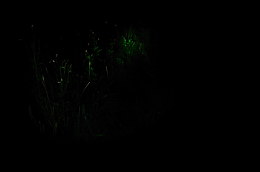
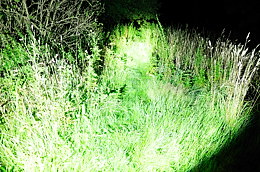
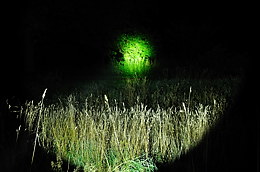
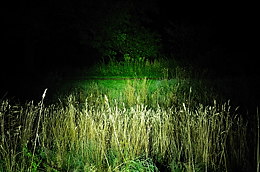
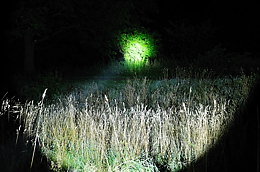
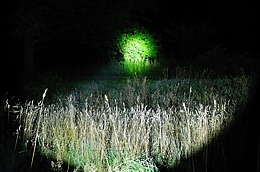
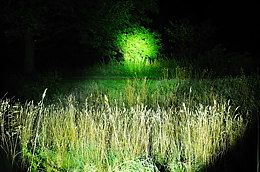
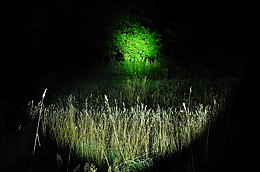
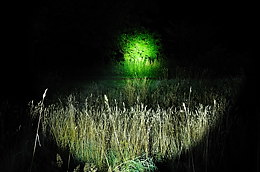
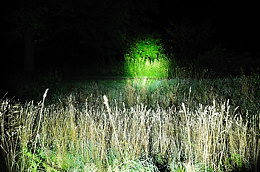
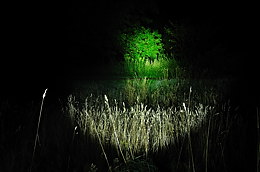
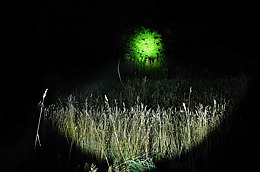
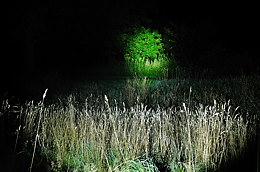
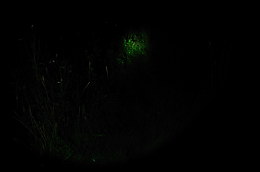
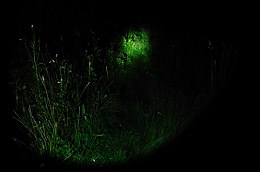
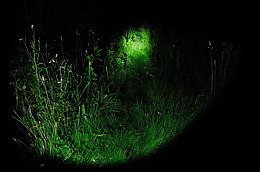
Tree at 15 meter
Olight SR51, Olight SR51 with diffuser, Olight SR90:
Olight SR91, Olight SR92, Fenix TK35:
Fenix TK41, Fenix TK60, Fenix TK70:

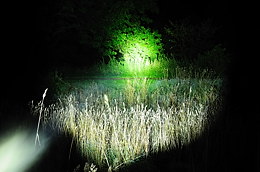
ElektroLumens Blaster-NG, Thrunite Scorpion 2, EagleTac M3C4 XM-L:
4Sevens S12, 4Sevens S18, Xtar D30 Howitzer:


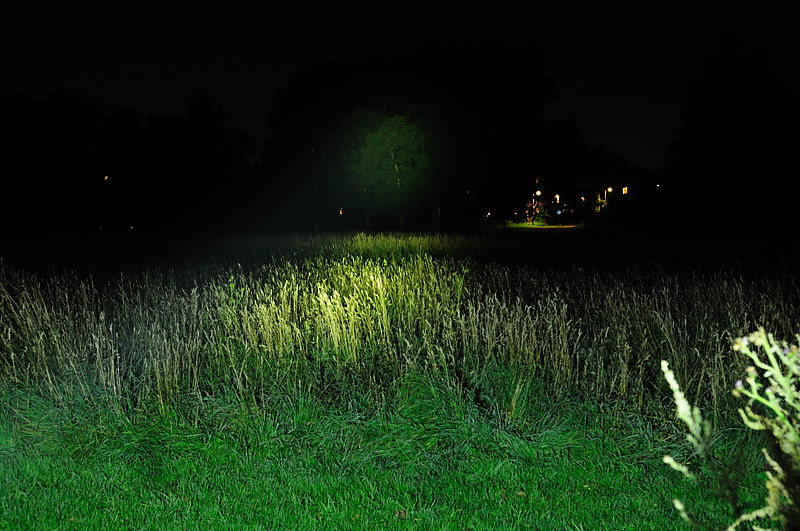
Tree at 135 meter
Olight SR51, Olight SR51 with diffuser, Olight SR90:

Olight SR91, Olight SR92, Fenix TK35:

Fenix TK41, Fenix TK60, Fenix TK70:

ElektroLumens Blaster-NG, Thrunite Scorpion 2, EagleTac M3C4 XM-L:
4Sevens S12, 4Sevens S18, Xtar D30 Howitzer:
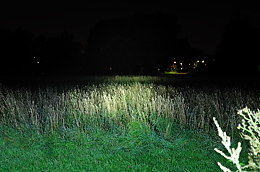

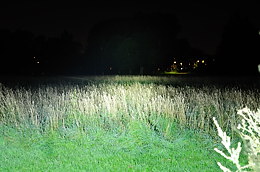
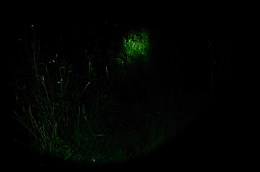
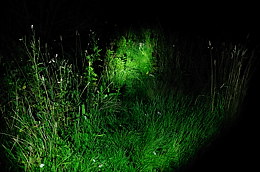
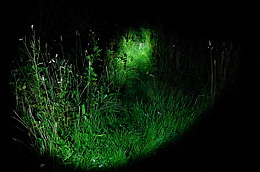
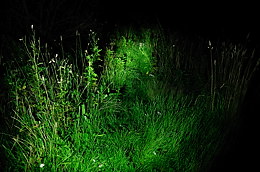
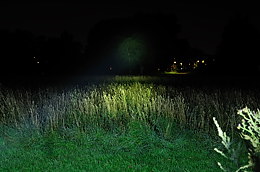
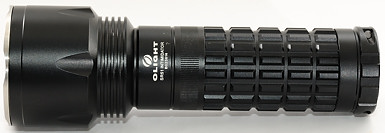
Olight SR51
Read more about the light and see pictures and curves in my review
Low, high:
Low, high with diffuser:
Tree 15 meters, trees 135 meters:
Tree 15 meters, trees 135 meters with diffuser:
Olight SR90
Read more about the light and see pictures and curves in my Danish review
Low, high:
Tree 15 meters, trees 135 meters:
Olight SR91
Low, high:
Tree 15 meters, trees 135 meters:
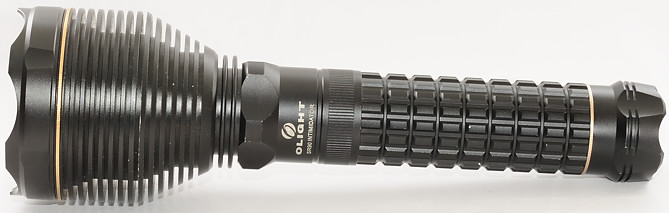
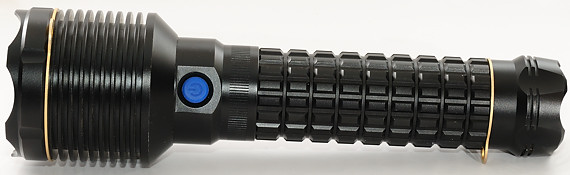
Olight SR92
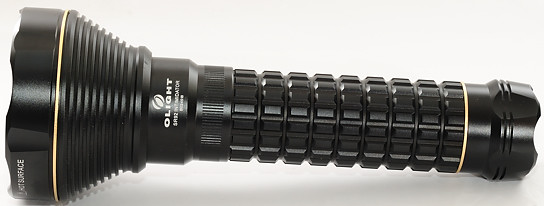
Low, high:
Tree 15 meters, trees 135 meters:
Fenix TK35
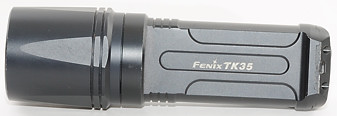
Low, #2, #3:
High:
Tree 15 meters, trees 135 meters:
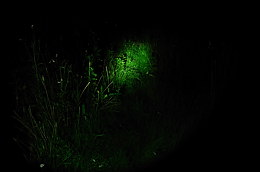
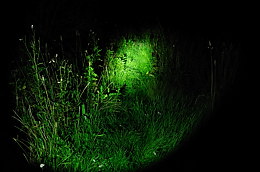
Fenix TK41
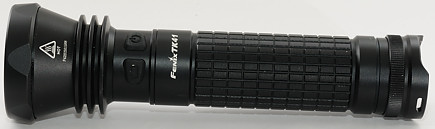
Read more about the light and see pictures and curves in my review
Low, #2, #3:
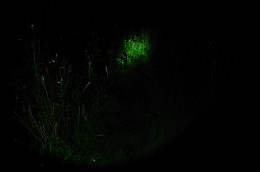
High:
Tree 15 meters, trees 135 meters:
Fenix TK60

Low, #2, #3:

High:
Tree 15 meters, trees 135 meters:
Fenix TK70
Low, #2, #3:


High:
Tree 15 meters, trees 135 meters:
ElektroLumens Blaster-NG

High:
Tree 15 meters, trees 135 meters:
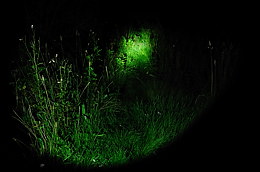
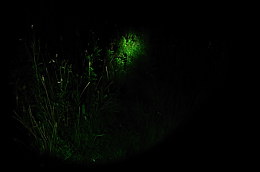
Thrunite Scorpion 2
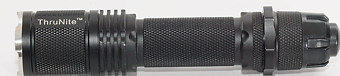
Read more about the light and see pictures and curves in my review
Low, medium, high:

Tree 15 meters, trees 135 meters:
EagleTac M3C4 XM-L
Low, #2, #3:
#4, high:
Tree 15 meters, trees 135 meters:
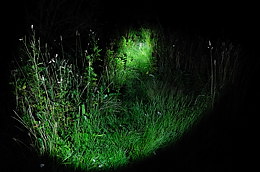
4Sevens S12
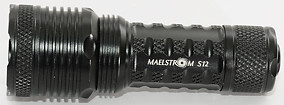
Read more about the light and see pictures and curves in my review
Low, high:
Tree 15 meters, trees 135 meters:
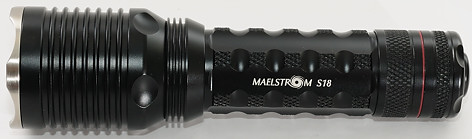
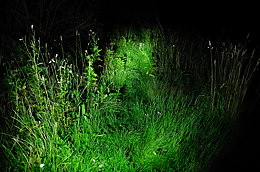
4Sevens S18
Low, medium, high:
Tree 15 meters, trees 135 meters:
Xtar D30 Howitzer

Read more about the first version of this light in my my Danish review.
Low, medium, high:
Tree 15 meters, trees 135 meters:
Notes
Most of the small beamshot pictures can be clicked for a larger version. To compare beamshots, open the larger picture in different tabs, then switch between tabs to see the difference.